A standard printer test page serves as a critical diagnostic tool for evaluating output quality and hardware health. By printing a series of calibrated patterns, users can perform a comprehensive analysis of CMYK density to ensure color accuracy and tonal balance across the subtractive color model. The page includes specific grids to verify nozzle integrity, identifying clogged orifices or air bubbles within the printhead that cause streaking or banding. Additionally, mechanical alignment patterns allow for precise calibration of the printhead's carriage movement and media feed. This routine maintenance procedure facilitates early detection of registration errors, ensuring sharp text and consistent color reproduction.

Printer Test Page Fundamentals
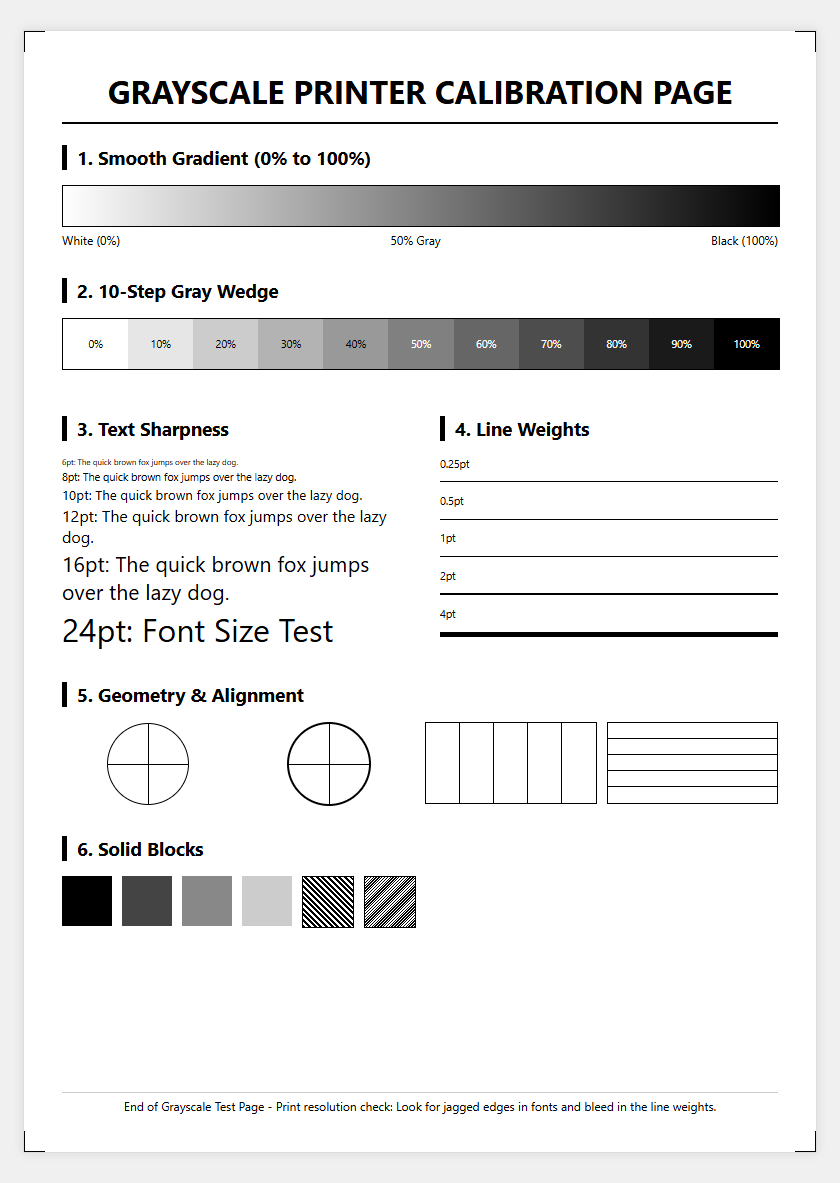
A standard printer test page serves as a diagnostic roadmap for your hardware's output health. It contains specific elements designed to evaluate the mechanical and digital integrity of the printing process. Most pages include a combination of text blocks in varying font sizes, color gradients, and geometric shapes. These components allow users to verify that the printer driver is communicating correctly with the hardware, ensuring that the PostScript or PCL data is rendered accurately on the substrate.
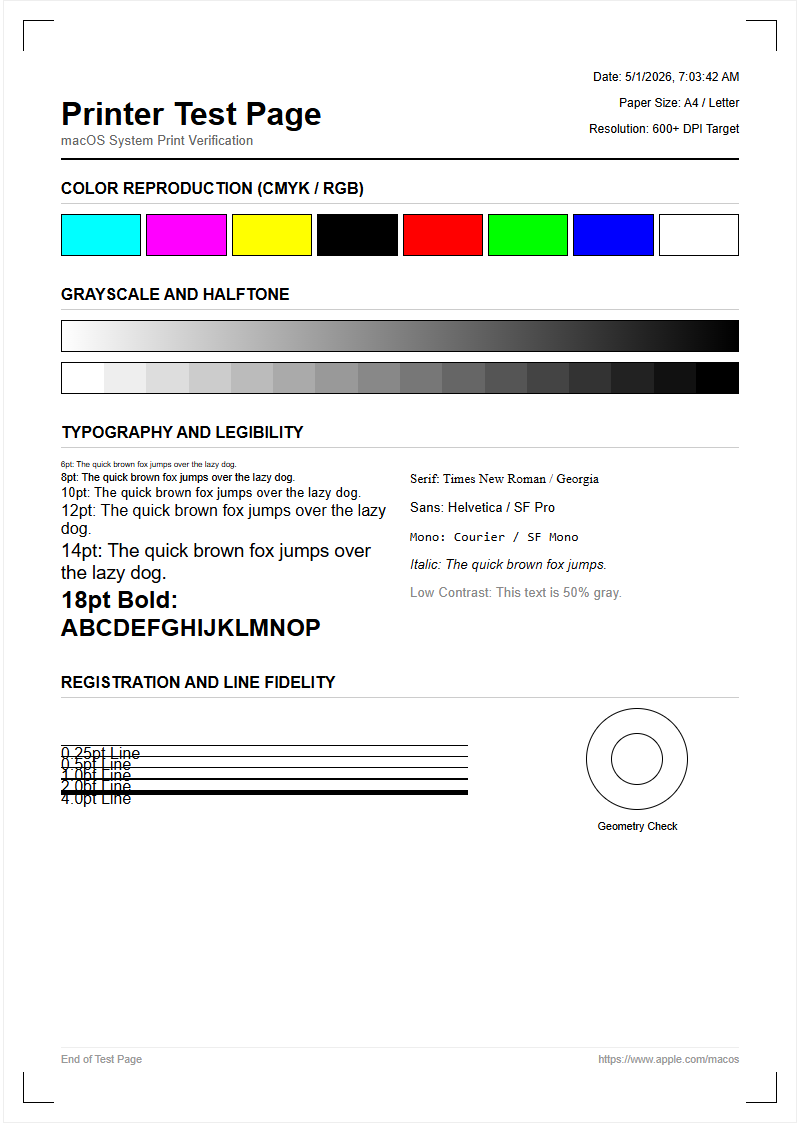
Key elements often found on a standard test page:
- Color Bars: Primary CMYK blocks (Cyan, Magenta, Yellow, and Black).
- Text Samples: Ranging from 6pt to 12pt to check for font rendering and kerning.
- Radial Patterns: Circular lines to detect jagged edges or aliasing.
- Grayscale Gradients: To ensure smooth transitions between light and dark tones.
By analyzing these patterns, you can pinpoint whether a problem is software-based or a physical hardware malfunction. This baseline assessment is the first step in troubleshooting any document output discrepancies.
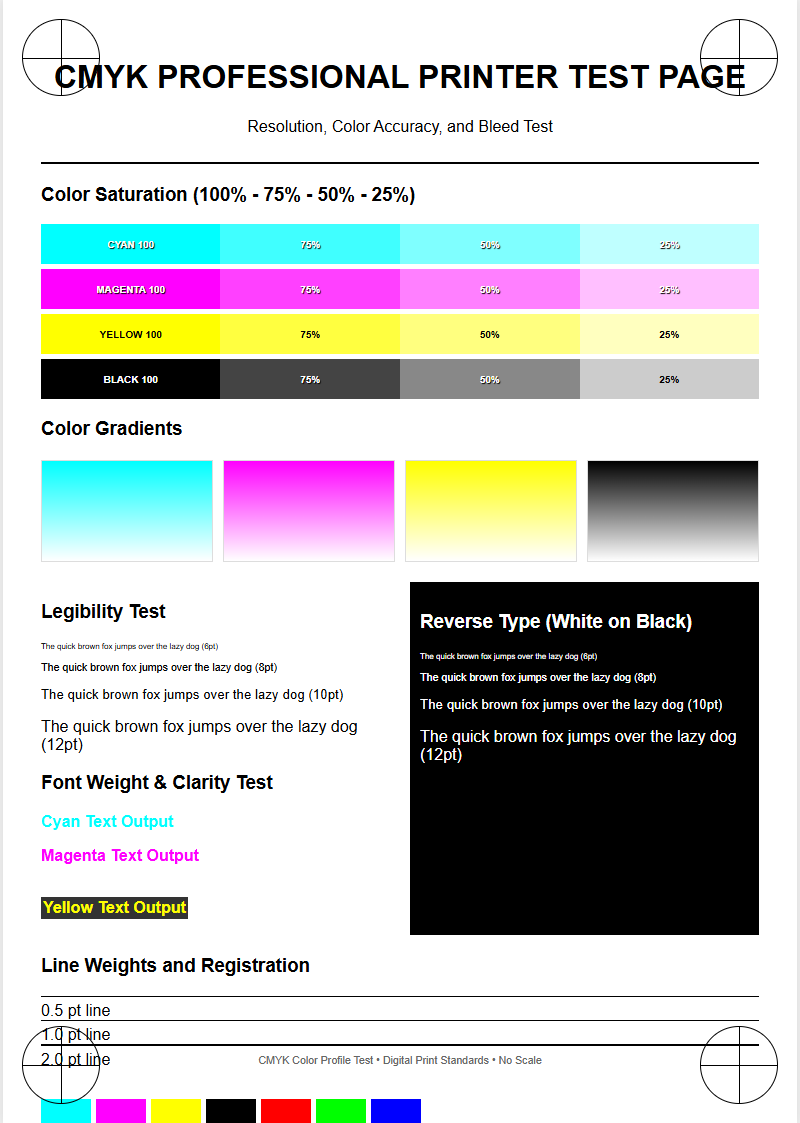
Color Calibration and Accuracy
Achieving professional-grade color calibration requires the printer to accurately translate digital RGB values into physical CMYK ink droplets or toner particles. A test page provides a visual benchmark for this color gamut, revealing if certain hues are undersaturated or shifting toward an incorrect temperature. Calibration ensures that the output remains consistent across different media types, from standard 20lb bond paper to high-gloss photographic stock.
Technical factors influencing color accuracy:
| Term | Impact on Quality |
|---|---|
| ICC Profiles | Maps colors between devices for consistency. |
| Saturation | The intensity and purity of the colors produced. |
| Color Balance | Ensures neutral grays without a color cast. |
| Hue Mapping | The precision of specific shades across the spectrum. |
When the test page shows muddy magentas or washed-out cyans, it indicates that the internal color lookup tables or the print engine require adjustment. Regular calibration prevents the drift that naturally occurs as hardware components age or environmental factors like humidity affect the ink's viscosity.
Print Head Alignment Verification
Print head alignment is critical for maintaining sharp images and legible text. In many inkjet systems, the print head moves rapidly back and forth, depositing droplets in a bi-directional fashion. If the timing or mechanical positioning is off by even a fraction of a millimeter, you will notice ghosting or staggered vertical lines. A test page includes specific alignment patterns-usually a series of numbered boxes or overlapping lines-that help the user identify the optimal offset values.
To verify alignment, look for the following:
- Vertical Line Continuity: Ensure lines are straight and not broken into "steps."
- Horizontal Registration: Check for consistent spacing between rows.
- Bi-directional Overlap: Confirm that the left-to-right pass matches the right-to-left pass.
Misalignment often results in blurry text that looks doubled or images that appear out of focus. Correcting this usually involves a software utility that adjusts the firing timing of the piezoelectric or thermal nozzles, ensuring every dot lands exactly where the digital map intended.
Ink and Toner Level Assessment
The ink and toner assessment portion of a test page provides a visual representation of your consumables' remaining life and distribution efficiency. While digital sensors provide an estimated percentage, the physical output reveals the true state of the cartridge. Uneven distribution or fading in large blocks of solid color often signifies that the toner is low or the developer unit is failing.
Key indicators of consumable health include:
- Solid Fill Uniformity: Large blocks should have no white spots or mottling.
- Fading Edges: Often indicates a depletion of toner powder near the ends of the roller.
- Density Consistency: The black should be a true Dmax black, not a charcoal gray.
Understanding page yield versus actual consumption is vital. High-coverage documents-like those with heavy graphics-deplete supplies faster than the manufacturer's 5% coverage estimate. Using the test page to monitor these levels helps avoid mid-job failures and ensures that you aren't replacing cartridges prematurely based on conservative digital warnings.
Resolving Common Printing Streaks
Streaks are among the most common visual artifacts in printing, usually appearing as vertical or horizontal lines across the page. In laser printers, vertical streaks often indicate a scratched drum or a dirty primary corona wire. In inkjets, they are typically caused by dried ink on the print head or a clogged nozzle. Identifying the orientation and frequency of the streaks is the first step in diagnosing which mechanical component is at fault.
Common causes and solutions:
| Symptom | Likely Cause |
|---|---|
| Horizontal White Lines | Clogged inkjet nozzles or "banding." |
| Vertical Black Streaks | Scratched drum or dirty fuser roller. |
| Smudging | Poor ink drying or a failing fuser unit. |
By examining the diagnostic page, you can determine if the streak is repetitive. If the streak repeats at specific intervals, you can calculate the circumference of the rollers to identify exactly which gear or belt is damaged. Cleaning the internal wiper blades or running a deep cleaning cycle often resolves these issues.
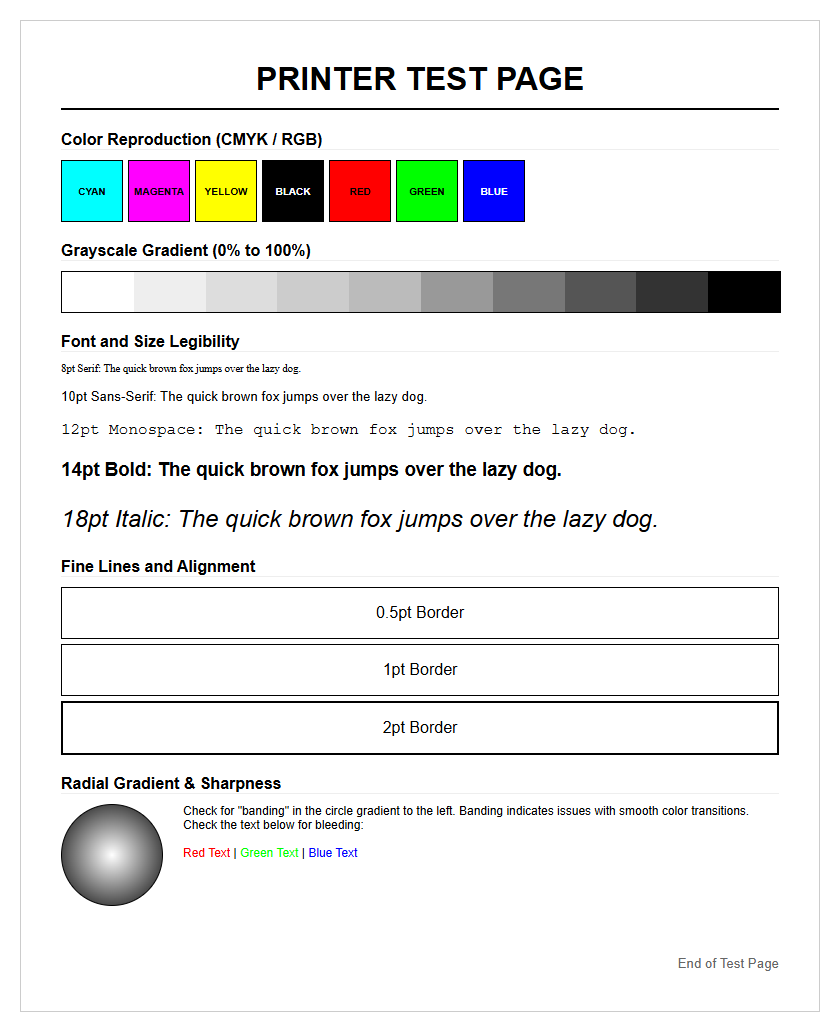
Grayscale and Black Density
Grayscale and black density testing is essential for high-quality monochrome documents and photo shadows. A professional test page includes a step-wedge gradient, transitioning from 0% white to 100% solid black. This section checks for dithering quality and the printer's ability to produce neutral grays. If your printer uses a rich black-a mix of CMY and K-the grayscale section will reveal if one color is overpowering the others, resulting in a tinted image.
Consider these technical aspects:
- Dmax: The maximum optical density achievable by the black ink or toner.
- Halftoning: The process of using tiny dots to simulate continuous tones.
- Linearity: Ensuring that 50% gray actually looks like a mid-tone.
Poor black density results in washed out text and flat images. For laser printers, this may be a sign of a failing transfer belt or low voltage in the charging roller. For inkjets, it often points to low-quality paper that absorbs too much ink, preventing the pigment from sitting on the surface.
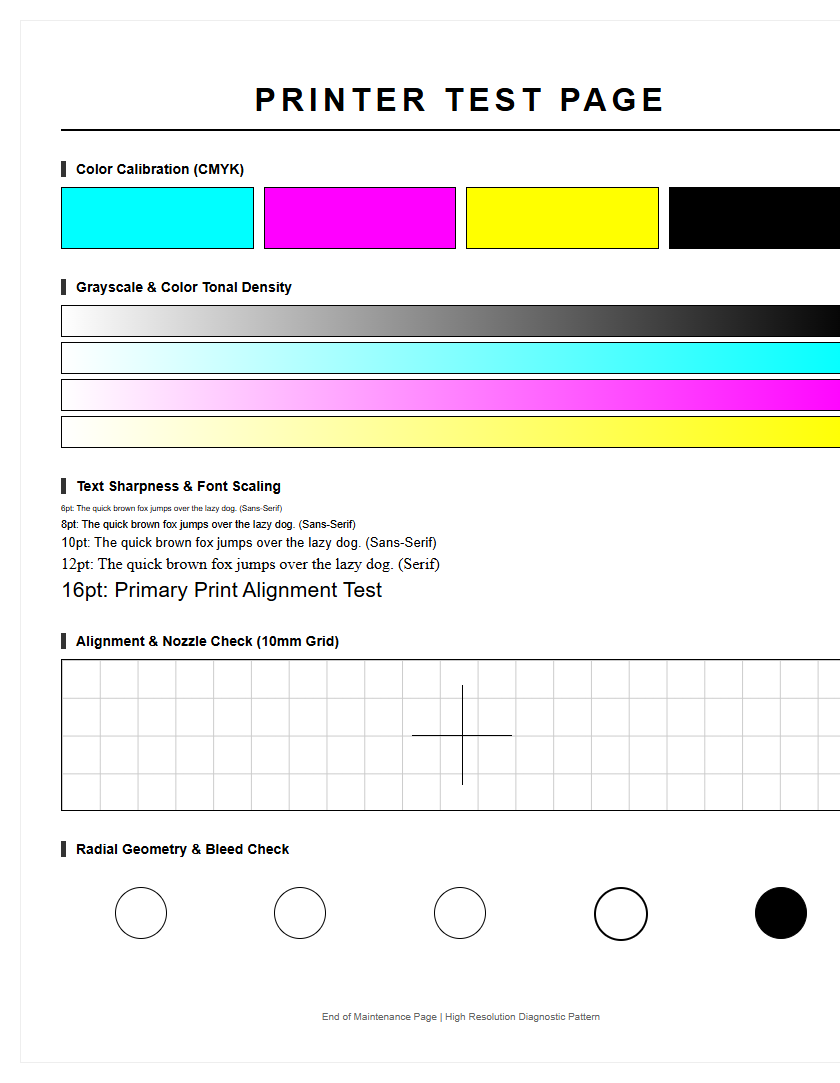
Diagnostic Pattern Interpretation
Diagnostic patterns are specialized geometric designs used to push the limits of the printer's resolution and logic. Moiré patterns, radial starbursts, and fine-line grids are included to detect aliasing and interpolation errors. These patterns help technicians identify jitter, which is a small-scale mechanical vibration that causes fine details to appear wavy or distorted.
How to interpret these patterns:
- Radial Starbursts: If the center of the star is a blur, the effective resolution is low.
- Fine Grids: Broken lines in a grid suggest a nozzle dropout or drum defect.
- Concentric Circles: These highlight issues with the paper feed motor's consistency.
Interpreting these shapes requires looking for symmetry and sharpness. If the "E" in a 4pt font is unreadable, or if the concentric circles appear oval-shaped, it indicates a mechanical timing issue or a resolution limitation in the printer driver settings. These patterns serve as a stress test for the printer's internal image processor and motor assembly.
Maintaining Peak Hardware Performance
Maintaining peak hardware performance requires a proactive approach, using the test page as a health report. Printers are mechanical devices with high-speed moving parts, sensitive optics, and thermal components. Over time, paper dust can accumulate on rollers, and ink can dry in the delivery tubes. A regular test page routine allows you to catch these micro-issues before they escalate into expensive hardware failures.
Essential maintenance checkpoints:
- Duty Cycle Monitoring: Ensure you aren't exceeding the monthly page limit.
- Firmware Updates: Improve the Raster Image Processor (RIP) efficiency.
- Environment Control: Keep the printer in a low-dust, temperature-controlled area.
By comparing current test pages with a "gold standard" print from when the machine was new, you can track the gradual degradation of the fuser unit or the print head. This longitudinal data is invaluable for deciding when to perform a preventive maintenance kit installation or when a component has reached its official end-of-life.
Identifying Clogged Nozzle Issues
In the world of inkjet technology, clogged nozzles are a frequent hurdle. This occurs when ink dries inside the microscopic apertures of the print head, preventing the piezoelectric or thermal elements from ejecting droplets. A nozzle check pattern-consisting of a series of small, staggered lines for each color-is the most effective way to identify which specific nozzle is blocked.
Troubleshooting nozzle dropouts:
| Observation | Root Cause |
|---|
If the test page shows "missing stairs" in the diagnostic grid, a cleaning cycle is necessary. This process forces a small amount of ink through the head to dissolve the obstruction. For stubborn clogs, a power flush may be required, though this consumes more ink. Keeping the printer powered on allows for automatic maintenance cycles, which prevents the ink from stagnating during periods of inactivity.
Improving Document Clarity Standards
Document clarity is the result of high-resolution rendering and precise ink placement. A printer's native DPI (Dots Per Inch) determines the fine detail it can reproduce, but software settings like "Economy Mode" or "Draft" can significantly reduce this clarity. The clarity section of a test page often features high-contrast edges and fine typography to demonstrate the printer's ability to render sharp boundaries without bleed or feathering.
Techniques to enhance clarity:
- Substrate Selection: Use "Bright White" or coated paper for sharper edges.
- Resolution Settings: Switch from 300 DPI to 600 or 1200 DPI for professional text.
- Edge Enhancement: Enable software features that sharpen vector paths.
When analyzing clarity, look at the negative space in letters like 'a' or 'e'. If these holes are filled with ink, the printer is over-saturating the page. Conversely, if the edges of letters look jagged, the interpolation settings need adjustment. High standards for document clarity ensure that even the smallest footnotes remain legible and professional for all business communications.

Comments