A nozzle check printer test page serves as a fundamental diagnostic tool for evaluating printhead performance and ensuring effective inkjet maintenance. This process activates the micro-nozzles across all CMYK channels to produce a precise grid pattern, allowing users to identify issues like horizontal banding or obstructed ink flow. By analyzing the output, you can detect whether thermal or piezoelectric actuators are malfunctioning due to dried residue or trapped air within the delivery system. Regular execution of this test facilitates consistent droplet formation and preserves high-resolution output. Proactively monitoring these components prevents hardware degradation and ensures the internal capillary action remains unobstructed for reliable results.
Understanding Printer Nozzle Check Patterns
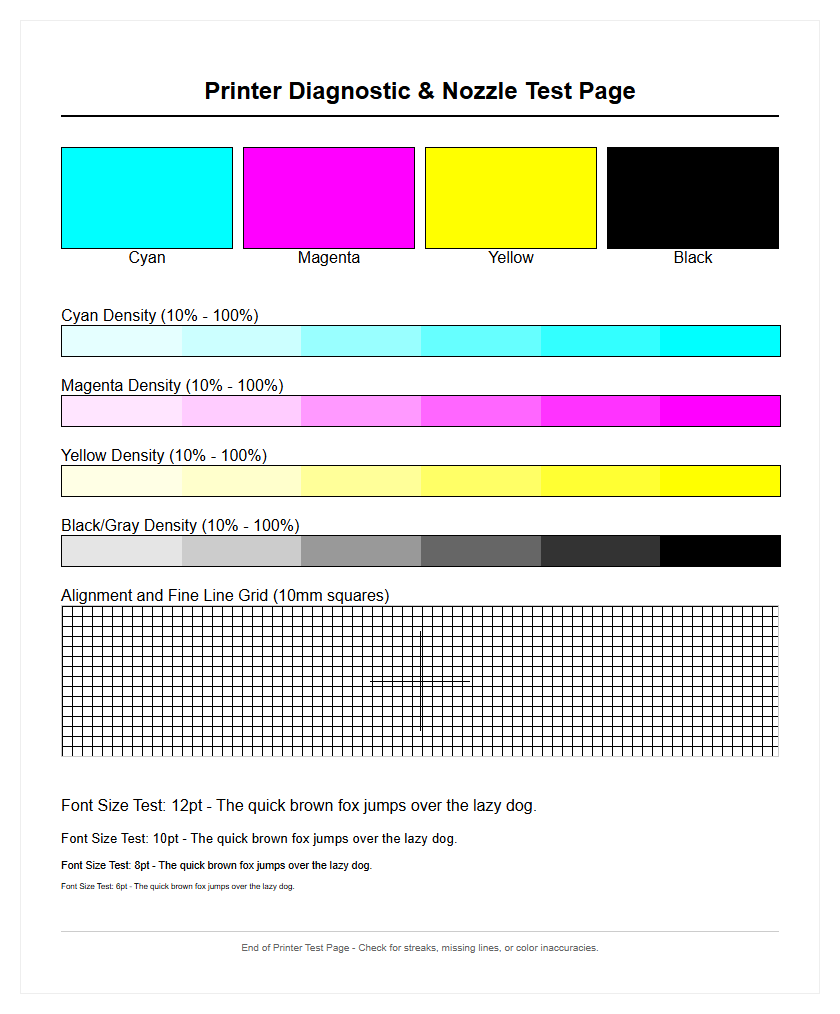
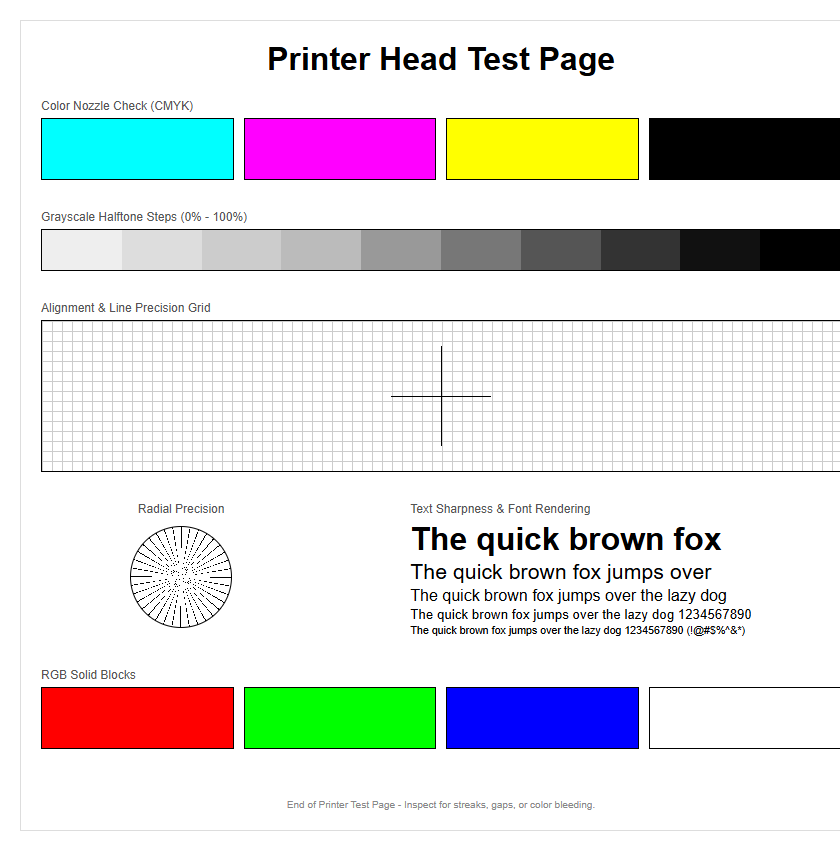
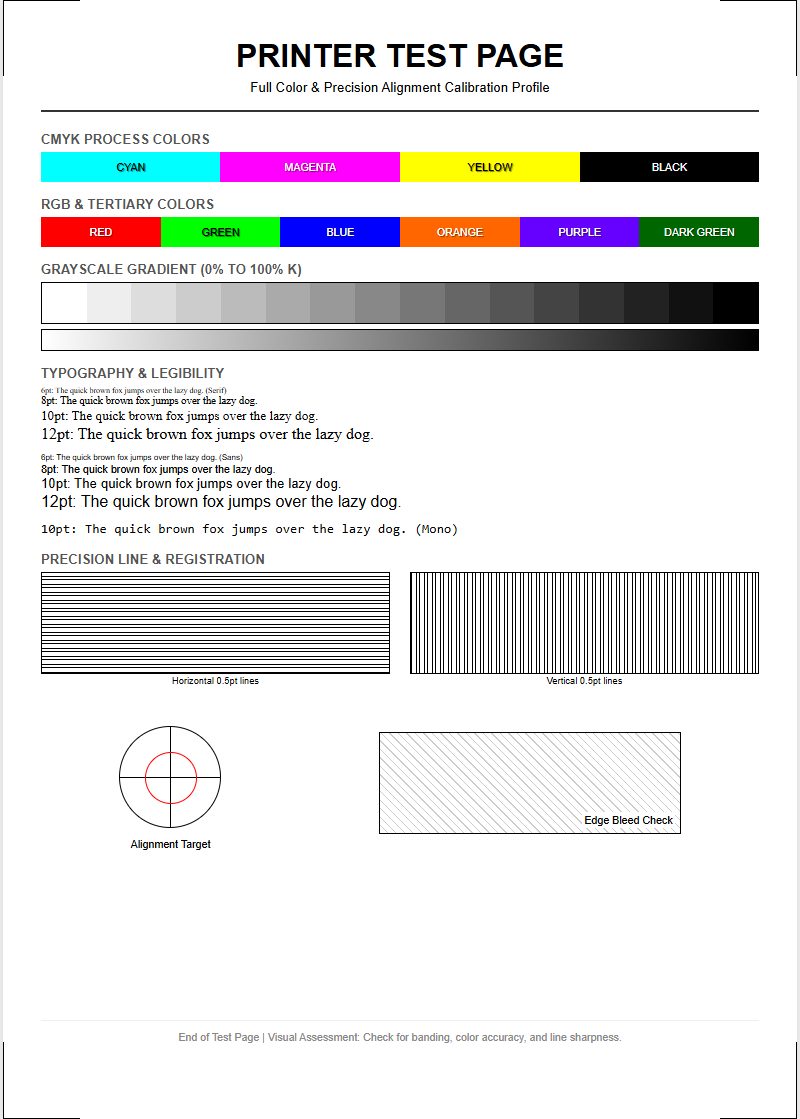
A nozzle check pattern is the fundamental diagnostic tool for any inkjet system. When you initiate this command, the printer fires a specific sequence from every individual orifice on the print head. The resulting output usually appears as a series of "staircase" grids or solid color bars, representing Cyan, Magenta, Yellow, and Black (CMYK). Each tiny segment in the grid corresponds to a single nozzle's ability to eject a droplet of ink onto the substrate. Understanding these patterns requires looking for continuity; a perfect nozzle check shows unbroken lines with consistent spacing.
Technically, the pattern reveals the health of the piezoelectric elements or thermal resistors within the head assembly. If the grid displays "stepping" or jagged edges, it indicates a deflection in the ink trajectory. This diagnostic process is essential because it isolates mechanical failures from software configuration issues. By analyzing the density and positioning of these marks, technicians can determine if the printer is operating within its specified micron-level tolerances or if the fluid dynamics are being compromised by environmental factors or aging hardware.
Resolving Ink Streaks And Clogged Jets
Ink streaks and banding are often the result of dried pigment or air bubbles trapped within the print head channels. When a nozzle check page reveals gaps, it is a clear sign of a clogged jet. These clogs occur when the solvent in the ink evaporates, leaving behind solid residue that obstructs the orifice. To resolve these issues, most firmware includes a "Head Cleaning" utility that forces a high-pressure burst of ink through the nozzles to dislodge the obstruction and prime the system.
Common causes for jet failures include:
- Extended periods of inactivity leading to ink desiccation.
- Accumulation of paper lint or dust on the nozzle plate.
- Air ingestion during a cartridge or ink tank swap.
- Poor quality third-party inks with inconsistent viscosity.
In persistent cases, a "Power Cleaning" or "Deep Cleaning" may be necessary, although these consume significant amounts of ink and increase the saturation of the waste ink pad. Monitoring the nozzle check output after each cycle is crucial to ensure that the streaks are diminishing and that the jets are regaining full functionality.
Interpreting CMYK Color Calibration Results
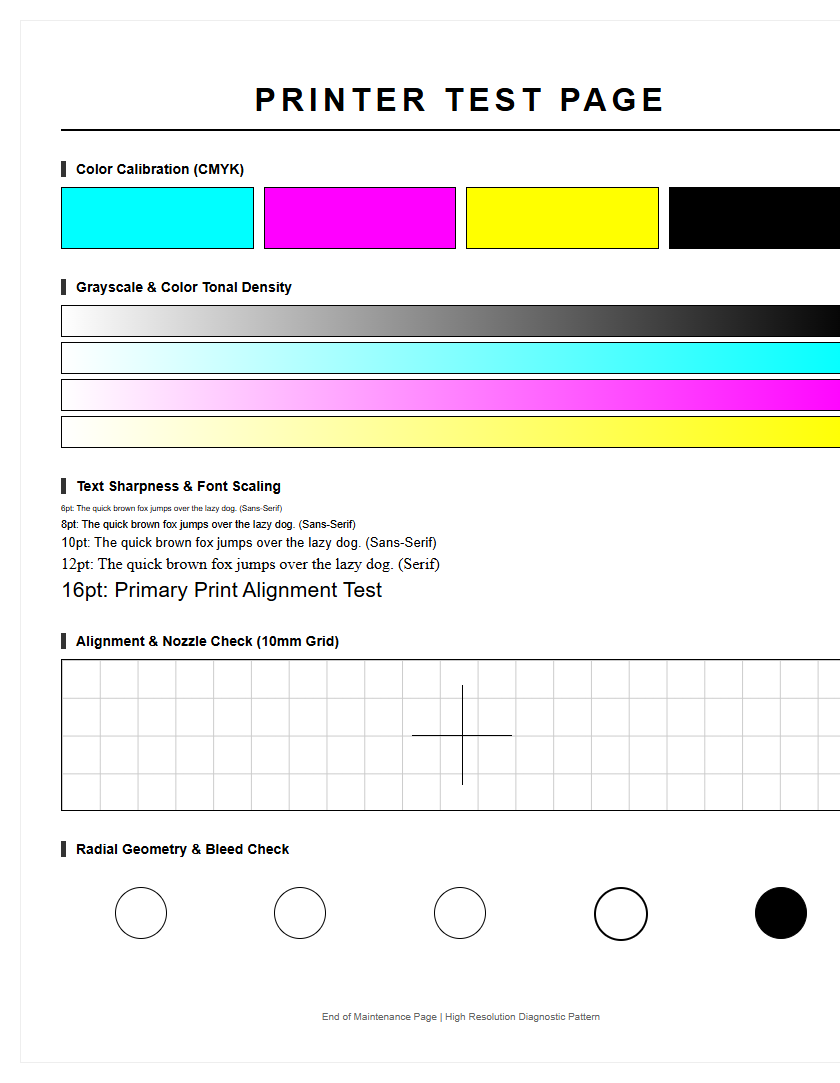
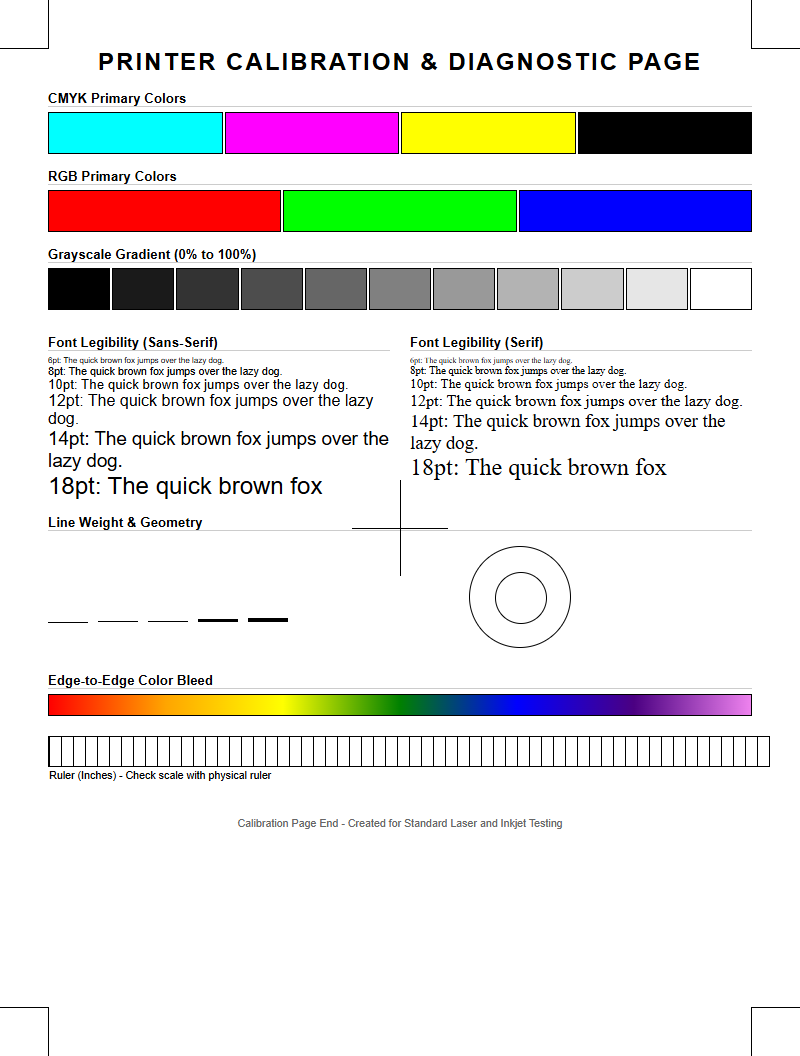
CMYK calibration is the process of ensuring that the subtractive color model used by the printer accurately reflects the intended digital output. When examining a color calibration test page, look for smooth gradients and neutral grays. If the cyan bar appears desaturated or the yellow exhibits a greenish tint, it indicates a color contamination issue where ink from one chamber has migrated into another, often due to a faulty capping station or wiper blade.
| Color Channel | Common Issue | Visual Symptom |
|---|---|---|
| Cyan (C) | Air in dampers | Thin vertical white lines |
| Magenta (M) | Nozzle deflection | Fuzzy edges on text |
| Yellow (Y) | Contamination | Muddy or dark patches |
| Black (K) | Dried pigment | Incomplete solid blocks |
Technical calibration ensures that the "dither patterns"-the arrangement of tiny dots-are overlapping correctly to produce the full visible spectrum. Misinterpretation of these results can lead to wasted media and ink, so it is vital to perform these checks under consistent lighting conditions to verify chromatic accuracy.
Step By Step Guide To Clear Print Heads
If your nozzle check shows persistent failures, a systematic approach to clearing the print heads is required to restore image fidelity. This process involves both software-driven maintenance and, occasionally, manual intervention to ensure the fluid paths are unobstructed and the vacuum pressure is optimal.
- Print a nozzle check pattern to identify the specific failing color channels.
- Run a standard "Head Cleaning" cycle from the printer's maintenance menu.
- Wait at least 30 minutes to allow the ink to soften any dried residue on the nozzle plate.
- Print a second nozzle check to compare results with the initial baseline.
- If gaps remain, perform a "Deep Cleaning" cycle to purge air bubbles and thick ink.
- Check the ink levels to ensure there is enough pressure for a successful purge.
- Inspect the wiper blade and capping station for physical debris or ink buildup.
This sequence addresses the most common mechanical blockages. By following these steps, you maintain the integrity of the microscopic orifices and prevent permanent damage caused by "firing dry," which can overheat and burn out thermal print head nozzles.
Improving Document Quality With Regular Testing
Proactive printer management through regular testing is the most effective way to maintain professional document quality. By printing a nozzle check or a CMYK test pattern at least once a week, you keep the ink flowing through the delivery system. This prevents the ink from reaching a high viscosity state, which often leads to "ghosting" or blurred characters. Regular testing also allows for the early detection of "deflected" nozzles-those that fire ink but at a slight angle, causing fine lines to appear jagged.
Maintaining high DPI (dots per inch) output requires a perfectly functioning head assembly. When the jets are clear, the printer can accurately place droplets of specific picoliter sizes, ensuring sharp text and vibrant graphics. This is especially important for high-resolution photo printing where even a single failing nozzle can ruin a complex gradient. Incorporating a test page into your weekly routine ensures that the internal pump, carriage timing, and ink delivery components remain synchronized, resulting in consistent, high-contrast prints every time you hit the print button.
Identify Blocked Nozzles In Your Inkjet
Identifying blocked nozzles requires a keen eye for detail when reviewing a diagnostic test page. On most inkjet systems, the nozzle check pattern consists of hundreds of tiny slanted lines. Each line corresponds to one of the hundreds of micro-nozzles on the print head. A gap in the sequence-even a tiny one-means a nozzle is completely blocked. If a line is shifted out of its designated position, the nozzle is "deflected," likely due to a partial obstruction or a buildup of static on the head surface.
Technically, blocked nozzles disrupt the laminar flow of ink, causing turbulent ejection which manifests as "banding" on your final documents. To pinpoint the exact location of the blockage, use a magnifying glass to inspect the CMYK bars. If the black channel shows significant gaps, it usually suggests that the pigment-based ink, which has larger particles than dye-based color inks, has settled or dried. Early identification through these patterns prevents the print head from overheating, as the ink itself acts as a coolant for the firing elements during the printing process.
Maintain Optimal Print Performance And Clarity
To achieve peak performance, a printer must maintain a perfect balance between ink chemistry, hardware mechanics, and software instructions. Clarity in printing is defined by the edge definition of characters and the lack of "satellite" drops-tiny unwanted dots around the main image. A clean nozzle check is the first step toward this goal. When the print head is well-maintained, the droplets are ejected at the correct velocity, hitting the paper at the precise coordinates dictated by the raster image processor (RIP).
Factors that influence performance include:
- Humidity levels: Low humidity can accelerate ink drying at the nozzles.
- Media settings: Using the correct paper profile ensures the ink absorption is managed correctly.
- Firmware updates: Modern printers often include improved maintenance algorithms in their updates.
- Cartridge freshness: Older ink can undergo chemical changes that clog fine nozzles.
By monitoring these variables alongside regular nozzle checks, you ensure that the hardware operates at its maximum rated speed without sacrificing the sharpness or color depth required for professional-grade output.
Troubleshooting Faint Colors And Missing Lines
Faint colors or missing lines are classic symptoms of an ink delivery failure, often distinct from a simple nozzle clog. If a specific color is consistently weak across the entire page, the issue might be a lack of pressure in the ink line or a failing damper. This "starvation" of the print head occurs when the vacuum seal is broken or the air vents on the ink tank are blocked. Unlike a clog, which causes sharp white gaps, starvation results in a gradual fading of the color as the print job progresses.
To troubleshoot missing lines, first verify that the ink cartridges have not reached their "end of life" sensor. If ink is present, check for air bubbles in the supply tubes. Running a "Fill Ink" or "Ink Charge" utility can help prime the system and remove air pockets. Additionally, inspect the capping station where the print head rests; if the seal is not airtight, the nozzles will dry out prematurely between uses. Resolving these mechanical issues ensures that the hydrostatic pressure remains constant, providing a steady flow of ink to every jet.
Effective Methods For Precise Color Alignment
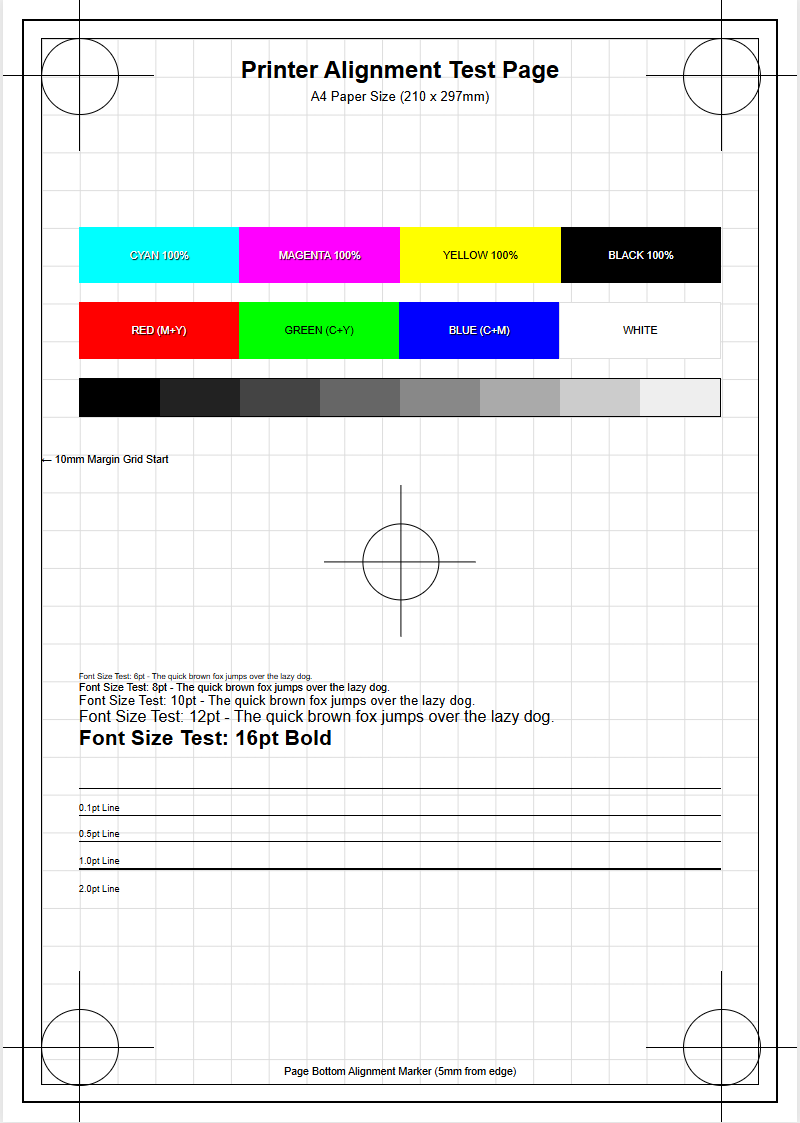
Color alignment, or registration, is the process of ensuring that the multiple print heads (or color channels) are perfectly synchronized as the carriage moves across the page. If the nozzle check is clean but the prints look blurry or have "halos" around text, the alignment is likely off. A dedicated alignment test page prints a series of overlapping blocks and lines. You must select the pattern that shows the least amount of "moiré" or white space to calibrate the bidirectional timing.
This technical calibration adjusts for the "lead time" of the ink droplets as they travel from the moving head to the stationary paper. Factors like the distance between the print head and the paper (platen gap) can affect this timing. Modern printers offer both horizontal and vertical alignment options. Horizontal alignment ensures the dots line up during the carriage sweep, while vertical alignment ensures the paper feed motor is advancing the page at the correct increment. Precise alignment is the final step in translating a successful nozzle check into a high-fidelity, crisp finished product.
Prolonging Hardware Life Through Periodic Maintenance
The print head is the most expensive and delicate component of an inkjet printer. Prolonging its life requires a commitment to periodic maintenance beyond just running software cleanings. Every time you print a nozzle check, you are essentially performing a low-stress exercise for the piezoelectric actuators. Neglecting the printer for weeks can lead to permanent "burn-out" of nozzles or "delamination" of the head structure, where the internal layers separate due to dried ink pressure.
Effective long-term maintenance includes:
- Keeping the printer in a dust-free environment to prevent debris on the nozzle plate.
- Using the "Power Off" button rather than a smart plug to ensure the head parks correctly.
- Wiping the encoder strip gently to maintain carriage positioning accuracy.
- Replacing the maintenance box or waste pad before it overflows.
By treating the nozzle check as a preventative health screening rather than a reactive fix, you can extend the life of your hardware significantly. Consistent fluid movement prevents sediment buildup, ensuring the intricate micro-fluidic channels remain clear for years of high-quality operation.

Comments