Understanding a nozzle check pattern is essential for maintaining optimal inkjet printhead health and ensuring consistent output quality. This technical guide explores how these diagnostic tests identify critical issues such as clogged micro-nozzles, air ingestion within the ink delivery system, or localized electrical failures. By analyzing the printed grid-composed of distinct steps for each CMYK color channel-operators can detect broken lines or deflected droplets that cause visible banding. Distinguishing between temporary debris and permanent hardware degradation allows for precise maintenance, from automated purge cycles to manual cleaning of the orifice plate. Mastering these diagnostics preserves droplet firing accuracy and extends the operational lifespan of piezoelectric and thermal printhead assemblies.
Understanding Inkjet Nozzle Performance
Inkjet nozzle performance is the cornerstone of high-fidelity printing. At a microscopic level, print heads utilize either thermal or piezoelectric pulses to eject minute droplets of ink through hundreds of individual apertures. Each nozzle must fire with precise timing and volume to ensure the resulting image is sharp and color-accurate. When a nozzle check pattern is initiated, the printer activates every single orifice to verify its functional status.
- Acoustic Waves: Piezoelectric elements vibrate to push ink out without heat.
- Thermal Bubbles: Heat creates a vapor bubble that forces ink through the nozzle.
- Drop Volume: Measured in picoliters, this determines the granularity of the print.
If the fluid dynamics within the firing chamber are compromised by air bubbles or viscous changes, the trajectory of the droplet shifts. This leads to satellite drops or total firing failure. Understanding these mechanics helps technicians identify whether a failure is mechanical, electrical, or chemical in nature. A clean nozzle check indicates that the meniscus at the nozzle tip is properly seated and ready for high-resolution output.
Identifying Clogged Print Heads
A clogged print head occurs when ink residue dries within the nozzle bore, creating a physical obstruction. This is often the result of infrequent use or exposure to dry environments. During a nozzle check, a clog manifests as a missing segment in the staircase or grid pattern. Identifying these gaps early is essential to prevent permanent damage to the delicate print head architecture.
- Examine the test pattern for consistent breaks in specific color channels.
- Check the capping station for dried ink buildup that may be wicking moisture away.
- Verify if the blockage is a "soft clog" (partially dried) or a "hard clog" (fully solidified).
When pigments settle or solvents evaporate, the ink's viscosity increases, making it impossible for the firing mechanism to overcome the internal friction. If a nozzle check shows persistent gaps in the same location after multiple cleaning attempts, the obstruction may require specialized solvent-based flushing. Early detection through regular test pages prevents the internal filters from becoming permanently saturated with coagulated particulates.
Interpreting Color Band Consistency
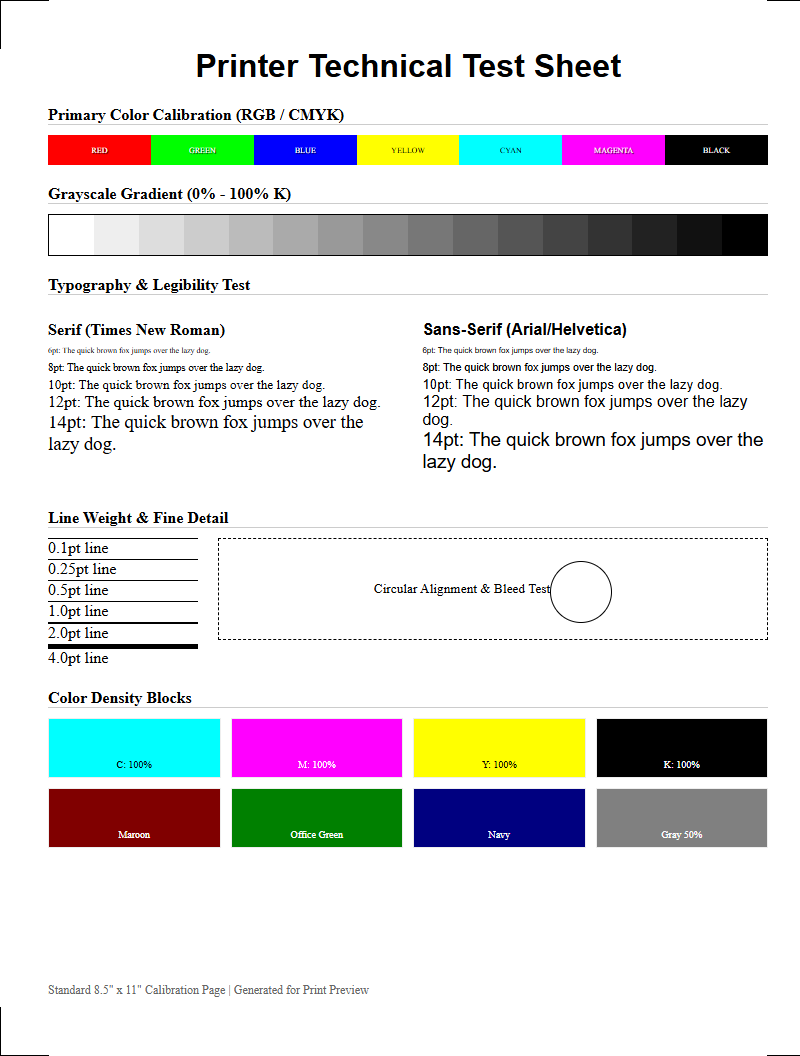
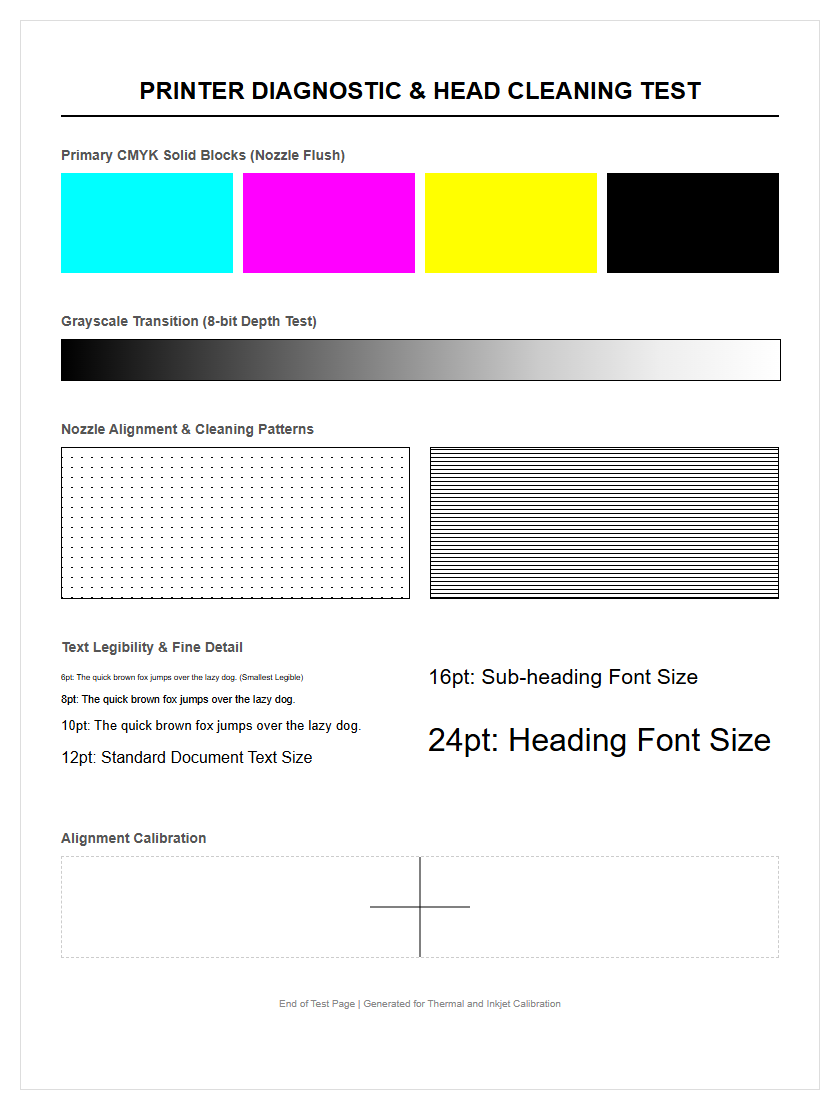
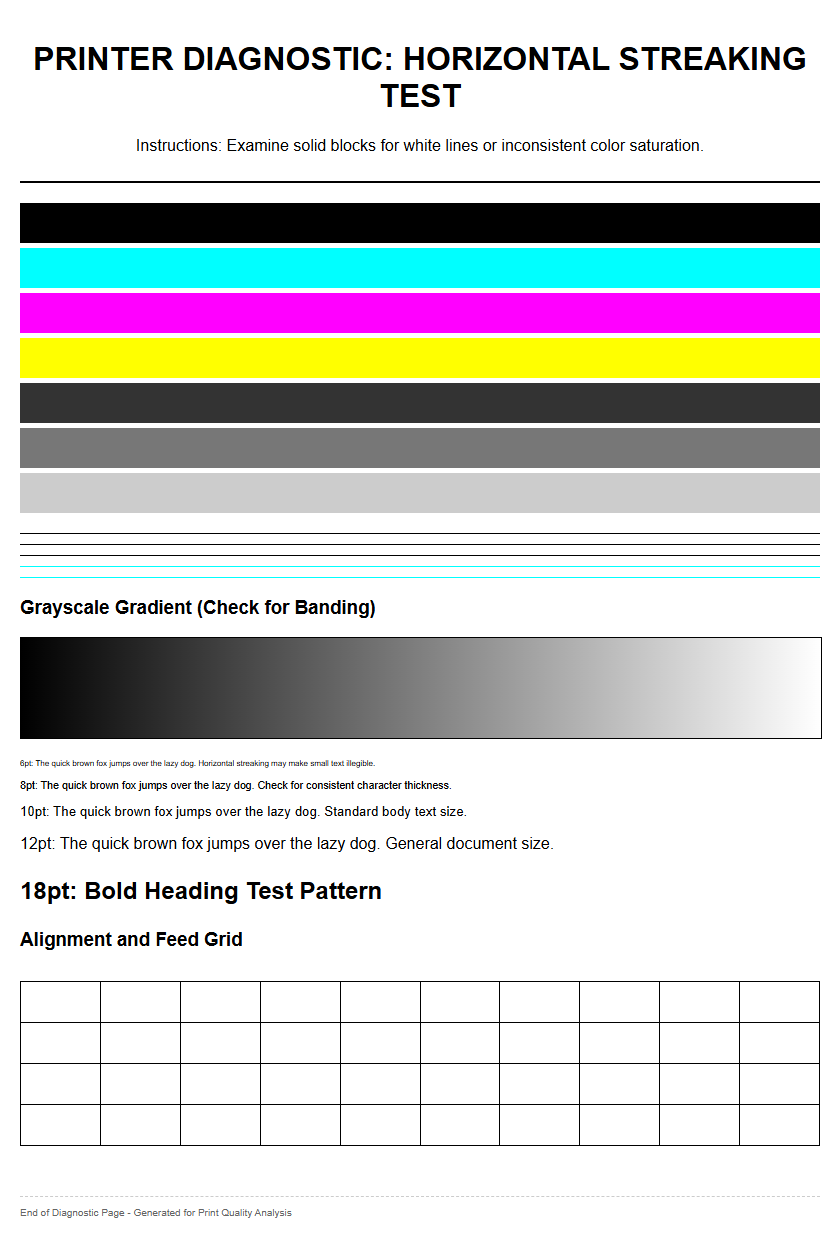
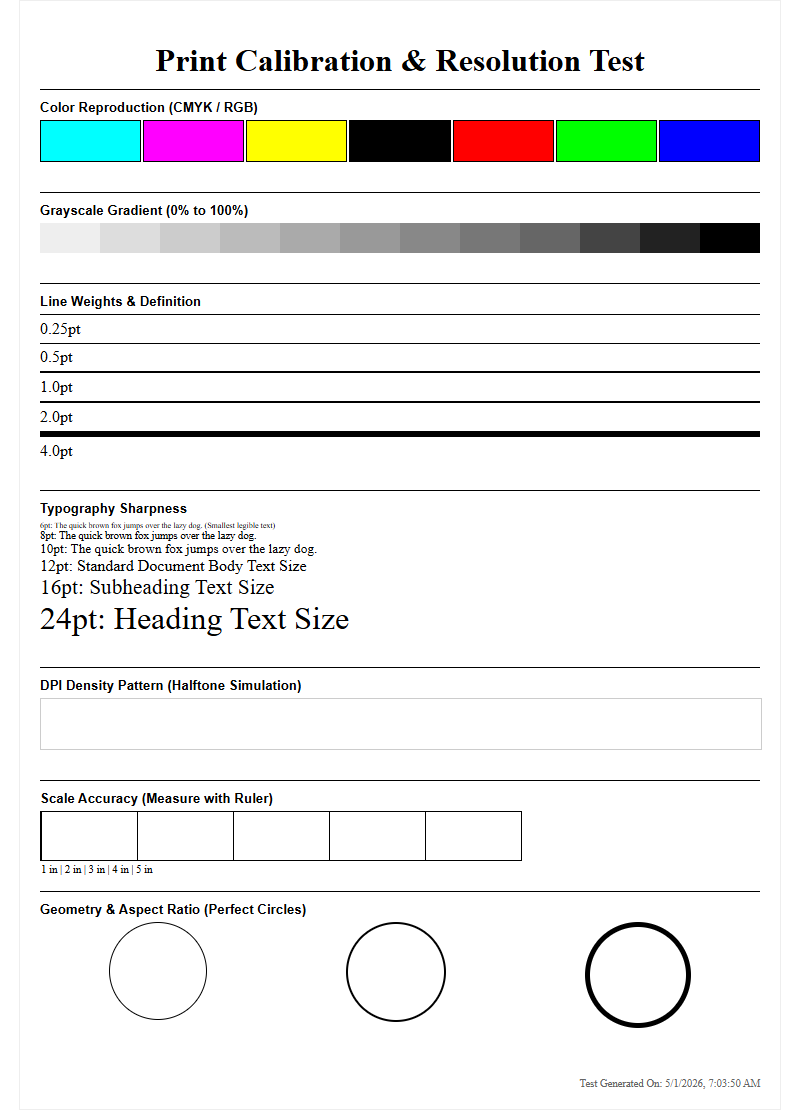
Color band consistency refers to the uniformity of ink saturation across the entire width of the print head's pass. When analyzing a nozzle check, technicians look for solid blocks of Cyan, Magenta, Yellow, and Black (CMYK). Any variation in density or the appearance of "mottling" within these bands suggests that the ink delivery system is struggling to maintain a steady flow.
| Symptom | Potential Cause | Indicated Action |
|---|---|---|
| Light Streaks | Partial Blockage | Standard Cleaning |
| Color Mixing | Capping Station Leak | Wiper Blade Inspection |
| Complete Absence | Empty Cartridge/Air Lock | Priming the System |
Consistency is not just about the presence of ink, but the uniformity of the drop placement. If one side of a color band appears lighter than the other, it might indicate a leveling issue or a failing manifold pressure. By evaluating the density of these bands, users can determine if the print head is receiving sufficient ink from the dampers and ink lines.
Maintaining Print Head Longevity
To maximize the lifespan of a print head, it is vital to maintain the integrity of the nozzle plate. Print heads are among the most expensive components in a printer, and their longevity depends heavily on the chemical stability of the ink and the cleanliness of the mechanical environment. Regular nozzle checks serve as a diagnostic tool that prevents small issues from escalating into catastrophic failures.
- Humidity Control: Keeping the environment between 40-60% prevents ink from drying too quickly.
- Genuine Consumables: Using high-quality inks ensures the correct surface tension and pH balance.
- Capping Station Integrity: Ensure the rubber seals are airtight to prevent nozzle dehydration during idle periods.
Exposure to dust and debris can cause physical abrasion to the nozzle plate, leading to "deflected" nozzles that fire at incorrect angles. By performing routine maintenance cycles and keeping the internal wiper blades clean, you ensure that the delicate piezoelectric crystals or thermal resistors are not overworked by trying to fire through dried crust or accumulated fibers.
Diagnosing Streaks and Gaps
Streaks and gaps in a nozzle check are the primary indicators of a malfunctioning print system. Horizontal streaks, often called banding, typically occur when several nozzles in a row fail to fire, leaving unprinted white lines across the media. Conversely, vertical streaks might suggest an issue with the media feed or a physical obstruction dragging through the wet ink. Diagnosing these patterns requires a keen eye for detail and an understanding of the print head's path.
Gaps are often categorized into "missing" or "misdirected" nozzles. A missing nozzle leaves a void in the test grid, while a misdirected nozzle prints the line slightly out of place, causing a blurred or shadowed effect. This misalignment is often caused by a "hair" or fiber snagged on the print head, which deflects the ink droplets as they exit the orifice. By isolating the specific color channel where the gap appears, users can determine if the problem is localized to a single ink tank or is a broader systemic failure involving the carriage assembly or the data ribbon cable.
Optimizing Ink Flow Reliability
Reliable ink flow is dependent on a delicate balance of vacuum pressure and fluid dynamics. For a nozzle to fire correctly, the ink must be delivered from the reservoir to the print head without the introduction of air. Air pockets, or "cavitation," can stall the ink flow, leading to sudden dropouts during high-speed printing. A nozzle check helps verify that the "prime" of the system is intact.
- Check ink lines for visible air bubbles or "slugs" of air.
- Inspect the dampers for proper filling; they act as a buffer for pressure spikes.
- Verify that the vent holes on the ink cartridges are not obstructed.
When the ink flow is optimized, the meniscus at the tip of each nozzle is perfectly held in place by back-pressure. If this pressure is too low, ink may leak or "drip" from the head. If it is too high, the nozzles will "starve," resulting in faded or missing segments on the test page. Maintaining this equilibrium is essential for consistent output in professional environments.
Standard Nozzle Pattern Analysis
The standard nozzle check pattern is typically designed as a series of offset diagonal lines or a grid. Each line represents a single nozzle firing. By analyzing the "staircase" effect, users can pinpoint exactly which nozzle is failing. If the pattern is perfect, every line will be distinct, unbroken, and evenly spaced. This visual representation is the most direct way to communicate with the printer's internal hardware status.
- Grid Integrity: Vertical and horizontal lines should intersect at 90-degree angles.
- Step Consistency: Each "step" in the diagonal line must be the same length.
- Color Purity: No traces of other colors should appear in a monochromatic test block.
Advanced technicians use magnifying loupes to inspect these patterns for "overspray" or "fuzzy" edges. These subtle clues can indicate that the print head is beginning to overheat or that the voltage settings for the piezoelectric pulses need adjustment. A clean pattern confirms that the mechanical alignment between the nozzles and the paper transport system is within the required micron-level tolerances.
Resolving Faded Output Issues
Faded output is frequently misinterpreted as a low-ink warning, but it often indicates a deeper issue within the nozzle assembly. If the nozzle check shows all lines are present but they appear faint or "dusty," the problem is likely related to ink starvation or insufficient drop volume. This happens when the print head cannot pull ink fast enough to satisfy the firing frequency. It can also be caused by using ink that has expired, leading to a breakdown in pigment suspension.
Another common cause for fading is the accumulation of microscopic air bubbles within the print head manifold. These bubbles compress when the nozzle tries to fire, absorbing the energy that should have been used to eject the ink. This results in a weak, undersized droplet. To resolve this, a "power cleaning" or "ink charge" may be necessary to purge the air. However, these processes consume significant amounts of ink and should only be performed if a standard nozzle check confirms that a simple head cleaning was unsuccessful in restoring the necessary saturation levels.
Regular Maintenance Cycle Benefits
Implementing a regular maintenance cycle centered around the nozzle check can significantly reduce long-term operational costs. Instead of waiting for a print job to fail, proactive testing allows for the identification of "lazy" nozzles before they become permanent clogs. This practice ensures that the printer is always in a state of readiness, which is critical for time-sensitive production environments.
| Frequency | Action | Benefit |
|---|---|---|
| Daily | Nozzle Check | Prevents ink sedimentation |
| Weekly | Wiper Cleaning | Removes debris from head surface |
| Monthly | Flush Capping Station | Ensures airtight seal for storage |
Regular cycles also help in maintaining the chemical properties of the ink. By forcing a small amount of fresh ink through the nozzles, you prevent the "heavy" pigments from settling at the bottom of the lines. This keeps the color gamut consistent and ensures that the printer's internal firmware can accurately calculate ink consumption and wear-and-tear on the moving parts of the carriage.
Restoring Optimal Print Quality
Restoring print quality after a failed nozzle check requires a systematic approach to cleaning and calibration. Most modern printers offer several levels of cleaning, ranging from a quick surface wipe to an intense deep-cleaning cycle. It is important to run a new nozzle check after each attempt to monitor progress. If specific nozzles remain blocked, it may be necessary to use a specialized cleaning kit to dissolve the obstruction manually.
- Perform a standard head cleaning cycle and re-test.
- Apply a print head cleaning solution to the capping station to soak the nozzle plate.
- Run a print head alignment to ensure that restored nozzles are firing in the correct sequence.
Once the nozzle check pattern returns to its factory-standard appearance, the final step is to calibrate the bi-directional alignment. This ensures that the droplets ejected during the left-to-right pass perfectly overlap with those from the right-to-left pass. By combining mechanical cleaning with digital calibration, you can restore the crisp text and vibrant imagery that the printer was designed to produce, effectively extending the equipment's ROI.

Comments