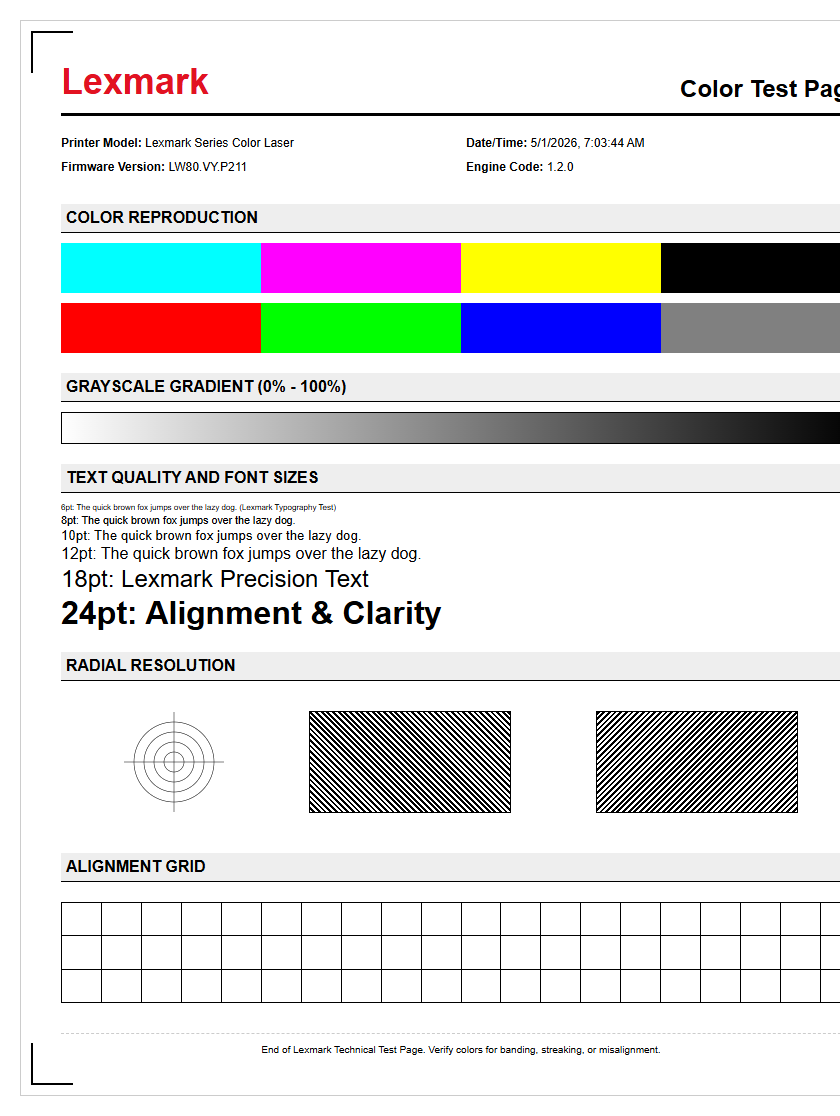
Generating a Samsung printer test page is an essential diagnostic procedure for maintaining hardware efficiency and resolving output inconsistencies. These reports provide deep insights into your device's internal health, detailing firmware versions, network configuration settings like IP addresses, and precise toner level status. By performing a print quality calibration, you can effectively troubleshoot alignment errors, ghosting, or color banding issues across the CMYK spectrum. Whether you need to verify the imaging drum's lifespan or check the fuser unit's performance, these diagnostic reports offer actionable data. This guide helps you navigate configuration menus to optimize print density and ensure your laser printer remains in peak operating condition.
Samsung Printer Diagnostic Test Page
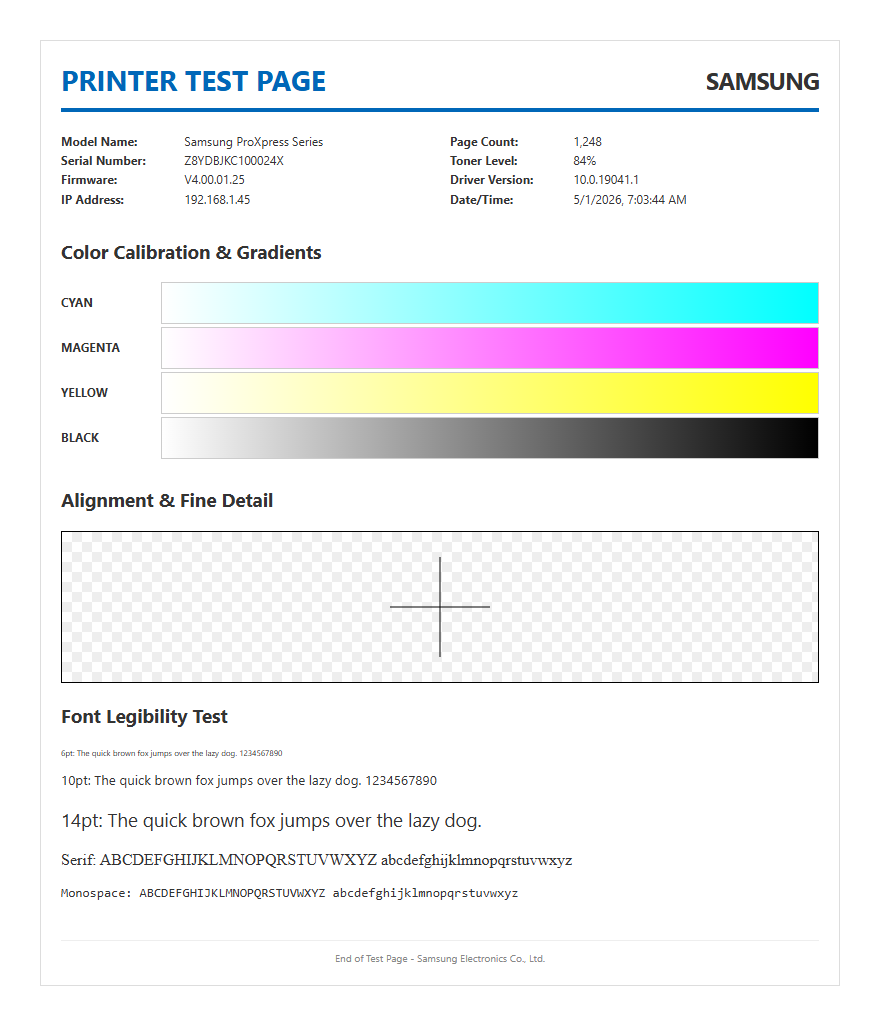
The Samsung Printer Diagnostic Test Page is a foundational tool for assessing the internal health of your imaging device. This document provides a high-level overview of the printer's current operational state, extracting data directly from the system's NVRAM. When generated, the report displays critical technical identifiers, including the model name, serial number, and current firmware version. Analyzing this page allows users to verify if the controller board is communicating correctly with the mechanical components.
Beyond basic identification, the diagnostic page includes a detailed breakdown of the total page count, distinguishing between simplex and duplex prints. It also logs recent system errors, such as paper jam codes or sensor malfunctions. By examining the diagnostic output, technicians can determine if a hardware fault exists within the laser scanning unit (LSU) or if the issue is software-related. This report serves as a baseline for any troubleshooting procedure, ensuring that the machine's internal logic and memory capacity are functioning within the manufacturer's specified parameters before proceeding with deeper mechanical repairs.
Steps to Print Samsung Calibration Sheets
Executing a calibration sheet on a Samsung laser printer is a straightforward process that can be performed via the physical control panel or the integrated web interface. These sheets are vital for synchronizing the timing of the paper feed with the image transfer process. To initiate this from the device, follow these steps:
- Press the "Menu" button on the printer control panel until "System Setup" appears.
- Navigate using the arrow keys to locate the "Report" or "Maintenance" submenu.
- Select "Configuration" or "Menu Map" and press "OK" to print.
- For color models, look specifically for "Custom Color" or "Calibration" under the Maintenance tab.
Alternatively, you can access the SyncThru Web Service by entering the printer's IP address into a web browser. From the "Information" tab, you can remotely trigger a print test page. This method is particularly useful for enterprise environments where physical access to the device is limited. Regardless of the method, ensure the paper tray is loaded with standard A4 or Letter media to prevent scaling errors during the calibration readout.
Samsung Laser Printer Output Evaluation
Once the test page is produced, a rigorous evaluation of the output quality is necessary to identify potential imaging defects. Samsung printers utilize a specific electrophotographic process that relies on the precise application of static electricity and heat. When reviewing the output, pay close attention to the sharpness of the text characters and the consistency of the solid black or colored blocks. A healthy output should show crisp edges without any "ghosting"-a phenomenon where a faint secondary image appears due to residual charge on the OPC drum.
Evaluation involves checking the halftone screens and grayscale gradients. In a high-functioning Samsung unit, the transition between light and dark shades should be smooth, without visible banding or "moiré" patterns. Technical factors such as the fuser temperature and the transfer roller voltage directly influence these results. If the toner appears loose or smudges when touched, it indicates a failure in the fuser unit's ability to reach the required bonding temperature. Regular evaluation ensures that the high DPI (dots per inch) capabilities of the Samsung engine are fully utilized for professional-grade documents.
Resolve Samsung Printing Streaks and Fades
Visual anomalies such as vertical streaks or horizontal fades are common indicators of consumable wear or mechanical debris. Streaks are often caused by a scratched Organic Photo-Conductor (OPC) drum or a dirty corona wire. Fading, conversely, usually points to low toner density or an aging developer roller that can no longer hold a consistent charge. To resolve these issues, the printer test page acts as a map to locate the source of the defect.
- Vertical White Lines: Usually caused by a blocked laser path or debris on the LED head.
- Vertical Dark Lines: Often a sign of a scored drum or a full waste toner container.
- Repetitive Horizontal Marks: These indicate a physical defect on a specific roller; the distance between marks helps identify if it is the fuser or the drum.
- Faded Zones: Typically solved by redistributing the toner powder within the cartridge or replacing the transfer belt.
Cleaning the internal glass and checking the electrical contacts for toner buildup can frequently resolve these artifacts without the need for expensive component replacement.
Samsung Printer Hardware Status Report
The Hardware Status Report is a technical deep-dive into the physical components of the Samsung printing system. This report is distinct from a general configuration page as it focuses on the mechanical lifecycle of the parts. It provides real-time data on the state of the pickup rollers, the fuser assembly, and the duplexing unit. For administrators, this data is crucial for preventative maintenance, as it lists the "life remaining" percentages for high-wear components.
In addition to component longevity, the hardware report details the connectivity status of the device. It lists the MAC address, current IP assignment, and the strength of the wireless signal if applicable. It also verifies the presence of optional hardware, such as additional paper trays or expanded memory modules. By comparing the hardware status against the manufacturer's duty cycle ratings, users can predict when a maintenance kit (MK) will be required. This proactive approach minimizes downtime and ensures the internal sensors are accurately reporting the presence of media and the closure of all access panels.
Understanding Samsung Printer Test Patterns
Samsung test pages often include complex geometric patterns designed to push the printer's controller to its limits. These patterns, such as fine-line grids and radial starbursts, are used to measure the registration and resolution of the engine. A grid pattern helps in identifying "skew," where the image is printed at a slight angle due to uneven tension in the paper path or worn pickup rollers. If the lines in the grid appear wavy, it suggests an issue with the polygon mirror motor within the laser unit.
The starburst or "Siemens Star" pattern is used to evaluate the focus of the laser beam. If the center of the star is blurred, the printer's resolution is compromised. Furthermore, Samsung includes specific CMYK color blocks to verify that the four primary toner colors are being layered in the correct sequence and density. Understanding these patterns allows a user to diagnose whether a problem is mechanical (paper skew), optical (laser focus), or chemical (toner adhesion). This technical analysis is essential for maintaining the high-fidelity output expected from Samsung's ReCP (Rendering Engine for Clean Page) technology.
Samsung Color Alignment and Accuracy Check
For color-capable Samsung printers, color alignment (or registration) is the process of ensuring that Cyan, Magenta, Yellow, and Black layers overlap perfectly. If the alignment is off, text may appear to have a "halo" effect, and images will look blurry or out of focus. The color accuracy check page prints a series of alignment marks, usually in the corners and center of the page. By examining these marks, you can tell if one specific color plane is shifted in the "sub-scan" or "main-scan" direction.
Samsung devices feature an "Auto Registration" utility found in the maintenance menu, which uses internal sensors to read marks on the transfer belt. However, a manual check using the test page is often more reliable for fine-tuning. This process is critical after replacing a transfer belt or a drum unit. Ensuring color accuracy also involves verifying the ICC profiles and color gamut reproduction, which are summarized in the test output. High accuracy ensures that the colors on the screen are faithfully translated to the physical media, maintaining brand consistency and photographic integrity.
Samsung Printer Maintenance and Performance Review
A periodic performance review of your Samsung printer involves more than just checking for errors; it requires a holistic view of the machine's efficiency. The maintenance report provides a "Usage Counter" that categorizes print jobs by size and media type. This data helps in understanding the workload the machine handles, whether it's predominantly small text-based tasks or high-coverage graphic prints. Frequent use of heavy cardstock or envelopes, for example, will accelerate the wear on the fuser and rollers compared to standard bond paper.
The performance review section of the test page also indicates the "Engine Version" and "Emulation" settings, such as PCL6 or PostScript 3. These settings determine how efficiently the printer processes complex vector data. If the "Time to First Print" (TTFP) has significantly increased, the report might reveal memory fragmentation or the need for a storage cleanup. Regularly reviewing these performance metrics allows for optimized driver settings and ensures the printer remains a reliable asset in a high-demand office environment, preventing sudden hardware fatigue through informed servicing.
Samsung Ink and Toner Level Verification
Accurate monitoring of consumables is vital for cost management and uninterrupted workflow. Samsung printers utilize smart chips on their toner cartridges to track the number of pixels printed and the rotations of the developer roller. The toner level verification page provides a detailed table showing the precise remaining capacity for each cartridge. This is often represented as a percentage and an estimated number of remaining pages based on a 5% coverage standard.
| Component | Status | Estimated Pages Remaining |
|---|---|---|
| Black Toner (K) | 85% | 2,500 |
| Cyan Toner (C) | 40% | 1,200 |
| Waste Toner Tank | Normal | N/A |
In addition to the toner itself, this report monitors the life of the imaging unit and the fuser. If the printer reports a "Low Toner" warning while the test page shows sufficient levels, it may indicate a chip communication error or the need for a firmware update. Verifying these levels through the hardware-generated report is more accurate than relying solely on computer-based pop-up notifications.
Comprehensive Samsung Printer Functionality Test
The comprehensive functionality test is the final step in any repair or setup process. This test exercises all facets of the Samsung printer, including the input trays, the duplexing unit, and the output bin sensors. It confirms that the paper path is clear and that the "multi-feed" detection system is working correctly. A successful functionality test results in a clean, perfectly aligned page that confirms the machine is ready for high-volume production without risk of jamming or thermal shutdown.
This section of the test protocol also validates the software-to-hardware handshake. It ensures that the specific Samsung print driver features, such as "Eco Mode" or "Booklet Printing," are correctly interpreted by the printer's formatter board. By running this full-suite test, you confirm that the RAM is clearing properly after each job and that the cooling fans are engaging as required by the fuser duty cycle. Completing this comprehensive check provides the user with total confidence that the device will perform within its original factory specifications, delivering high-quality laser output consistently across all supported media types.


Comments