A Canon printer test page serves as a vital diagnostic utility for maintaining hardware efficiency and output quality. By executing a nozzle check, you can evaluate the firing reliability of the print head and identify microscopic clogs within the ink delivery system that cause streaking. The report includes grid-based alignment patterns to correct bidirectional calibration issues, ensuring sharp text and eliminating horizontal banding. Additionally, integrated CMYK color blocks facilitate precise color calibration, allowing users to detect inconsistencies in ink density or tonal accuracy. Regularly generating these diagnostic sheets helps troubleshoot common inkjet malfunctions, ensuring your device maintains optimal mechanical performance and professional-grade chromatic fidelity.

Canon Printer Test Page Overview
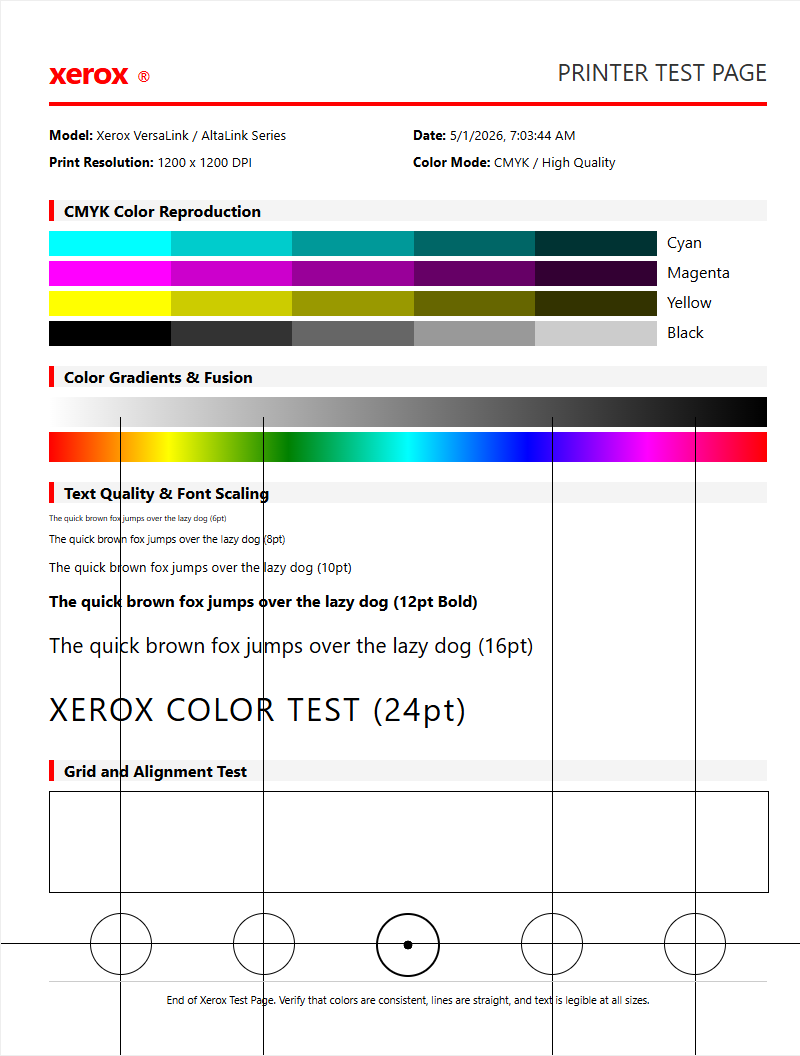
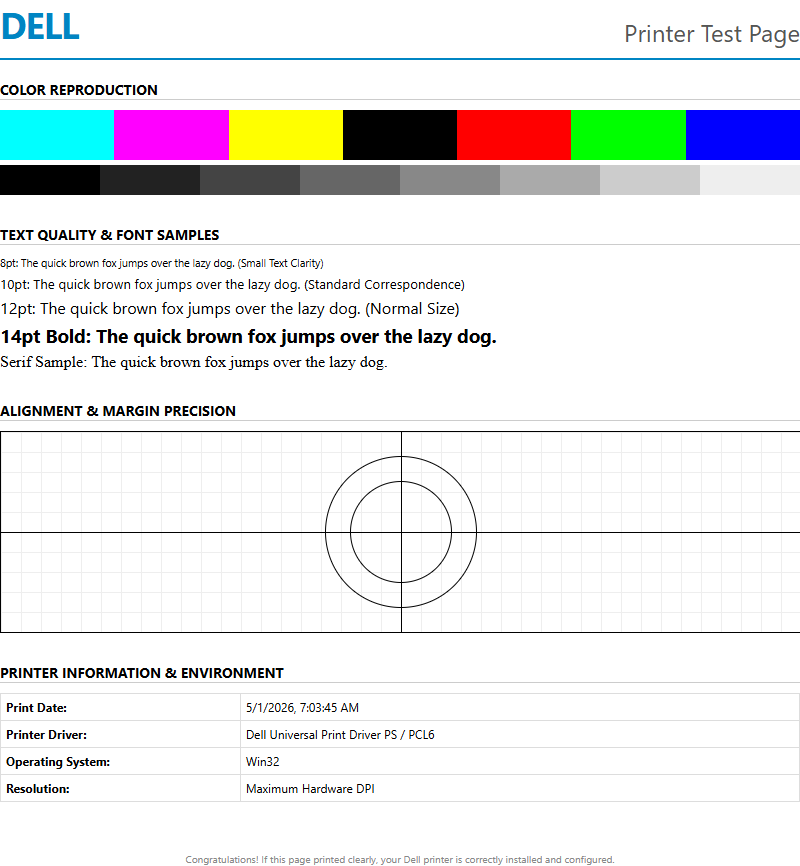
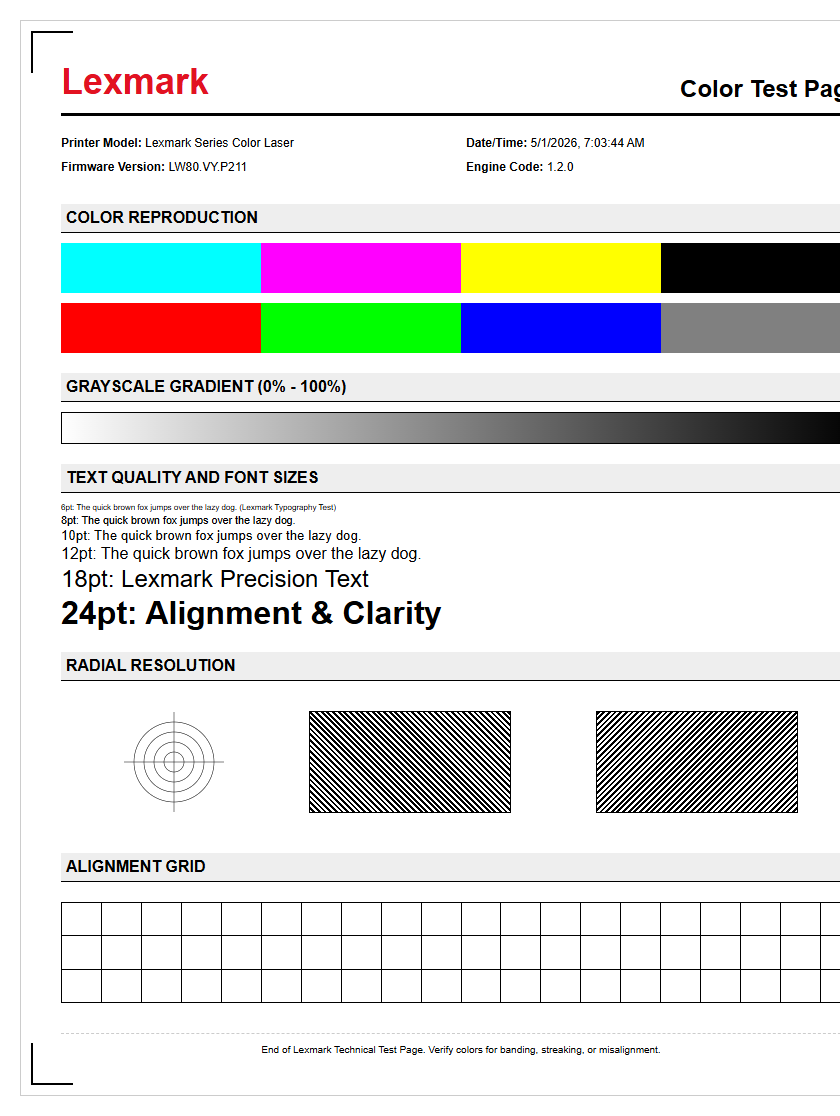
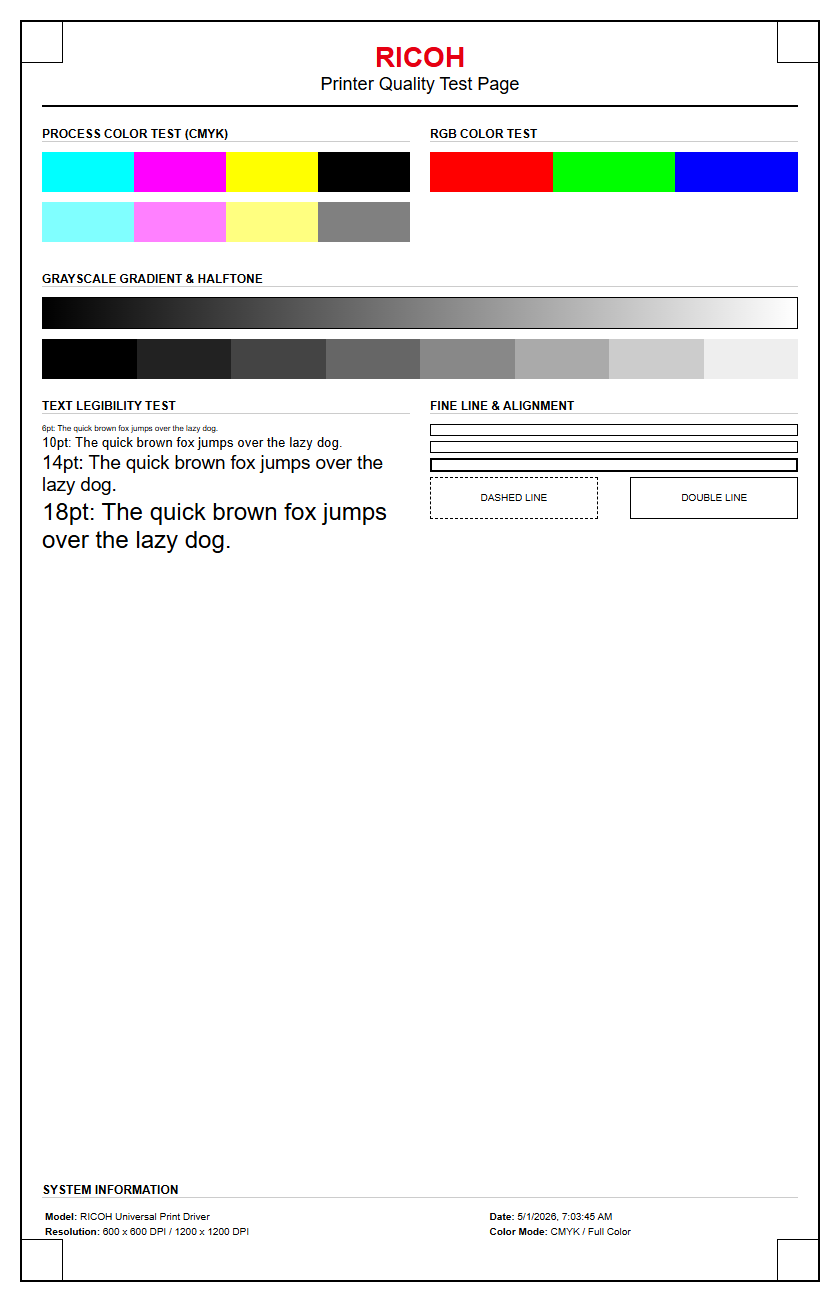
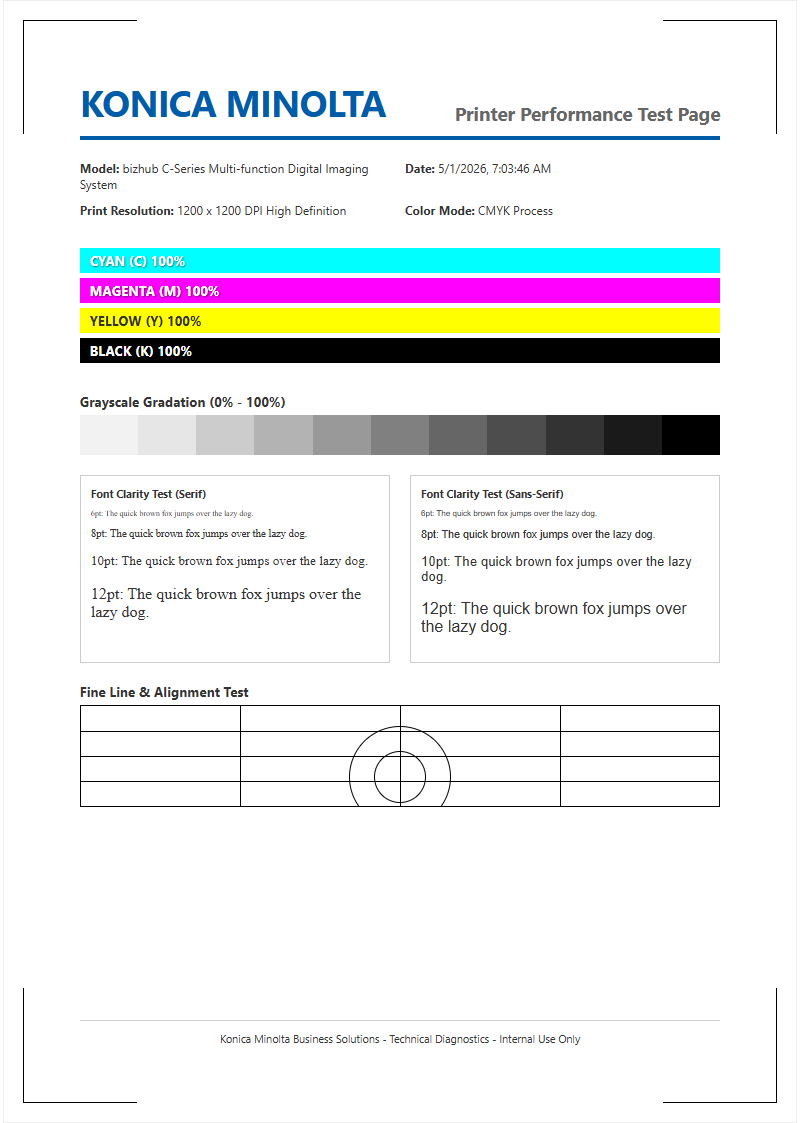
A Canon printer test page serves as a critical diagnostic tool for evaluating the health of your PIXMA, MAXIFY, or imageCLASS device. This document provides a comprehensive snapshot of the printer's current operational status, including firmware versions, page counts, and connectivity settings. By initiating a test print, users can identify hardware malfunctions or software communication errors within the print spooler before committing to high-volume tasks. The page typically features distinct CMYK color bars, text blocks of varying sizes, and fine-line grids to evaluate resolution and clarity.
Monitoring these outputs ensures that the thermal inkjet or laser technology is functioning within manufacturer specifications. Common elements found on these pages include:
- Firmware and ROM version details.
- Total page counter (Life Count).
- Network configuration and IP addresses.
- Ink or toner level approximations.
- Nozzle health indicators.
Utilizing the test page regularly prevents long-term hardware degradation by catching minor issues, such as slight color shifts or font distortions, during their early stages. It is the first step in any professional maintenance routine for Canon hardware.
Canon Inkjet Nozzle Check Guide
The nozzle check is the primary method for diagnosing the health of a Canon print head. This process utilizes the printer's internal maintenance menu to output a pattern that reveals whether the microscopic nozzles are firing correctly. For PIXMA models, the pattern usually consists of several horizontal color bars and a large grid dedicated to the PGBK (Pigment Black) ink. If the printed grid shows missing lines or the color bars exhibit white streaks, it indicates a clog in the print head assembly.
- Load a sheet of A4 or Letter-sized plain paper into the cassette.
- Access the "Maintenance" or "Setup" menu via the printer's LCD panel.
- Select "Nozzle Check" and confirm the print command.
- Examine the output for inconsistencies or gaps in the pattern.
Failure to produce a perfect nozzle check pattern often necessitates a cleaning cycle. Persistent gaps might suggest that the piezoelectric or thermal elements are failing or that the ink supply is restricted by air bubbles within the cartridge housing. Consistent monitoring via nozzle checks is essential for maintaining the longevity of the permanent print heads used in G-series MegaTank models.
Canon Color Calibration Patterns
Color calibration ensures that the output from your Canon printer matches the digital files on your screen. This is achieved through specialized calibration patterns that test the density, saturation, and hue of the Cyan, Magenta, Yellow, and Black (CMYK) ink channels. Canon utilizes specific dithering techniques to blend these primary colors into a full spectrum. When a calibration page is printed, the device analyzes its ability to reproduce specific ICC profiles and color gamuts, allowing users to adjust the driver settings for better accuracy.
| Color Channel | Test Objective | Common Issue |
|---|---|---|
| Cyan / Magenta | Mid-tone balance | Hue shifting |
| Yellow | Highlight detail | Faint visibility |
| Black (BK/PGBK) | Shadow depth | Insufficient density |
By evaluating these patterns, professionals can detect subtle deviations in colorimetry caused by environmental factors like humidity or the use of third-party inks. If the gradients appear stepped rather than smooth, the printer may require a software-based color recalibration or a check of the paper type settings in the print driver.
Diagnosing Canon Print Quality Issues
Identifying specific flaws on a Canon test page is the most efficient way to troubleshoot print quality issues. Most problems manifest as visual artifacts such as banding, ghosting, or color bleeding. Horizontal banding is often a symptom of misaligned print heads or clogged nozzles, while vertical streaks might indicate a scratched encoder strip or debris on the paper path rollers. Ghosting, where a faint duplicate of an image appears elsewhere on the page, is more common in laser models and often relates to a failing drum unit or fuser assembly.
- Banding: Regular horizontal lines caused by irregular ink ejection.
- Blurry Text: Often resulting from improper print head alignment.
- Smudging: Excess ink accumulation on the cap station or wiper blade.
- Color Inaccuracy: Clogged nozzles or incorrect media type selection.
Effective diagnosis requires comparing the test output against a "perfect" reference sample. By isolating which color channel is failing or identifying the frequency of repeating marks, users can determine if the fault lies with the consumable cartridge, the internal hardware, or the digital source file.
Canon Laser Printer Diagnostic Page
Canon imageCLASS and i-SENSYS laser printers utilize a different diagnostic approach compared to their inkjet counterparts. The diagnostic page for these devices focuses on the electrophotographic process, including the health of the OPC (Organic Photo Conductor) drum, the transfer roller, and the fuser assembly. Unlike inkjet patterns, laser test pages evaluate toner adhesion and the uniformity of the electrostatic charge across the drum surface. If the page shows repetitive spots, it may indicate a physical defect on the drum surface that occurs at fixed intervals.
- Toner Density: Ensures the laser is discharging the drum effectively.
- Fuser Integrity: Checks if the heat and pressure are correctly bonding toner to the paper.
- Registration: Confirms the paper is passing through the rollers without skewing.
These pages also provide technical data regarding the life expectancy of the drum and toner cartridges. Understanding these metrics helps IT administrators manage maintenance schedules and prevent downtime. If text is easily rubbed off the page, the diagnostic results will likely point toward a fuser temperature error or a non-genuine toner compatibility issue.
Canon Print Head Alignment Steps
Print head alignment is vital for ensuring that ink droplets land precisely on the media, preventing grainy images and crooked text. Canon printers offer both automatic and manual alignment options. During this process, the printer outputs a series of numbered patterns consisting of vertical and horizontal blocks. The user must identify the patterns with the least amount of visible streaks or overlapping lines to calibrate the bi-directional printing movement and the micro-stepping of the paper feed motor.
- Enter the Maintenance menu and select "Print Head Alignment."
- The printer will output a multi-colored alignment sheet.
- For manual alignment, input the values of the squares that appear smoothest.
- The printer adjusts the timing of the print head carriage based on these inputs.
This calibration compensates for physical variances in the carriage rail and the encoder strip. If the printer has been moved or subjected to a paper jam, the alignment may shift, leading to "stair-stepping" in straight lines. Re-aligning the print head often resolves issues where text appears shadowed or double-printed, restoring the crispness required for professional documents.
Resolving Streaks and Faded Text
Streaks and faded text are common symptoms of ink starvation or toner depletion. In Canon inkjet printers, horizontal white streaks usually indicate that certain nozzles are not firing, often due to dried ink at the nozzle plate. This can occur if the printer is left idle for extended periods, causing the ink in the cap station to solidify. Faded text, conversely, may be caused by "Eco Mode" settings or low ink levels. To resolve these issues, users should check the ink supply and perform a cleaning cycle to purge air bubbles and debris.
- Cleaning: A standard cycle to clear minor nozzle blockages.
- Deep Cleaning: A more intensive process for persistent clogs.
- Encoder Strip Cleaning: Wiping the transparent plastic strip to fix vertical misalignment.
- Toner Stirring: Gently rocking a laser cartridge to redistribute settled powder.
If streaks persist after multiple cleanings, the print head may have reached the end of its functional life, or the waste ink absorber may be saturated. For laser users, faded areas often suggest the transfer roller is dirty or the drum is failing to hold a consistent electrostatic charge, requiring a hardware inspection.
Canon Grayscale Performance Verification
Verifying grayscale performance is essential for black-and-white photography and professional document printing. Canon printers often use a combination of pigment black (PGBK) and dye-based colors (CMY) to create "composite black" and various shades of gray. A grayscale test page features halftone patterns and gradient scales that transition from 0% (pure white) to 100% (solid black). This allows users to check for neutral balance and ensure there is no unwanted color tinting, such as a greenish or purplish hue in the shadows.
| Shade Range | Evaluation Criteria | Technical Requirement |
|---|---|---|
| Highlights (5-15%) | Detail retention | Minimum drop size accuracy |
| Mid-tones (40-60%) | Linearity/Smoothness | Consistent halftoning |
| Shadows (85-95%) | Contrast ratio | High D-max density |
By examining these gradients, you can determine if the printer's halftoning algorithm is working correctly. Issues in grayscale often point toward a specific color channel being clogged, even if the user is only printing in black and white, as the printer uses colored inks to smooth out gray transitions and improve depth.
Maintenance Tasks for Canon Devices
Proactive maintenance is the key to consistent print quality and device longevity. Beyond the standard test page, Canon provides several internal utility functions designed to keep the mechanical components in peak condition. The "Bottom Plate Cleaning" and "Roller Cleaning" functions are specifically designed to remove excess ink and paper dust from the internal transport mechanism. Paper dust accumulation is a primary cause of feed errors and "track marks" on the printed surface. Regularly running these cycles ensures a clean paper path.
- Nozzle Cleaning: Clears the print head of dried ink.
- Bottom Plate Cleaning: Prevents ink smudges on the back of the paper.
- Roller Cleaning: Improves paper pickup and reduces jams.
- System Cleaning: A high-power purge for G-series ink tanks.
It is also important to maintain the purge unit and the wiper blade, which physically clean the print head nozzles after every job. If these components become fouled with waste ink, they can actually cause more clogs. Keeping the interior of the printer free of debris and ensuring the ink tubes are free of large air gaps will minimize the need for expensive hardware repairs.
Interpreting Canon Test Page Results
The final step in the diagnostic process is accurately interpreting the data presented on the test page. This page is more than just a visual check; it contains encoded information used by technicians for advanced repairs. The "EEPROM" data block, for instance, lists the last ten error codes the printer encountered, providing a history of mechanical or electronic failures. Additionally, the page count data is often broken down into "Color," "Black," "Copy," and "Scan" counts, allowing for a detailed understanding of the device's workload.
- Error Codes: Alphanumeric strings identifying specific hardware faults.
- Ink/Toner Levels: Visual bars indicating remaining consumable life.
- Connection Status: SSID and signal strength for wireless models.
- ASIC/ROM Info: Identifies the hardware revision and controller board version.
By analyzing the nozzle check patterns alongside these technical logs, users can determine if a quality issue is a simple maintenance fix or a sign of an impending "B200" or "5B00" service error. Mastering the interpretation of these results empowers users to maintain their Canon equipment with professional-level precision and effectively communicate issues to support teams if necessary.

Comments