Generating a Ricoh printer test page serves as a fundamental diagnostic tool for evaluating hardware health and operational efficiency. These configuration reports offer a granular look at internal metrics, including firmware versions, total engine life, and tray settings. By examining the print quality diagnostics section, you can detect imaging issues like streaks or color imbalances through CMYK test patterns and registration alignments. Additionally, the report outlines vital system connectivity settings such as the IP address, subnet mask, and MAC address. Reviewing these data points via the Web Image Monitor ensures seamless network integration and rapid troubleshooting of communication protocols.
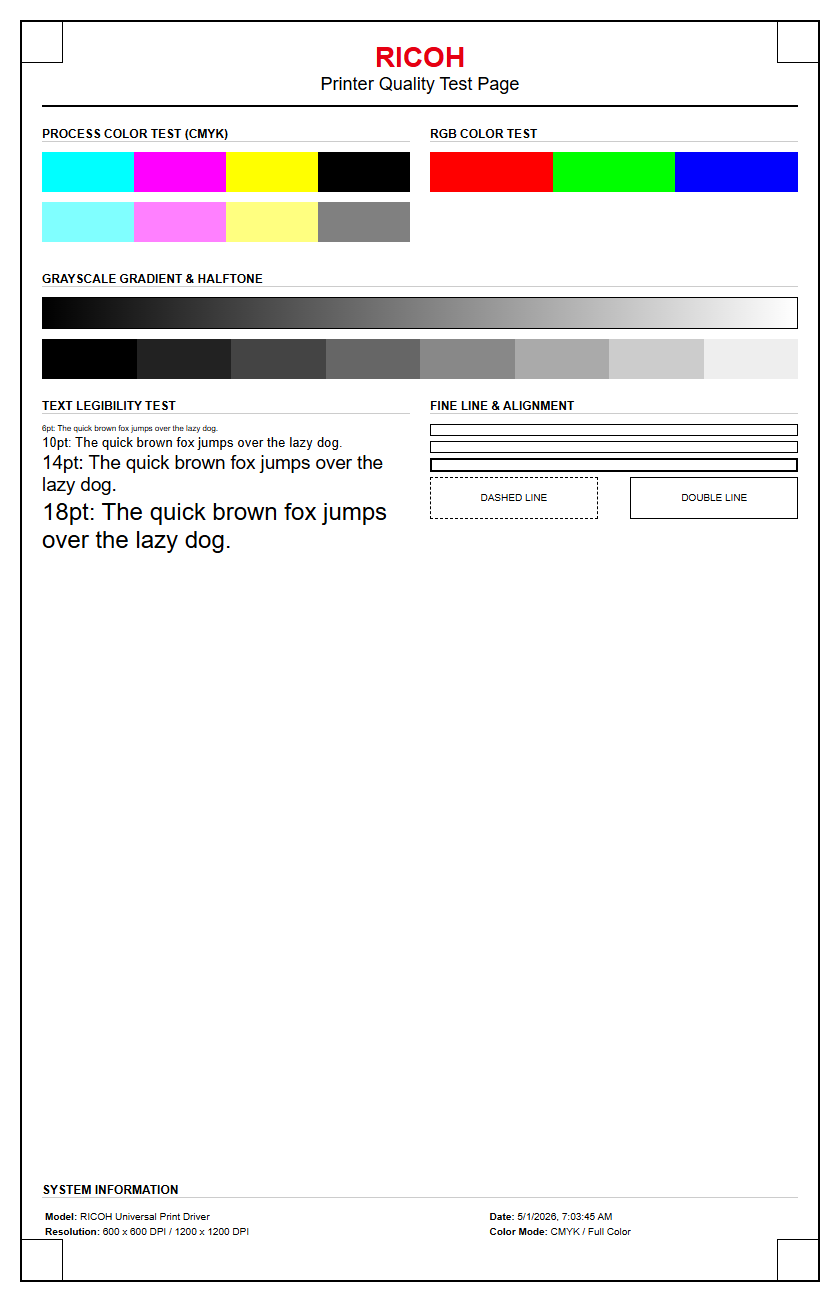
Ricoh Printer Test Page Overview
A Ricoh printer test page serves as a critical diagnostic blueprint for evaluating the operational status of your multifunction peripheral (MFP). This document is generated internally by the printer's firmware, bypassing the computer's print spooler to determine if an issue is hardware-based or driver-related. By initiating a test print, you engage the laser scanning unit and the paper feed mechanism to verify that the internal components are communicating correctly. It provides a snapshot of the current configuration, including network settings and firmware versions.
When you trigger this report, the device executes a sequence of data processing and physical movements. The primary goal is to establish a baseline for print quality and mechanical reliability. This overview is the first step in troubleshooting connectivity drops, slow data processing, or physical output defects. Understanding the anatomy of this page helps users identify if the print engine is functioning within the manufacturer's specified tolerances before making adjustments to software preferences or complex network configurations.
Standard Ricoh Diagnostic Page Benefits
Running a standard diagnostic page on a Ricoh device offers several technical advantages for both office administrators and IT professionals. It provides an immediate status report on the health of consumables and mechanical assemblies without requiring specialized software tools. This proactive approach allows for the early detection of worn-out components, such as the fuser unit or the transfer belt, which can prevent costly downtime in high-volume environments.
- Consumable Tracking: Displays precise percentages of remaining toner for Cyan, Magenta, Yellow, and Black (CMYK) cartridges.
- Network Validation: Lists the current IP address, Subnet Mask, and Gateway to ensure the device is visible on the local area network.
- Usage Metrics: Provides an accurate "life counter" or meter reading, showing total impressions, duplex counts, and large-size paper usage.
- Firmware Identification: Displays the current version of the controller and engine firmware to check for compatibility with updated operating systems.
By regularly printing these reports, users can maintain a maintenance log that simplifies the ordering of supplies and the scheduling of professional technician visits.
Windows Ricoh Device Testing Steps
In a Windows environment, testing a Ricoh printer involves using the Print Management console or the Devices and Printers interface. This process ensures that the PCL6 or PostScript drivers are correctly translating data from the operating system to the printer hardware. It is the most effective way to troubleshoot "Print Spooler" errors or "Document Sent to Printer" notifications that do not result in physical output.
- Open the Control Panel and navigate to Devices and Printers.
- Right-click on your specific Ricoh Model and select Printer Properties.
- Ensure you are on the General Tab of the dialogue box.
- Locate and click the Print Test Page button at the bottom right.
Once clicked, Windows sends a specialized file to the Ricoh print queue. If the page prints successfully with the Windows logo and driver information, the communication link between the PC and the printer is intact. If it fails, the issue likely lies within the driver configuration, the TCP/IP port settings, or the local firewall blocking the print traffic.
Mac Printing Preferences for Ricoh
Testing a Ricoh printer on macOS requires navigating through the System Settings to utilize the Common Unix Printing System (CUPS) architecture. Unlike Windows, Mac users often rely on AirPrint or specialized Ricoh Raster drivers, which handle color profiles and font embedding differently. A test page from a Mac confirms that the Raster Image Processor (RIP) is correctly interpreting the Quartz graphics layer of the operating system.
To initiate a test on a Mac, follow these technical steps:
- Click the Apple Menu and select System Settings.
- Scroll down to Printers & Scanners and select your Ricoh device.
- Click on Options & Supplies or Open Print Queue.
- Within the Utility menu, select Print Test Page.
This process verifies that the PPD (PostScript Printer Description) file is correctly configured. It also tests the handshake between the Mac's networking stack and the Ricoh controller, ensuring that features like stapling, hole punching, and tray selection are available to the user.
Ricoh Color Balance Calibration
Color balance calibration is a sophisticated internal process used to ensure that the Ricoh printer produces accurate hues and consistent saturation. Over time, environmental factors like humidity and temperature can affect toner adhesion and laser intensity, leading to "color shift." This section of the test page allows users to see if the machine needs a "forced calibration" to realign the CMYK color planes.
| Component | Function in Calibration | Symptoms of Misalignment |
|---|---|---|
| Gamma Correction | Adjusts mid-tones and shadows | Images appear too dark or washed out |
| Auto Color Registration | Aligns the four color drums | Blurred edges or "rainbow" halos on text |
| Density Control | Manages the thickness of toner | Inconsistent solid color fills |
By analyzing the halftone patches on a Ricoh test page, a technician can determine if the Laser Scanning Unit (LSU) requires cleaning or if the Internal Density Sensors are dirty. Calibrating through the "Maintenance" menu on the touch panel often resolves these discrepancies without replacing hardware.
Resolving Ricoh Ink and Toner Streaks
When a Ricoh test page exhibits vertical lines or horizontal smudges, it indicates a physical obstruction or component failure in the print path. In laser-based Ricoh machines, streaks are often the result of a scratched drum or a build-up of waste toner on the cleaning blade. Identifying the pattern on the test page is the first step in pinpointing which part of the xerographic process is failing.
Vertical white lines usually signify a blocked laser path, often caused by dust on the glass. Conversely, dark vertical lines suggest a scarred OPC drum or a leaking toner cartridge. If the streaks appear at regular intervals down the page, this is known as a "repetitive defect," which can be measured to identify the specific roller causing the issue. For example, a defect occurring every 94mm on a standard Ricoh A3 device typically points to the fuser roller. Cleaning the corona wires or using the built-in "Drum Cleaning" utility can often clear minor debris that causes these visual artifacts, restoring the output to professional standards.
Ricoh CMYK Grid Pattern Analysis
The CMYK grid pattern is the most technical portion of a Ricoh test page, designed to evaluate the precision of the print head or laser assembly. This grid consists of fine lines and overlapping blocks of Cyan, Magenta, Yellow, and Key (Black). By examining these grids, you can check for "registration errors," where the colors do not align perfectly to form solid blacks or crisp secondary colors.
Technical analysis of the grid involves looking for "banding"-horizontal or vertical variations in color density. If the yellow grid is faint compared to the others, the yellow developer unit may be depleted or failing to charge correctly. If the grid lines appear jagged, the paper synchronization sensor might be dirty, causing the paper to move through the machine at an inconsistent speed. Professional-grade Ricoh printers use these grids to perform "Color Calibration Samples," which the machine then scans via the document feeder to automatically adjust its internal look-up tables (LUTs) for perfect color reproduction.
Professional Ricoh Print Quality Assessment
A professional assessment of a Ricoh test page goes beyond checking if the printer "works"; it analyzes the bit depth, font rendering, and dithering patterns. High-end Ricoh controllers are capable of 1200 x 1200 DPI (dots per inch) resolution. On a test page, this is verified by looking at micro-text samples-fonts as small as 2pt-to see if they remain legible and sharp without "bleeding" into the paper fibers.
Furthermore, the assessment looks at gradient transitions. A healthy Ricoh device should produce smooth fades from 100% saturation to 0% without visible "stepping" or "contouring." This is essential for marketing materials and high-quality graphics. Professionals also check for "ghosting," where a faint image of a previous page appears on the current one, indicating an issue with the discharge lamp or the fuser's heat settings. By evaluating these technical indicators, users can ensure their Ricoh device is optimized for high-fidelity output, matching the digital file's intent with precision and mechanical accuracy.
Ricoh Hardware Maintenance Procedures
Maintenance procedures are often triggered by results seen on a test page. Ricoh printers are modular, meaning many parts are user-replaceable to keep the machine running efficiently. When the test page shows faded areas or paper jams, it is time to inspect the physical paper path and the mechanical assemblies responsible for image transfer.
- Feed Roller Cleaning: Use a lint-free cloth and isopropyl alcohol to clean the rubber rollers to prevent "multi-feeds" or "no-feeds."
- Waste Toner Bottle: Replace this unit when the test page indicates it is near capacity to prevent internal spills.
- LED Head Cleaning: For Ricoh LED models, wiping the print heads removes "void strings" or white vertical gaps in the print.
- Fuser Pressure Adjustment: If toner is rubbing off the page, the fuser temperature or pressure may need to be recalibrated through the service menu.
Using a Ricoh-specific maintenance kit, which includes replacement rollers and filters, ensures the hardware remains within the manufacturer's duty cycle limits and prevents unexpected hardware failures.
Interpreting Ricoh Test Page Results
The final step in the diagnostic process is the technical interpretation of the data fields found on the Ricoh configuration page. This document often contains "SC Codes" (Service Codes), which are alphanumeric strings like "SC542." These codes provide a direct diagnostic link to specific hardware failures, such as fuser thermistor errors or motor synchronization issues. Understanding these codes allows for faster communication with support technicians.
Beyond error codes, look for the "Total Counter" section to understand the machine's wear and tear. A high count on the "Large Size" counter suggests the fuser has been under more stress than a machine printing mostly letter-sized documents. Check the "Network Setup" area for the "Link Speed"-if it shows 100Mbps instead of 1Gbps, you may have a faulty Ethernet cable or a port mismatch on the network switch. Interpreting these results holistically allows you to move from basic troubleshooting to advanced optimization, ensuring the Ricoh printer functions as a reliable hub for your office document workflow.


Comments