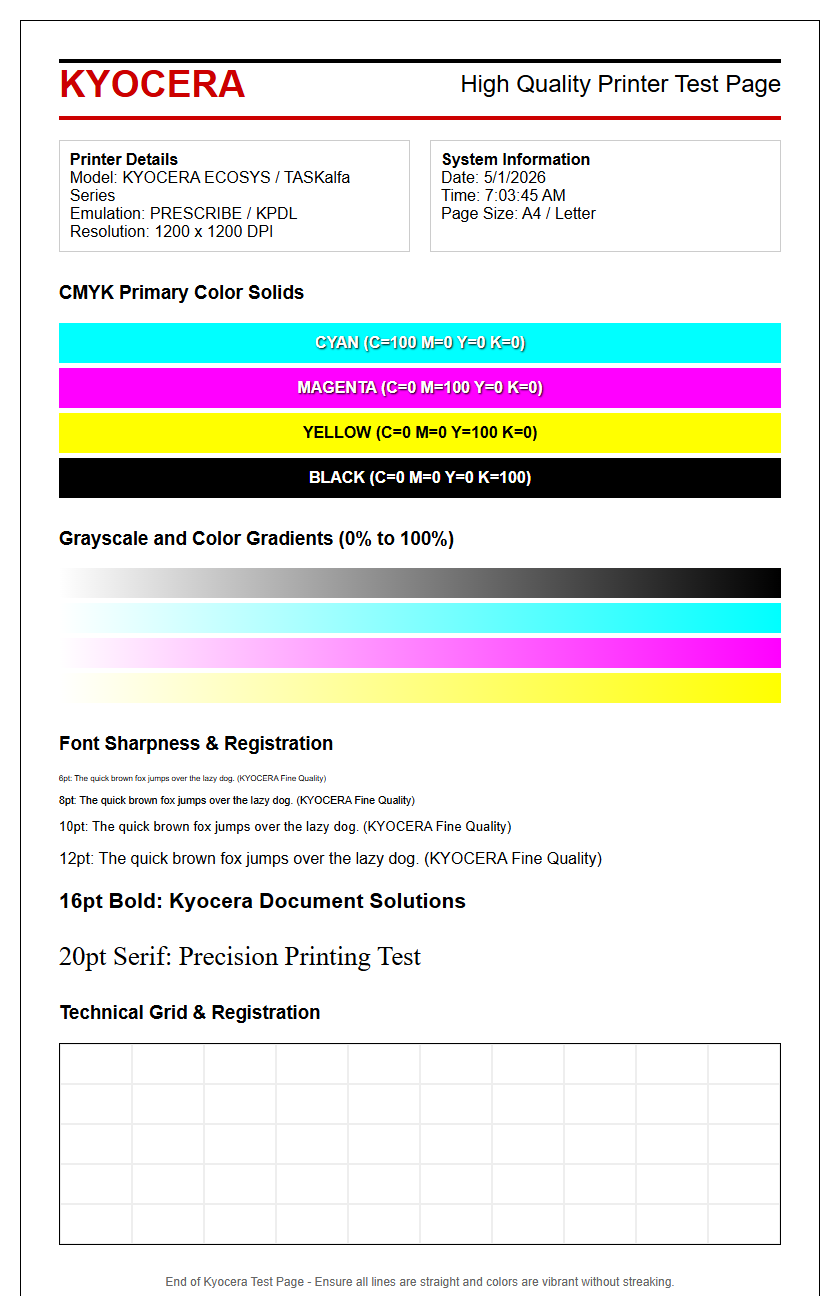
Generating a Kyocera printer test page is a vital troubleshooting step for maintaining peak device performance. By printing a comprehensive status report, users can evaluate critical hardware diagnostics, including drum unit longevity, fuser temperature, and current firmware versions. The report provides a granular look at network configuration settings and toner levels, ensuring seamless connectivity and supply management. Furthermore, analyzing the integrated color calibration patterns allows for precise adjustment of color density and registration, correcting any chromatic deviations. This technical document serves as a primary diagnostic tool to identify mechanical faults or software inconsistencies before they escalate into significant downtime.
Kyocera Printer Calibration Basics
Kyocera printer calibration is a fundamental process ensuring that the internal engine aligns perfectly with the digital input. This procedure typically involves adjusting the registration and color balance to compensate for environmental variables like humidity and temperature, which can affect toner adhesion. When you initiate a calibration through the Kyocera System Menu, the device runs an internal routine to synchronize the laser scanner unit with the organic photoconductor (OPC) drum. This ensures that the electrostatic latent image is accurately formed before the development stage.
- Color Registration: Aligns the CMYK layers to prevent "color halos" around text.
- Drum Refresh: Removes residual charge and stabilizes the drum surface sensitivity.
- Fuser Adjustment: Sets the optimal temperature for bonding toner to specific paper weights.
Maintaining these calibration settings is crucial for long-term hardware health. Using the KYOCERA Net Viewer, administrators can schedule periodic calibrations. This proactive approach prevents gradual degradation in image positioning and ensures that the printer's internal lookup tables (LUT) remain accurate for precise color reproduction across various media types.
Diagnosing Print Quality Issues
Diagnosing print quality on a Kyocera device requires a systematic analysis of the printed output to identify mechanical or chemical failures. Common issues such as ghosting, repetitive streaks, or light prints often point toward specific components within the ECOSYS or TASKalfa engine. For instance, vertical lines usually suggest debris on the primary corona wire or a scratched OPC drum, while horizontal banding might indicate a flat spot on a roller. By printing a status page, you can see if the defect occurs at specific intervals, which can be mapped to the circumference of various rollers.
Technical indicators for diagnosis include:
- Ghosting: Caused by a failing discharge lamp or improper fuser temperature settings.
- Vivid Streaks: Often result from a dirty slit glass or a compromised developer unit.
- Speckling: Usually indicates toner leakage or a full waste toner bottle affecting the charge roller.
Utilizing the internal "Service Status" report allows technicians to view the error log and current engine state. This data-driven approach helps distinguish between a simple consumable replacement and a complex hardware failure in the paper path or high-voltage power supply.
Verifying Kyocera Color Accuracy
Color accuracy in Kyocera laser printers is managed through sophisticated ICC profiles and internal densitometers. To verify accuracy, you must print a color test page that includes various gradients and solid fills. This helps in checking the linearity of the Cyan, Magenta, Yellow, and Black (CMYK) toner application. Professional workflows often utilize Kyocera's KX Driver settings to toggle between "GDI" and "KPDL" rendering to see how the Page Description Language affects color interpretation. If colors appear muted or "off-drift," the internal calibration sensor might require cleaning or a manual override.
| Feature | Impact on Accuracy | Correction Method |
|---|---|---|
| Halftoning | Gradient Smoothness | Adjust Dithering in Driver |
| Trapping | Edge Definition | Enable Overprint Settings |
| Color Balance | Neutral Greys | Run Auto-Color Calibration |
For high-end TASKalfa models, verifying color accuracy involves checking the PANTONE® matching tables. If the output does not match the digital swatch, technicians often perform a "Developer Refresh" to ensure the carrier-to-toner ratio is optimal for consistent saturation across long print jobs.
Testing Laser Print Resolution
The resolution of a Kyocera printer, often measured in dots per inch (DPI), determines the sharpness of fine lines and text. Testing this involves printing complex vector graphics and micro-text samples. Kyocera engines typically offer 600 or 1200 DPI native resolution, boosted by software interpolation. To test the laser scanner unit (LSU), look for crispness in 2-point fonts and the absence of "jagged" edges on diagonal lines. If the resolution seems blurry, it may indicate a synchronization issue between the polygon motor and the paper transport speed.
The laser diode's ability to switch on and off rapidly creates the fine dots required for high-fidelity images. During a resolution test, ensure that "EcoPrint" mode is disabled, as this reduces toner density and can mask the true capabilities of the laser engine. High-resolution tests also reveal the precision of the fuser unit's pressure; if the lines are sharp on the drum but smudged on paper, the fuser's nip-pressure or temperature may be improperly set for the current media thickness.
Identifying Clogged Print Nozzles
While Kyocera is predominantly known for laser technology using toner, certain wide-format or specialized inkjet models require nozzle checks. In these systems, "nozzle clogs" manifest as missing lines or "banding" across the page. For standard Kyocera laser printers, the equivalent issue is a "blocked developer" or a "dirty LED head/slit glass." If you see consistent white vertical voids where no toner is deposited, it is often due to a foreign object blocking the laser beam or a clump of toner in the developer unit preventing even distribution.
To identify and resolve these "voids," follow these steps:
- Clean Slit Glass: Use the built-in wiper to remove dust from the laser path.
- Charger Cleaning: Slide the green cleaner tab on the corona wire to remove ozone buildup.
- Developer Refresh: Run the maintenance command to agitate the toner and break up clumps.
Unlike inkjet nozzles that dry out, laser voids are usually mechanical. By printing a solid gray test sheet, you can easily pinpoint the exact location of the blockage within the 297mm width of an A4 drum, allowing for targeted cleaning of the optics or charging components.
Kyocera Driver Functional Check
The Kyocera KX Driver is the bridge between the OS and the hardware, managing everything from Page Description Languages (PDL) to advanced finishing options. A functional check ensures that the driver is correctly interpreting commands for PCL6, KPDL (PostScript 3), or PDF Direct Print. To verify this, print a test page specifically from the driver's properties menu. This page confirms the driver version, the port configuration (standard TCP/IP or WSD), and whether features like "Job Storage" or "User Management" are communicating with the printer's RAM.
If the test page fails or displays garbled text, it often indicates a PDL mismatch or a corrupted spooler. Technicians check the "Device Settings" tab in the driver to ensure the "Auto Configure" feature has correctly identified the installed paper feeders and finishers. This check is vital after firmware updates, as it ensures the driver's software-level commands match the hardware's updated logic. Using the "Hard Disk" or "SD Card" emulation settings in the driver can also optimize how complex fonts and overlays are cached during the printing process.
Printer Connectivity Status Validation
Connectivity validation ensures that the Kyocera printer is properly integrated into the local area network (LAN). The test page provides critical data such as the IPv4/IPv6 address, Subnet Mask, and Default Gateway. If the printer shows an APIPA address (169.254.x.x), it indicates a failure to communicate with the DHCP server. Beyond basic IP assignment, status validation involves checking the "Command Center RX" accessibility-the web interface where admins manage protocols like SNMP, FTP, and SMB for "Scan to Folder" functions.
Key connectivity metrics to monitor include:
- Link Speed: Ensures the NIC is operating at 1000Mbps (Gigabit) for high-traffic environments.
- Packet Loss: Continuous ping tests to the printer's IP can reveal faulty network cabling.
- Security Protocols: Validation of SSL/TLS certificates for encrypted print jobs.
By reviewing the Network Status Page, you can also verify if the printer is communicating with the Kyocera Fleet Services (KFS) cloud for remote monitoring. This ensures that meter reads and toner alerts are being transmitted correctly to the service provider, preventing downtime due to lack of supplies.
Evaluating Toner Density Levels
Toner density evaluation is critical for both cost management and document legibility. Kyocera's ECOSYS technology is designed for high yields, but toner density must be calibrated to prevent excessive waste or faint output. A density test page features solid blocks of 100% fill down to 10% gradients. Using an optical densitometer or visual comparison, you can determine if the "EcoPrint" mode is too aggressive or if the toner concentration in the developer unit has dropped. This is often caused by using non-genuine toner, which may not have the correct magnetic properties.
| Density Level | Visual Expectation | Potential Issue |
|---|---|---|
| 100% Solid Black | Deep, matte finish | Failing Transfer Roller |
| 50% Halftone | Even dot distribution | Worn Drum Surface |
| 10% Highlight | Barely visible, no grain | Low Developer Bias |
Adjusting the density can be done through the "Service Setting" in the Command Center RX. Increasing the bias voltage can darken prints, but it may also increase the load on the waste toner box. Proper evaluation ensures a balance between crisp, professional documents and long-lasting consumable life.
Hardware Performance Diagnostics
Hardware diagnostics focus on the mechanical integrity of the Kyocera engine. This involves checking the "Maintenance Counter" on the status page, which tracks the life of the Maintenance Kit (MK). Kyocera components like the amorphous silicon drum are rated for hundreds of thousands of pages, but rollers and fusers can wear out earlier depending on paper dust and environment. A hardware diagnostic test involves running multi-page print samples to check for "paper skew," "multi-feeds," or "misfeeds" in the duplex unit. These issues often point to worn pickup rollers or a failing separation pad.
Technicians look at the "Event Log" to identify recurring paper jam codes (e.g., J0501). This log provides a timestamped history of every mechanical hiccup the printer has experienced. By analyzing the "Duty Cycle" usage versus the printer's rated capacity, you can determine if the hardware is being overextended. High-performance diagnostics also check the internal cooling fans and sensors; if a sensor fails to detect the paper's leading edge, the timing will be off, resulting in cropped images and frequent system errors.
Kyocera Maintenance Page Procedures
The Kyocera Maintenance Page, often accessed via the "U000" report in the Service Mode, is a comprehensive document detailing every internal parameter. To access this on most TASKalfa models, you enter a specific code on the numeric keypad (usually 10871087). This mode allows for "Maintenance Page Printing," which outputs the current settings of all service codes (U-items). This is the "gold standard" for troubleshooting, as it lists the exact voltage levels, fuser temperatures, and mechanical timings that the printer is currently using.
Common procedures using these pages include:
- U031: Checking the paper sensor status to find "phantom" jams.
- U089: Reviewing the MIP (Maintenance Item Percent) to see which parts are nearing end-of-life.
- U906: Resetting the fuser error code after a repair.
Regularly printing these maintenance pages allows for trend analysis. If the fuser temperature (U161) is steadily rising to maintain bond quality, it may indicate a thickening of the fuser oil or a failing heating element. These procedures are essential for certified technicians to ensure the printer operates within its factory-specified tolerances.

Comments