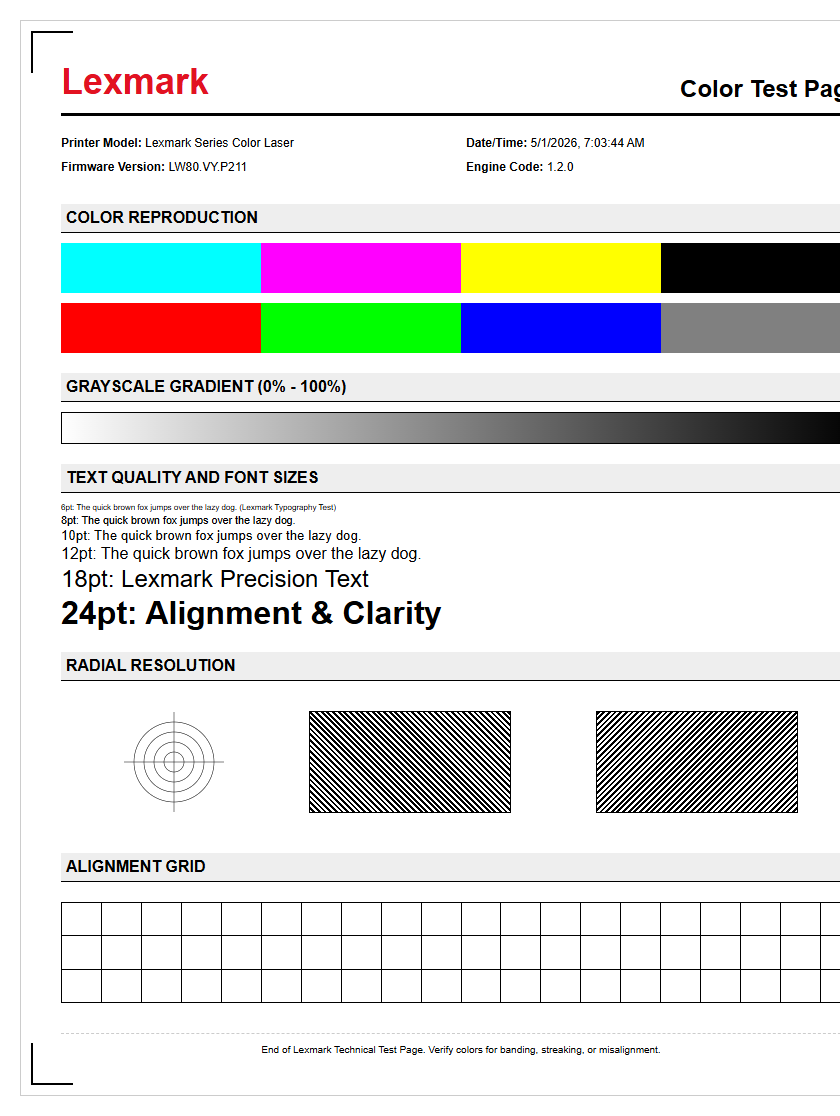
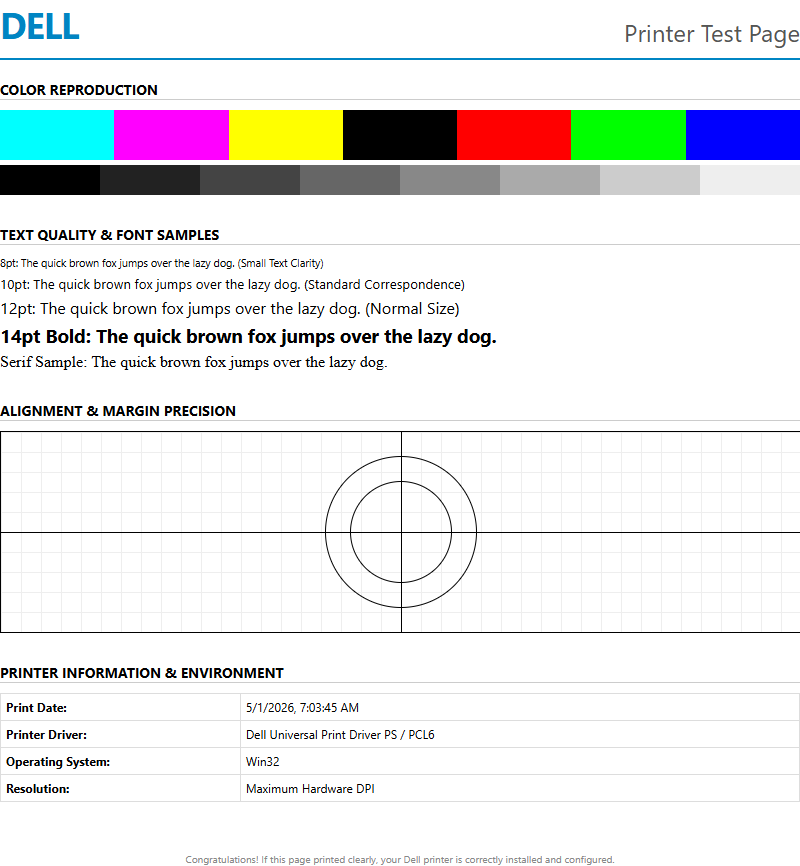
Initiating a Lexmark printer test page is a vital diagnostic procedure designed for precise hardware calibration and comprehensive print quality verification. This internal report allows users to assess critical components, including CMYK color balance, fuser temperature consistency, and mechanical alignment patterns. By analyzing the output, you can identify common imaging issues such as ghosting, banding, or toner adhesion failures. The document also provides essential metadata regarding firmware versions and consumable life cycles. Utilizing these built-in diagnostics ensures your device maintains optimal DPI resolution and reliable paper path synchronization, streamlining troubleshooting for consistent, professional-grade document production across your office network.
Lexmark Color Balance Test
The Lexmark Color Balance Test is a critical utility designed to ensure the accurate reproduction of CMYK (Cyan, Magenta, Yellow, and Black) values. This diagnostic page prints a series of shaded gradients and solid blocks that allow users to evaluate color density and saturation. When analyzing the output, technical staff look for smooth gradations without sudden jumps in intensity, which indicates that the printer's halftone screens are functioning correctly. Achieving perfect color fidelity requires the imaging unit and developer rollers to distribute toner evenly across the transfer belt.
- Check for color shifts in neutral gray scales.
- Verify that primary color overlaps create secondary hues accurately.
- Inspect for uneven density across the width of the page (cross-scan direction).
- Identify any "mottle" or graininess in high-saturation zones.
If the color balance appears skewed, it may indicate that the printer's internal lookup tables need recalibration or that the environmental conditions, such as humidity, are affecting the electrostatic charge of the toner particles. Regular testing prevents long-term color drift in professional documents.
Printer Quality Diagnostic Sheet
The Printer Quality Diagnostic Sheet serves as a comprehensive health report for your Lexmark hardware. This multi-layered document provides a visual representation of the current state of the fuser, imaging drums, and laser scanning unit. It typically includes specific patterns like fine grids, solid fill patches, and high-definition text samples. By examining these elements, you can pinpoint whether a defect is mechanical or electronic in nature. For instance, repeating dots at specific intervals usually point to a damaged roller or drum surface.
| Pattern Component | Diagnostic Purpose |
|---|---|
| Solid Color Bands | Checks for toner starvation or drum fatigue. |
| Fine Line Grids | Evaluates registration and laser focus. |
| Grayscale Wedges | Tests the printer's ability to render shadows. |
Using this sheet allows for a systematic approach to maintenance. By comparing the output against a "gold standard" reference, technicians can determine if the fuser temperature is insufficient for proper toner bonding or if the transfer assembly requires a thorough cleaning to eliminate ghosting.
Lexmark Nozzle Check Pattern
For Lexmark inkjet models, the Nozzle Check Pattern is the primary tool for diagnosing printhead integrity. This test prints a series of staggered lines for each ink cartridge, where every single line represents an individual nozzle firing. A perfect pattern shows an unbroken, "stair-step" sequence. If you notice horizontal white lines or gaps, it indicates that certain nozzles are clogged with dried ink or have suffered a piezoelectric failure. This pattern helps differentiate between a simple blockage and a total electronic failure of the printhead assembly.
- Initiate the Nozzle Check from the printer's Maintenance menu.
- Compare the printed grid against the on-screen legend.
- Identify specific color channels (C, M, Y, or K) that exhibit missing segments.
- Perform a "Clean Printhead" cycle if gaps are detected, then reprint.
Consistent gaps after multiple cleaning cycles may suggest that the ink delivery system has an air leak or that the maintenance station is unable to properly prime the nozzles. Monitoring this pattern regularly ensures that your printhead remains hydrated and functional for high-resolution photo printing.
Manual Calibration Page Instructions
Manual calibration is necessary when the Lexmark printer's automatic internal sensors fail to align the colors perfectly. This process involves printing a calibration page that features several sets of numbered alignment lines. The user must identify which lines are best aligned (the straightest) and input those values back into the printer's control panel. This adjusts the electronic timing of the laser or printhead carriage relative to the movement of the paper. This is particularly important for double-sided printing, where the X-axis and Y-axis must be perfectly synchronized.
- Navigate to the Settings menu and select "Print Quality."
- Select "Manual Alignment" and choose the specific color to calibrate.
- Examine the printed page for the "Zero" or most centered alignment mark.
- Enter the corresponding values using the numeric keypad or touchscreen.
This manual intervention overrides the default NVRAM settings, correcting for minor mechanical deviations caused by thermal expansion or physical wear on the paper feed rollers. It ensures that text remains crisp and that color "fringing" is eliminated across all media types.
Lexmark Ink Coverage Report
The Ink Coverage Report (or Toner Usage Report) is a data-heavy document that details exactly how much consumable material is being used per page. This report is essential for calculating the Total Cost of Ownership (TCO) and for managing supply chains. It breaks down usage based on percentage coverage, which is often compared against the industry standard of 5% coverage for a standard ISO/IEC page. High-density graphics or photos will significantly increase these numbers, leading to faster depletion of the imaging units and cartridges.
- Total Page Count: Overall life of the device.
- Coverage Percentage: Average toner/ink used per color.
- Remaining Life: Estimated pages until the next replacement is required.
- Last Maintenance Date: When the fuser or belt was last serviced.
By reviewing this report, administrators can identify inefficient printing habits within an office or determine if a specific printer is being over-utilized beyond its rated monthly duty cycle. It provides the empirical data needed to justify hardware upgrades or changes in printing policies to save on expensive consumables.
Diagnostic Print Out Procedure
Accessing the diagnostic print out on a Lexmark printer is the first step in any troubleshooting workflow. This procedure bypasses the standard print driver and pulls data directly from the printer's firmware, which helps isolate the problem. If the internal diagnostic page prints perfectly but a document from a PC looks poor, the issue lies with the computer's driver or the network connection, not the hardware itself. The procedure can typically be initiated via the physical control panel or the Embedded Web Server (EWS).
- On the home screen, touch "Settings" or "Reports."
- Select "Print Quality Pages" or "Device Statistics."
- Ensure the paper tray is loaded with standard 20lb bond paper.
- Wait for the printer to perform its "Warm Up" and "Calibrating" cycles before it outputs the sheet.
During this process, the printer performs a self-test of its internal RAM and processor, ensuring that the PostScript or PCL data is being interpreted correctly. If the printer hangs during this procedure, it may indicate a corrupt firmware or a failing system board.
Lexmark Maintenance Mode Access
Maintenance Mode, also known as Service Mode, is a restricted area of the Lexmark firmware used for deep-level adjustments and clearing hardware error codes. This mode allows technicians to reset maintenance counters, adjust fuser temperature offsets, and perform individual motor tests. Accessing this mode usually requires a specific sequence of button presses during the boot-up phase or a secret PIN code. Within this environment, you can run "Diagnostic Tests" that are not available to the average user, such as "Sensor Tests" and "Printhead Mechanical Alignment."
- Turn off the printer and wait for 10 seconds.
- Press and hold the 2 and 6 buttons simultaneously on the keypad.
- Turn the power back on while continuing to hold the buttons.
- Release the buttons once the progress bar appears on the screen.
Once inside, the "Configuration Menu" and "Diagnostics Menu" provide granular control over the engine settings. Caution is advised, as modifying NVRAM values without proper technical knowledge can lead to hardware malfunction or permanent print quality degradation.
Resolving Streak Issues
Streaks are one of the most common print quality complaints, usually appearing as vertical lines running down the length of the page. In Lexmark laser printers, these are often caused by a dirty "LED window" or a scratched imaging drum. If the streaks are white, it implies something is blocking the laser; if they are colored or black, it implies a component is leaking toner or a blade is damaged. Using the diagnostic page, you can measure the distance between repeating streaks to identify the faulty roller based on its circumference.
| Symptom | Likely Cause |
|---|---|
| Vertical Black Lines | Scratched PC Drum or Dirty Corona Wire. |
| Vertical White Streaks | Debris on the Laser/LED Lens. |
| Smudged Horizontal Lines | Fuser rollers not reaching adequate heat. |
Resolving these issues often involves cleaning the "printhead lenses" with a built-in wiper or replacing the toner cartridge/imaging unit assembly. For persistent streaks, the transfer belt or the waste toner container should be inspected for overflow or surface contamination.
Lexmark Hardware Performance Check
A hardware performance check focuses on the mechanical integrity and processing speed of the Lexmark device. This test ensures that the paper path is clear and that the pick rollers have enough friction to pull sheets without skewing. It also evaluates the "Time to First Print," which measures the efficiency of the fuser's heating element and the speed of the onboard RIP (Raster Image Processor). If the printer experiences frequent "Paper Jams" or "Slow Processing" messages, this check will identify if the issue is a worn-out solenoid or insufficient RAM.
To perform a comprehensive check, observe the following:
- Auditory inspection for clicking sounds in the gear train.
- Verification of duplexing functionality (printing on both sides).
- Memory utilization stats to ensure high-resolution files aren't crashing.
- Output tray sensors detecting full capacity correctly.
Modern Lexmark devices utilize sophisticated sensors to monitor paper tension and alignment in real-time. A hardware check ensures these sensors are calibrated, preventing skew and ensuring that high-volume print runs proceed without mechanical interruptions or hardware-related errors.
Final Print Verification Steps
The final print verification is the last step in the maintenance cycle, confirming that all adjustments have successfully restored the printer to factory specifications. This involves printing a high-resolution sample that combines text, graphics, and photographic images. You should look for crisp font edges at small point sizes, vibrant and accurate colors, and a complete absence of artifacts like ghosting or background graying. This verification ensures that the ICC profiles are interacting correctly with the hardware's current state.
- Compare the final output to the initial "Problematic" sheet.
- Check for "Toner Adhesion" by lightly rubbing the solid black areas.
- Confirm that margins are equal on all sides of the document.
- Ensure the printer has exited Maintenance Mode and is back "Ready."
Once the final verification is complete, the printer's internal log should be updated to reflect that the service was performed. This maintains an accurate history of the device's health, which is invaluable for long-term fleet management and ensuring that the Lexmark printer continues to deliver professional-grade results for its entire lifespan.

Comments