To ensure your Brother printer maintains peak performance, printing a Quality Check Sheet is the essential first step for diagnosing hardware health. This diagnostic tool allows you to perform a precise nozzle alignment check, identifying any clogged jets in the print head that could lead to banding or streaking. By analyzing the CMYK calibration patterns, users can verify color accuracy and ink density across the cyan, magenta, yellow, and black channels. Regularly utilizing the maintenance menu for these hardware diagnostics helps prevent mechanical wear and ensures crisp text and vibrant graphics, keeping your document workflow efficient and professional.
Brother Printer Test Page Overview
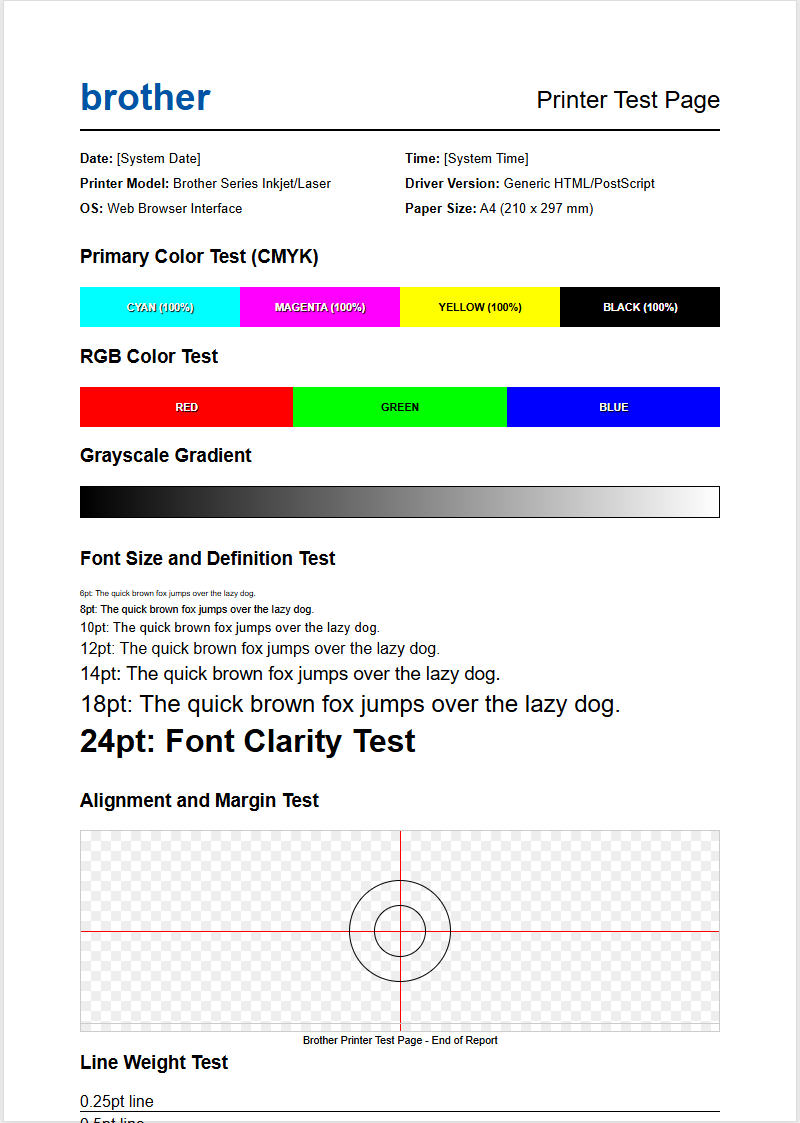
A Brother printer test page serves as a comprehensive diagnostic report, providing critical data regarding the internal health of the print engine. Unlike standard documents, this specialized output displays essential hardware information, including the firmware version, serial number, and page counter statistics. For inkjet models, it primarily focuses on the CMYK color palette, while laser variants emphasize drum life and toner density. Running this report is the primary step in identifying whether a printing defect is software-related or a physical hardware malfunction.
The diagnostic output typically includes several components:
- Firmware and Network configuration details.
- Total page counts categorized by color and monochrome.
- Consumable life percentages for toner, drum, and fuser units.
- Engine error logs and sensor status.
By analyzing the test page, users can determine if the print controller is communicating correctly with the mechanical components. It eliminates variables like driver corruption or application-specific errors, providing a raw look at the printer's ability to deposit ink or toner onto the substrate. Regular generation of these pages is recommended during routine maintenance to track the degradation of replaceable parts over time.
Manual Hardware Button Method
When a computer interface is unavailable, Brother printers allow users to trigger a test print directly via the control panel hardware. This bypasses the operating system entirely, proving useful for troubleshooting connectivity issues. For most Brother HL-series laser printers, the "Go" button is the primary tool. Pressing it three times in rapid succession typically initiates a "Printer Settings" page, while holding it down until the "Ready" LED flashes allows for a more detailed "Test Print" sequence.
On models equipped with an LCD screen and a numeric keypad, the process involves navigating the internal "Menu" system. Follow these steps for menu-based hardware triggers:
- Press the Menu button on the control panel.
- Navigate using the arrow keys to find Print Reports.
- Select Test Print or User Settings.
- Press Start (Mono or Color) to execute the job.
For DCP and MFC series with touchscreen interfaces, the "Settings" icon leads to the "All Settings" menu where "Print Reports" is located. This hardware-level execution is the most reliable way to verify the mechanical integrity of the paper feed rollers and the duplexing unit without relying on external data cables or wireless signals.
Windows Print Quality Check
Windows environments utilize the GDI (Graphics Device Interface) or XPS driver architecture to communicate with Brother devices. To initiate a test page via Windows, you must access the "Devices and Printers" section within the Control Panel or the modern "Settings" app. This software-driven test verifies that the Windows Print Spooler service is correctly formatting data packets and that the bidirectional communication between the PC and the printer is functional. It confirms that the specific Brother driver version installed matches the hardware capabilities.
To perform this check, right-click your Brother printer icon and select "Printer Properties." Within the "General" tab, clicking "Print Test Page" sends a standard Windows diagnostic file. This file contains the Windows logo, color gradients, and text samples. If this page prints successfully but other documents fail, the issue likely resides in the specific application being used (such as Word or Acrobat) rather than the printer hardware. This step is crucial for troubleshooting "Printer Offline" errors or driver conflicts caused by recent Windows updates that might have corrupted the local spooler directory.
macOS System Preferences Print Test
On macOS, Brother printers often utilize the AirPrint driver or the specific CUPS (Common Unix Printing System) driver provided by the manufacturer. To run a test page, users navigate to "System Settings" and select "Printers & Scanners." After choosing the Brother model from the sidebar, clicking on "Options & Supplies" or "Open Print Queue" allows access to the utility functions. macOS handles print jobs differently than Windows, emphasizing color management and PostScript rendering, making the test page vital for verifying color profile accuracy.
Within the Print Queue window, users can often find a "Utility" tab that contains a "Print Test Page" or "Print Network Configuration" option. This is especially important for macOS users who may experience "Filter Failed" errors. By printing the system-level test page, you confirm that the Sandbox environment in macOS is allowing the driver to write data to the USB or network port. If the test page executes but the layout is skewed, it indicates a need to reset the printing system or update the Brother PPD (PostScript Printer Description) file to ensure full compatibility with the latest macOS Sequoia or Sonoma versions.
Identifying Brother Ink and Toner Issues
The quality of a Brother test page is the most accurate indicator of consumable health. For inkjet (MFC/DCP) models, gaps in the color blocks indicate clogged nozzles or air bubbles within the ink lines. For laser models, the test page reveals issues with the toner cartridge or the drum unit. If the output shows vertical streaks or repeating spots at specific intervals, the problem usually lies with the OPC (Organic Photo Conductor) drum or a dirty primary corona wire. Brother laser printers use a two-piece system where the toner is separate from the drum, making identification critical.
| Symptom | Likely Cause | Solution |
|---|---|---|
| Faint Print | Toner Low / Toner Save Mode | Replace Cartridge / Disable Save Mode |
| Black Horizontal Lines | Drum Surface Scratched | Replace Drum Unit (DR-series) |
| White Vertical Streaks | Dirty Corona Wire / Clogged Nozzle | Slide Green Tab / Run Cleaning |
Low-quality third-party cartridges often result in "Toner Low" errors or poor adhesion. The test page will show "Ghosting" if the fuser unit is not reaching the correct temperature or if the toner powder does not meet OEM specifications for melting points.
Solving Faded Print and Streaks
Faded prints on a Brother test page often point toward the "Toner Save" setting being active or a depletion of the developer roller's charge. If the text is consistently light across the entire page, check the printer driver settings first. However, if the fading is localized to one side, it may indicate that the toner powder is unevenly distributed within the hopper. Removing the cartridge and gently rocking it from side to side can temporarily redistribute the powder and resolve the fading before a permanent replacement is required.
Streaks are handled differently depending on the technology. For Brother laser printers, streaks are often caused by dust on the corona wire. You can clean this by sliding the green tab on the drum unit back and forth several times; ensure the tab is returned to its "home" position (indicated by a small triangle) to avoid a solid black vertical line. For inkjet models, streaks suggest dried ink in the print head. Running a "Power Cleaning" cycle from the maintenance menu can force ink through the nozzles to clear obstructions. If streaks persist after three cleaning cycles, the print head may have permanent "burn-out" or mechanical damage requiring professional service.
Brother Print Head Alignment Procedure
When the Brother test page shows jagged text or blurry images, it is a sign of print head misalignment. This occurs when the microscopic droplets of ink are not landing precisely on the designated coordinates of the paper. This is particularly common after clearing a paper jam or moving the printer. The alignment procedure involves printing a specialized sheet consisting of various numbered patterns. The user must then inspect these patterns and identify which numbered block shows the least amount of graininess or the straightest vertical lines.
Inputting these values into the printer's control panel recalibrates the bidirectional printing timing. This ensures that as the print head moves left to right and back again, the ink ejection is synchronized with the carriage motor speed. For laser printers, "alignment" refers to the registration of the CMYK layers. If you see a "halo" effect around letters, the color registration is off. Accessing the "Auto-Regist" function in the printer's "Custom Settings" menu allows the internal sensors to scan a test pattern on the transfer belt and automatically adjust the laser timing for perfect color convergence.
Nozzle Check Pattern Interpretation
The "Check Print Quality" or "Nozzle Check" pattern is a specific type of test page for Brother inkjets. It prints a series of slanted grids in Black, Yellow, Cyan, and Magenta. A perfect pattern shows every single line in the grid without any breaks. If the pattern shows missing lines, the printer is experiencing "drop-outs." This is usually caused by air trapped in the print head or dried ink residue. Interpreting the pattern correctly prevents wasting expensive ink on unnecessary full-system cleanings when only one color is affected.
If only the Black grid is missing, you should perform a "Cleaning - Black Only" to conserve color ink. If multiple colors are affected, it might indicate a more serious issue like a depleted "Maintenance Box" (waste ink absorber) or a failure in the capping station. The capping station is responsible for creating a vacuum seal over the print head when not in use; if this seal fails, the nozzles dry out rapidly. Persistent nozzle gaps after multiple cleanings may require a "Flush" cycle, which uses a significant amount of ink but is often the last resort before hardware replacement.
Verifying Brother Wireless Connection Status
If your Brother printer won't print from your computer, the "WLAN Report" is the most important test page to generate. This report provides a "Connection: OK" or "Connection: Failed" status and includes an error code (e.g., TS-01 to TS-10). It lists the SSID (Network Name), signal strength, and the IP address assigned by the router via DHCP. A common issue found on this report is the "MAC Address Filtering" error or an "IP Address Conflict," where the printer is trying to use an address already claimed by another device.
- TS-01: Wireless setting is not enabled.
- TS-02: Access point/router not detected.
- TS-05: Incorrect security key/password.
- TS-07: MAC address is blocked by the router.
The report also indicates the signal strength. If the signal is "Weak," the printer may drop off the network during large print jobs, leading to partial prints or communication errors. Checking the "Network Configuration" page ensures the printer is on the same subnet as your computer, which is a requirement for standard peer-to-peer printing and AirPrint functionality. If the IP address starts with 169.254, the printer has failed to receive an address from the router and is using an APIPA address.
Maintaining Optimal Brother Print Performance
To ensure that every Brother test page comes out perfectly, proactive maintenance is required. This involves keeping the firmware updated, as Brother frequently releases patches that improve the voltage regulation of the print head and optimize toner consumption. Furthermore, the environment plays a significant role; high humidity can cause paper to curl and lead to "Head Strikes," where the print head physically touches the wet paper and causes smudging. Conversely, extremely dry environments can increase static electricity, leading to "Toner Scatter" in laser printers.
Follow these maintenance tips for longevity:
- Use high-quality 20lb or 24lb paper to prevent lint buildup.
- Always turn the printer off using its own power button to allow the print head to park and cap properly.
- Keep the internal paper path clear of dust by using compressed air periodically.
- Check the "Parts Life" report to anticipate when the fuser or laser unit needs replacement.
By monitoring the page counts and error logs on your test pages, you can perform "preventative maintenance" rather than "reactive repairs," significantly extending the lifespan of your Brother investment and ensuring professional-grade output for years.

Comments