A Konica Minolta printer test page serves as a critical diagnostic utility for evaluating hardware health and output fidelity. By generating this report, you can perform a comprehensive analysis of CMYK color calibration to ensure chromatic accuracy across all toner channels. The printout facilitates a detailed inspection of toner density and halftone gradients, which are essential for identifying wear within the imaging unit or developer assembly. Furthermore, these diagnostics help pinpoint issues like drum depletion, laser scanner inconsistencies, or fuser unit temperature fluctuations. Utilizing this systematic approach allows for precise troubleshooting of voltage biases and mechanical alignment, maintaining professional-grade print quality.
Konica Minolta Test Page Overview
A Konica Minolta test page serves as the primary diagnostic blueprint for assessing the functional health of your bizhub multifunctional printer. This document provides a comprehensive snapshot of the device's internal hardware and software configuration, allowing technicians to verify essential parameters without external computer interference. The page typically includes vital data such as the model name, current firmware version, and the Total Counter, which tracks the cumulative number of impressions made by the engine.
Beyond simple identification, the test page displays hardware-specific information that is crucial for maintenance. This includes the status of various paper trays, the duplexing unit, and optional finishers like staplers or hole punches. By analyzing the output, users can identify if the controller is communicating correctly with the mechanical components. The layout is designed to highlight the device's capability to process both vector and raster data, ensuring the internal RIP (Raster Image Processor) is functioning optimally before complex jobs are sent via the network.
Accessing Control Panel Print Settings
Navigating the Konica Minolta touch interface is the most direct method to generate internal reports. The bizhub series utilizes a structured "Utility" menu designed for both end-users and administrators. Accessing these settings allows you to bypass driver-related variables and print directly from the system's memory, ensuring that any issues identified are localized to the hardware itself. Follow these steps to access the report printing interface:
- Press the physical Utility/Counter button on the control panel.
- Select the User Settings option on the touch screen.
- Navigate to Printer Settings and then choose Print Reports.
- Select the specific document you require, such as the Configuration Page or PCL Font List.
- Choose the desired paper tray and press the Start button to begin the print process.
If the printer is locked, you may need to enter the Administrator password to access the full range of diagnostic reports. This process ensures that system-level configurations remain secure while still providing access to essential performance data.
Evaluating Color Accuracy and Gradients
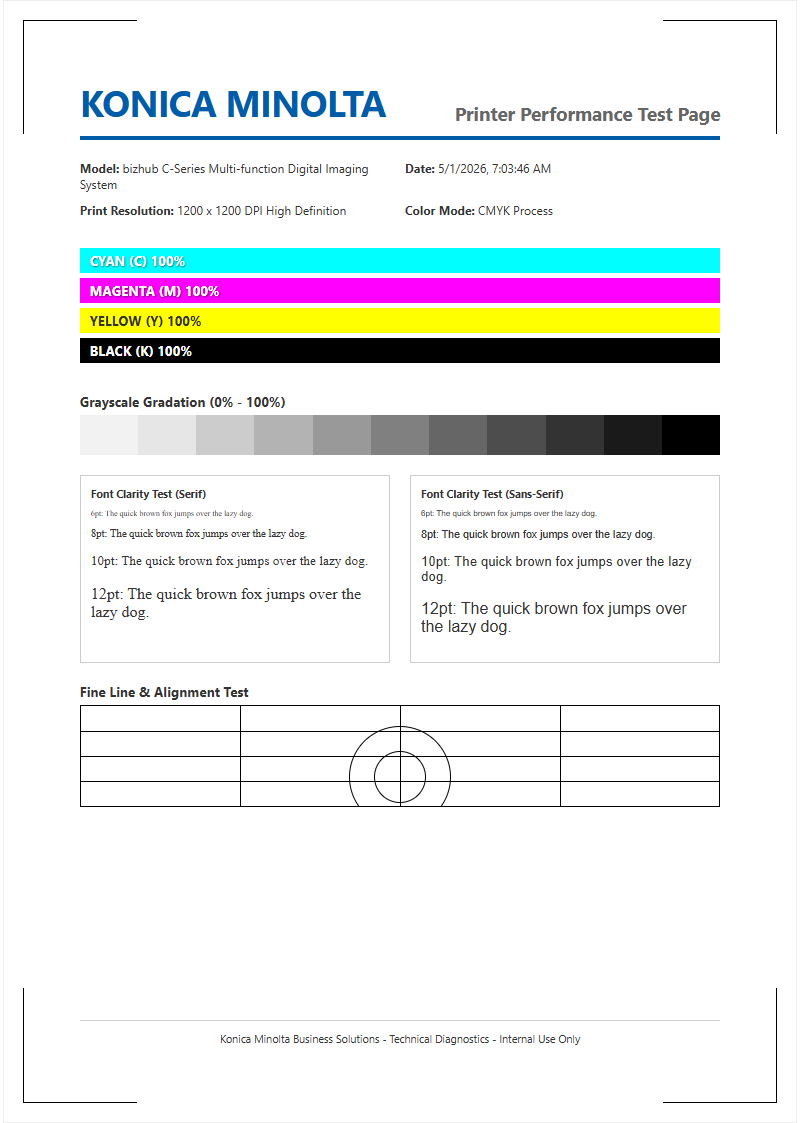
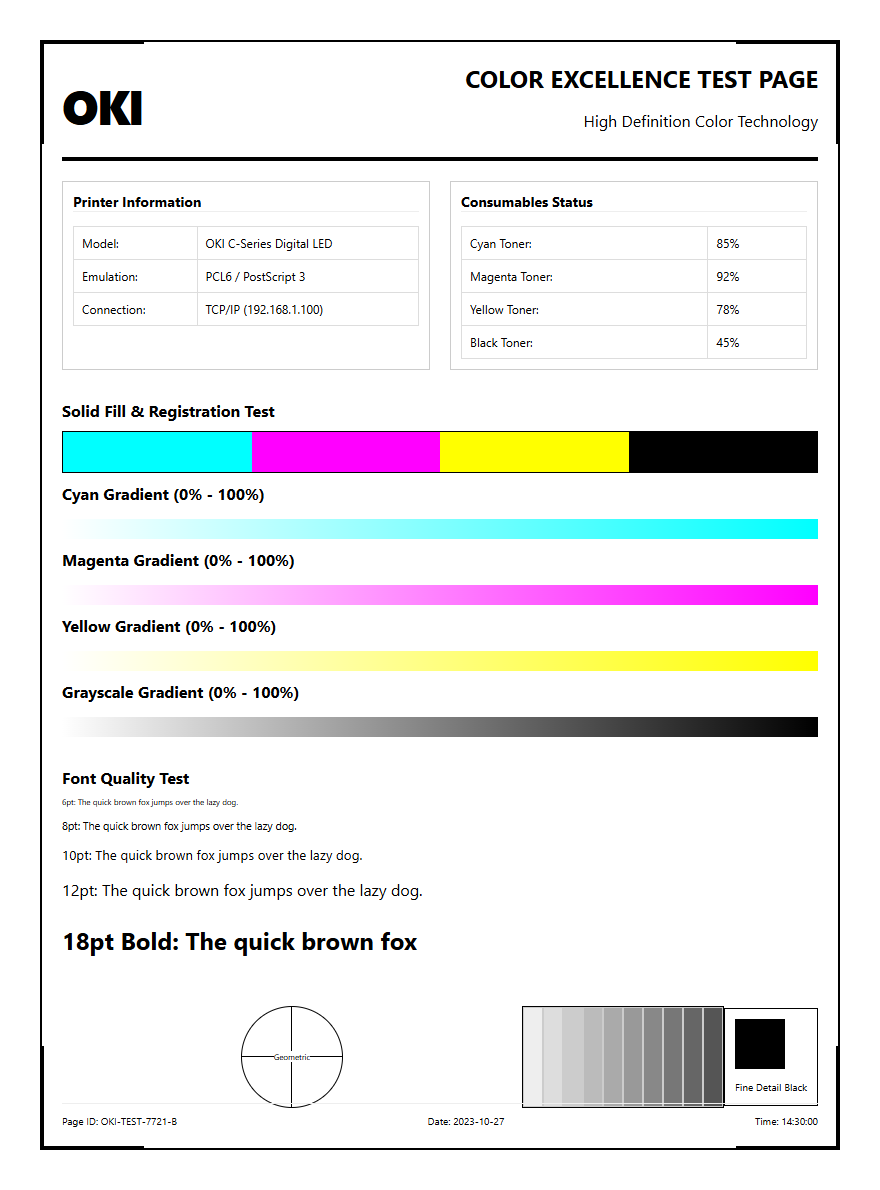
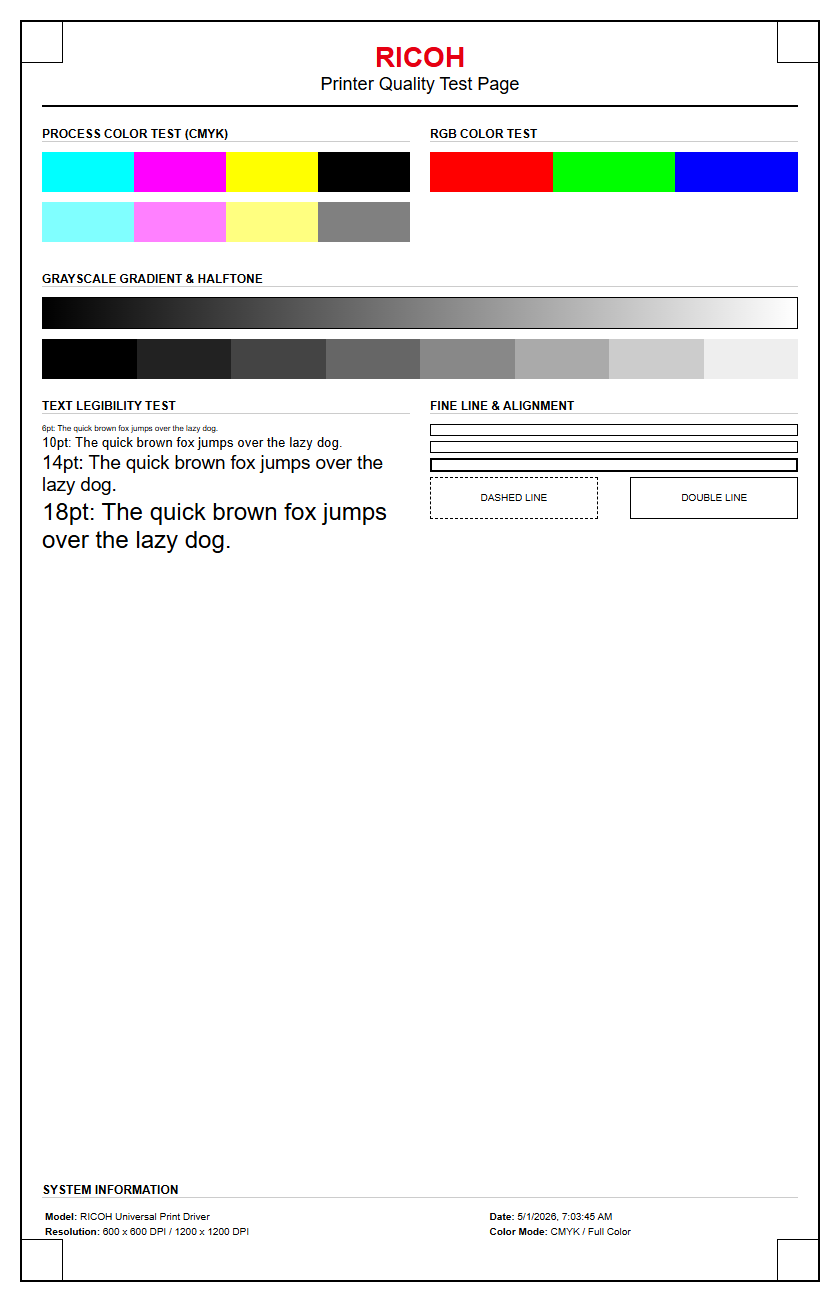
When reviewing a Konica Minolta color test page, the focus shifts to the precision of the CMYK (Cyan, Magenta, Yellow, and Black) toner application. The test page typically features color bars and halftone gradients that reveal how well the developer units and image units are performing. High-quality output should show smooth transitions in gradients without visible "banding" or sudden jumps in density. These visual markers are essential for determining if the printer requires a color registration adjustment.
- CMYK Solid Bars: These verify the maximum density and consistent toner coverage across the page.
- Halftone Patches: Used to check for "mottling" or unevenness in lighter shades, indicating potential drum wear.
- Color Overlay Strips: These demonstrate the printer's ability to mix primary colors into secondary hues like Green, Orange, and Violet.
- Neutral Grey Balance: A key indicator of proper calibration; if the grey looks too warm or cool, the IDC (Image Density Control) sensors may need cleaning.
Analyzing these elements helps identify issues with the Transfer Belt or the secondary transfer roller, which can impact how toner is fused to various media types.
Troubleshooting Konica Minolta Print Quality
Effective troubleshooting begins with a critical eye toward the artifacts present on the test page. Mechanical defects often leave distinct signatures that point directly to a specific replaceable component. For instance, repetitive marks at specific intervals usually correlate to a damaged surface on a drum unit or the fuser roller. By measuring the distance between these artifacts, technicians can use a "pitch chart" to identify which roller is defective. Common quality issues include:
- Vertical Streaks: Usually caused by a scratched drum or a dirty corona wire (in older models).
- Faint or Light Print: Often a result of low toner density, an expiring developer unit, or an improperly set fuser temperature.
- Ghosting: A phenomenon where a faint image of a previous page appears, typically indicating a failing fuser or transfer belt cleaning blade.
- Speckling: Random toner drops across the page can suggest a leak in the toner hopper or a failure in the waste toner collection system.
Addressing these issues early prevents further damage to the internal optics and ensures the longevity of the high-cost imaging components.
Steps for Manual Configuration Pages
While most reports are accessed via the Utility menu, manual configuration pages provide a deeper dive into the technical backbone of the bizhub controller. These pages are particularly useful when setting up a new printer or troubleshooting complex network integration issues. The configuration page acts as the "source of truth" for the printer's internal logic, displaying the active PDL (Page Description Language) and font versions. To generate a detailed manual report:
- Enter the Administrator Mode via the Utility menu using the default system password.
- Select System Settings and locate the Expert Adjustment or List/Counter submenu.
- Select Management List to print a comprehensive breakdown of all current system variables.
- Verify the PCL and PostScript settings to ensure they match the requirements of your design software.
- Check the Interface Information section to confirm the status of the USB and Ethernet ports.
This document is indispensable when calling technical support, as it provides the serial number and firmware level in a single, easy-to-read format.
Interpreting Maintenance Reports
The Maintenance Report is a data-rich document that focuses on the lifecycle of the printer's internal consumables. Konica Minolta machines track the wear and tear on every major component through a series of "Life Counters." Understanding this report allows office managers to proactively order parts before a failure occurs. The table below outlines the critical metrics typically found in these reports:
| Component | Metric Monitored | Typical Indicator of Wear |
|---|---|---|
| Drum Units | Rotation Count | Loss of charge, leading to grey backgrounds. |
| Fuser Unit | Heating Hours / Count | Toner not adhering to the page; wrinkling. |
| Developer Unit | Toner Density (%) | Grainy images or "washed out" colors. |
| Feed Rollers | Paper Passage Count | Frequent paper jams or multi-sheet feeding. |
By comparing the current count against the rated PM (Preventative Maintenance) cycle, you can determine exactly how much "life" is remaining in each sub-assembly. This prevents downtime during critical high-volume print runs.
Diagnostic Patterns for Bizhub Models
Beyond standard user reports, Konica Minolta bizhub models contain hidden "Service Mode" diagnostic patterns. These patterns are designed to isolate electronic failures from mechanical ones. Unlike a standard test page, these patterns are generated by the hardware controller directly, bypassing the print head and optics if necessary. One of the most common patterns is the "Halftone Pattern 14," which produces a solid block of color at varying densities. This is used to check for "voids" or white spots where toner is not transferring. Another common pattern is the "Cross-hatch," which prints a fine grid across the entire printable area. This grid is essential for checking the registration and alignment of the four colors, ensuring they overlap perfectly. If the lines in the grid are not perfectly aligned or appear slanted, it indicates a skew in the laser unit or a misalignment of the paper transport mechanism that requires physical adjustment or electronic recalibration through the service interface.
Verifying Toner Levels and Alignment
A specialized test page is often used to verify the remaining toner levels and the mechanical alignment of the paper path. While the control panel shows a percentage, the printed test page provides a more accurate visual representation of the toner's actual output quality. Alignment, also known as "Image Registration," ensures that the image is perfectly centered on the page and that the margins are consistent across all trays. This is particularly important for double-sided (duplex) printing where front-to-back registration is critical.
- Lead Edge Timing: Ensures the image starts at the correct distance from the top of the sheet.
- Side Edge Registration: Centers the image horizontally to prevent "clipping" on the edges.
- Toner Remaining Status: Detailed bar graphs showing the exact grams or percentage of CMYK toner available.
- Tray Mapping: Confirms which tray is feeding the paper and if the media type (Plain, Thick, Envelope) is correctly detected.
Correcting alignment issues usually involves adjusting the "Loop" or "Skew" settings within the printer's service menu to compensate for mechanical variations.
System Settings and Network Reports
In a modern office environment, the Network Report is arguably the most important test page for IT administrators. This page confirms that the Konica Minolta device is correctly identified on the local area network (LAN) and can communicate with print servers. It lists critical networking protocols and addresses that are required for both printing and scanning (SMB/FTP) functions. The following table highlights the essential network parameters found on this report:
| Parameter | Significance |
|---|---|
| IPv4 Address | The unique identifier for the printer on the network. |
| MAC Address | The physical hardware ID used for DHCP reservations. |
| Gateway | The router address used for off-network communication. |
| DNS Settings | Allows the printer to resolve hostnames for "Scan to Email." |
| SNMP Status | Enables remote monitoring tools to track printer health. |
If the printer displays an IP address of "0.0.0.0" or a 169.x.x.x "Autonet" address, it indicates a failure to communicate with the DHCP server, which can be diagnosed immediately via this report.
Optimizing Output Performance
The final goal of any test page analysis is the optimization of output performance. By comparing the results of the internal test page with a document printed from a PC, you can determine if performance bottlenecks are hardware-based or driver-based. Optimization involves fine-tuning the RIP settings and ensuring the media weights match the fuser temperature profiles. High-resolution output requires the device to be set to 1200 DPI mode, which may slow down processing time but significantly enhances fine lines and text clarity. Additionally, users should check the "Screening" settings; "Fine" is typically better for text, while "Smooth" is preferred for photographic images. Proper calibration through the "Color Care" software or the on-board "Calibration" utility ensures that the output remains consistent over long periods. Regularly printing and archiving test pages creates a historical record of the machine's performance, making it easier to spot gradual declines in quality before they become catastrophic failures.

Comments