Identifying the root cause of vertical banding is essential for maintaining professional-grade output across inkjet and laser systems. When diagnostic printer test pages reveal streaking, the troubleshooting process begins by evaluating nozzle check patterns to detect ink starvation or clogged orifices within the printhead assembly. Often, these imaging defects stem from poor bi-directional alignment or incorrect media feed calibration, which disrupts precise drop placement. By systematically analyzing calibration plots, you can determine if the artifacts result from mechanical wear in piezoelectric actuators or thermal printhead degradation. Addressing these hardware inconsistencies ensures optimal color density and eliminates distracting banding for high-fidelity reproduction.
Understanding Vertical Banding in Printing
Vertical banding is a common printing defect characterized by persistent lines or streaks running the length of the page. These artifacts appear parallel to the direction of the paper feed and are often indicative of mechanical or chemical disruptions in the imaging process. In the world of printer diagnostics, vertical banding is typically classified into two categories: light voids and dark streaks. Light voids occur when the marking agent, such as liquid ink or powdered toner, fails to reach the substrate. Conversely, dark streaks are caused by an accumulation of debris or a malfunction in the charging process.
Understanding this phenomenon requires a basic grasp of the print engine's duty cycle. Whether you are using a Thermal Inkjet (TIJ) or an Electrophotographic (EP) system, the consistent delivery of the medium is crucial. When the spatial frequency of the print deviates from the intended digital file, a banding pattern emerges. This disruption affects the overall gradient smoothness and color accuracy, making the printer test page an essential tool for identifying these specific anomalies before they compromise high-volume production runs.
Identifying Causes of Vertical Lines and Streaks
Pinpointing the root cause of vertical streaks involves a systematic evaluation of the printer's internal components. Often, these lines are the result of physical obstructions or hardware fatigue. Common culprits include the following:
- Contaminated encoder strips that confuse the carriage position.
- Scratched or worn-out transfer belts in laser systems.
- Dried ink residue on the print head manifold or nozzle plate.
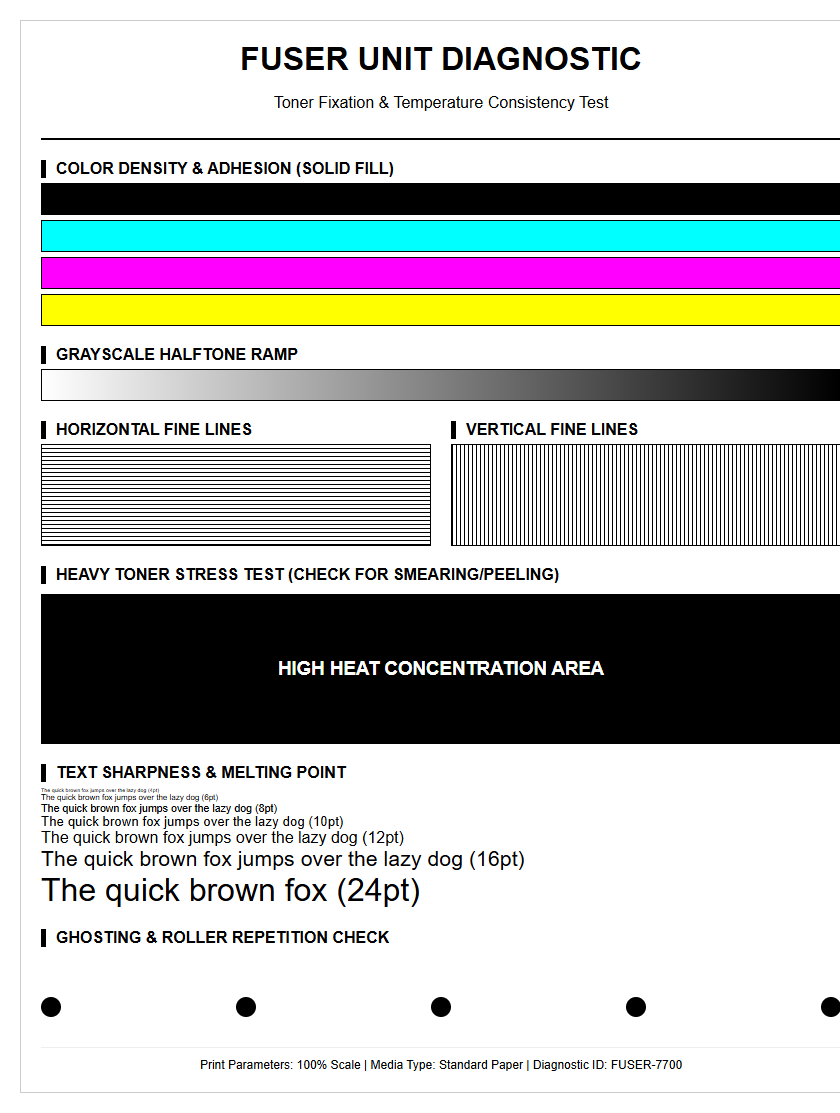
- Worn fuser rollers creating thermal inconsistencies during bonding.
Identifying these issues requires checking the printer's internal paper path for debris like paper dust or staples. If the vertical line is white or missing, it usually signifies a blockage in the delivery system. If the line is a solid color, it often points toward a damaged component like a corona wire or a developer roller. In professional environments, technicians use high-resolution test pages to map these streaks to specific hardware modules. By measuring the distance between repeating artifacts, one can determine if the issue originates from a small-diameter roller or a large-diameter drum.
Inkjet Print Head Maintenance for Clear Output
For inkjet systems, vertical banding is frequently linked to the health of the print head assembly. The print head contains thousands of microscopic nozzles that eject picoliter-sized droplets. When these nozzles become partially obstructed by dried pigment or air bubbles, the resulting output shows "white lines" or gaps in the vertical axis. To resolve this, most firmware includes a tiered cleaning utility to restore the fluid dynamics of the system.
- Run a standard cleaning cycle to prime the nozzles and remove air.
- Execute a "deep clean" if the initial purge fails to clear the blockage.
- Perform a print head alignment to sync the bidirectional passes.
Maintenance should also include a visual inspection of the capping station and wiper blade. If the wiper is coated in sludge, it will smear excess ink across the nozzle plate, causing dark vertical streaks rather than voids. Using a lint-free cloth and deionized water or specialized cleaning solution can manually restore the surface tension required for precise droplet firing. Regular use of the printer is the best preventative measure, as it prevents the ink's volatile organic compounds from evaporating.
Laser Printer Drum Issues and Banding Patterns
In laser printing, vertical banding is almost always a byproduct of an issue within the Electrophotographic (EP) process, specifically involving the Organic Photo Conductor (OPC) drum. The drum is a sensitive, light-reactive cylinder that holds an electrostatic charge. If the drum surface is scratched or contaminated, it cannot hold a uniform charge, resulting in vertical artifacts.
| Symptom | Potential Cause |
|---|---|
| Thin black vertical lines | Scratched OPC drum surface |
| Wide vertical white gaps | Debris on the laser scanner window |
| Repeated color spots | Contamination on the primary charge roller |
Because the drum interacts with the developer and the transfer belt, a physical defect on the drum will repeat at specific intervals. However, a continuous vertical line suggests a permanent physical scratch or a stuck cleaning blade. If the cleaning blade fails to scrape off excess toner after a revolution, that toner will be transferred to the next page, creating a dark vertical band. Replacing the drum unit is often the most effective remedy for these failures.
Impact of Clogged Nozzles on Print Quality
Clogged nozzles are the primary adversary of high-quality inkjet output. When a nozzle is "fired" but no ink emerges, it creates a microscopic void. As the print head moves horizontally and the paper advances vertically, these missing droplets manifest as thin, white vertical bands. This phenomenon is particularly noticeable in solid blocks of color or gradients. A nozzle check pattern is the standard diagnostic tool to visualize this failure.
- Deflection: The nozzle fires, but the droplet is misdirected due to residue.
- Full Clog: No ink is ejected, leaving a total void in the vertical path.
- Intermittent Clog: Air in the lines causes sporadic, non-repeating banding.
The severity of the banding depends on the nozzle density and the pass count of the print job. High-quality modes may "hide" some banding by using overlapping passes, but the underlying issue remains. Long-term neglect of clogged nozzles can lead to permanent damage, as the integrated circuit in the print head may overheat without the cooling effect of the ink flow. Monitoring these clogs via a printer test page is essential for maintaining color fidelity.
Troubleshooting Low Toner and Ink Distribution
Sometimes vertical banding is not a mechanical failure but a simple supply issue. As toner cartridges approach the end of their life cycle, the remaining powder may distribute unevenly across the developer roller. This results in "faded" vertical bands where the text or images appear lighter than in other areas. In many laser printers, a quick fix is to remove the cartridge and gently rock it side-to-side to redistribute the toner.
For inkjet users, low ink levels can introduce air into the supply lines, causing "starvation" at the print head. This starvation leads to vertical streaks because the ink flow cannot keep up with the high-speed demand of the print carriage. Users should perform the following checks:
- Check the internal status monitor for estimated supply levels.
- Inspect the "low ink" warning lights on the hardware interface.
- Verify that the breather tape on new cartridges has been fully removed.
If the banding persists despite having full tanks or cartridges, the issue may lie with the delivery pump or the internal pressure regulation system, requiring more advanced technical intervention.
Printer Calibration for Consistent Color Density
Calibration is the process of synchronizing the printer's software instructions with its physical output. Vertical banding can sometimes be a software-driven optical illusion caused by improper color density settings. If the printer's internal lookup tables (LUTs) are misaligned, specific channels may over-saturate, creating the appearance of dark vertical bands in composite colors. Most professional-grade printers offer a calibration suite that prints a series of color patches.
- Access the "Maintenance" or "System Setup" menu on the device.
- Select "Color Calibration" or "Density Adjustment" to begin the process.
- Print the calibration sheet and follow the on-screen prompts for adjustment.
The user (or an internal sensor) then scans these patches to measure the "delta-E" or color variance. By adjusting the voltage applied to the developer or the firing frequency of the nozzles, the printer can smooth out density fluctuations. This process ensures that the halftoning algorithms distribute dots evenly across the vertical axis. Regular calibration is crucial for professionals who rely on consistent, band-free output for color-critical proofing and final production.
Cleaning Internal Rollers to Prevent Vertical Marks
The paper path is a complex highway of rollers and belts designed to move media at high speeds with precision. Over time, these rollers accumulate paper dust, residual toner, and oils from the environment. This buildup can cause "tire marks" or physical indentations that appear as vertical banding. Specifically, the exit rollers-often called "star wheels"-can pick up wet ink from an inkjet and track it down the length of the page.
To maintain these components, users should periodically clean the rollers using a slightly damp, lint-free cloth. In laser printers, the transfer roller is particularly sensitive; touching it with bare skin can leave oils that repel toner, leading to light vertical bands. Key components include:
- Pickup Rollers: Ensure consistent paper feed without slippage.
- Transfer Rollers: Facilitate the movement of toner from the drum to paper.
- Fuser Rollers: Use heat and pressure to bond toner permanently.
Using a printer test page helps identify which roller is the culprit. By measuring the distance between repeating marks and comparing it to the circumference of the rollers, you can isolate the specific component requiring cleaning.
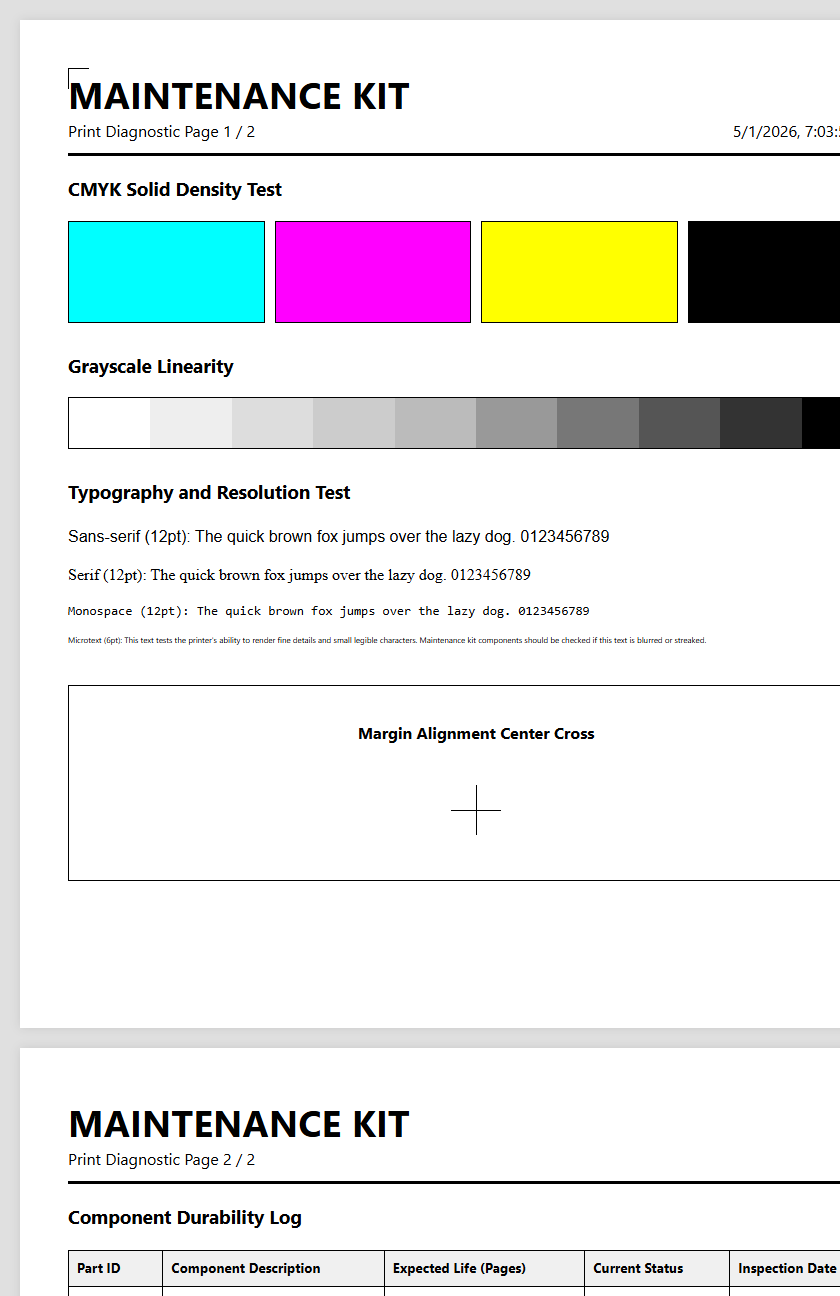
Analyzing Test Patterns for Banding Detection
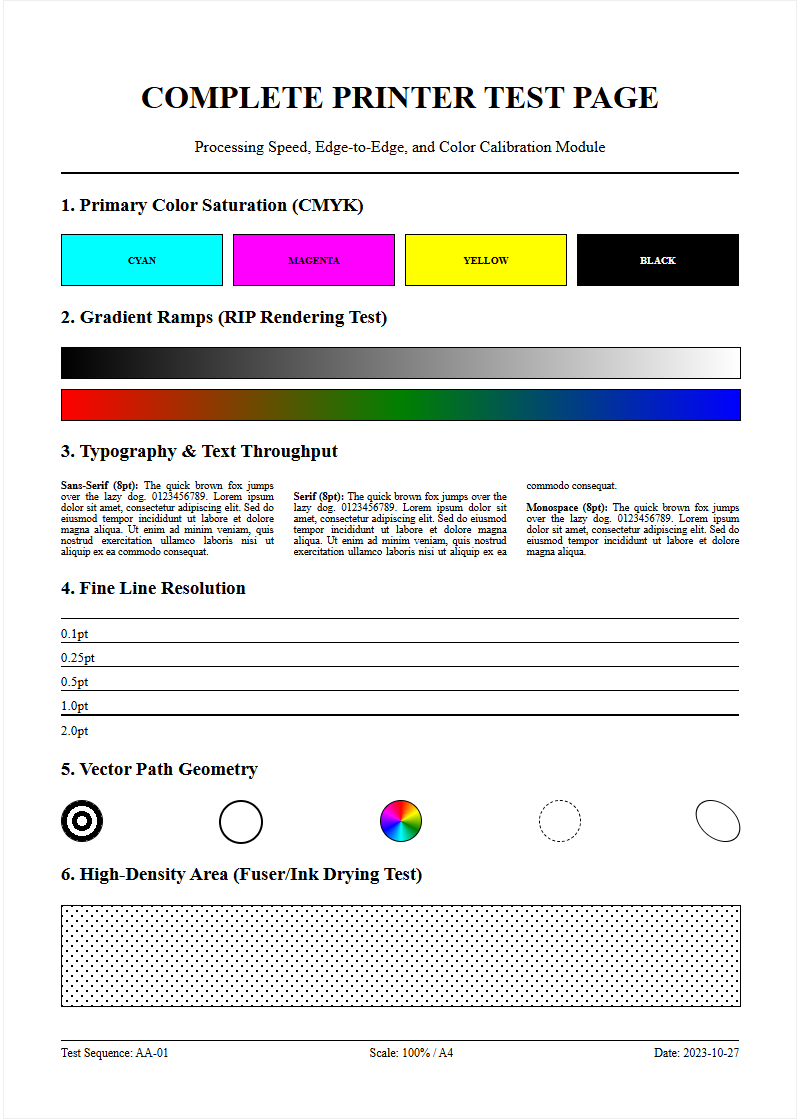
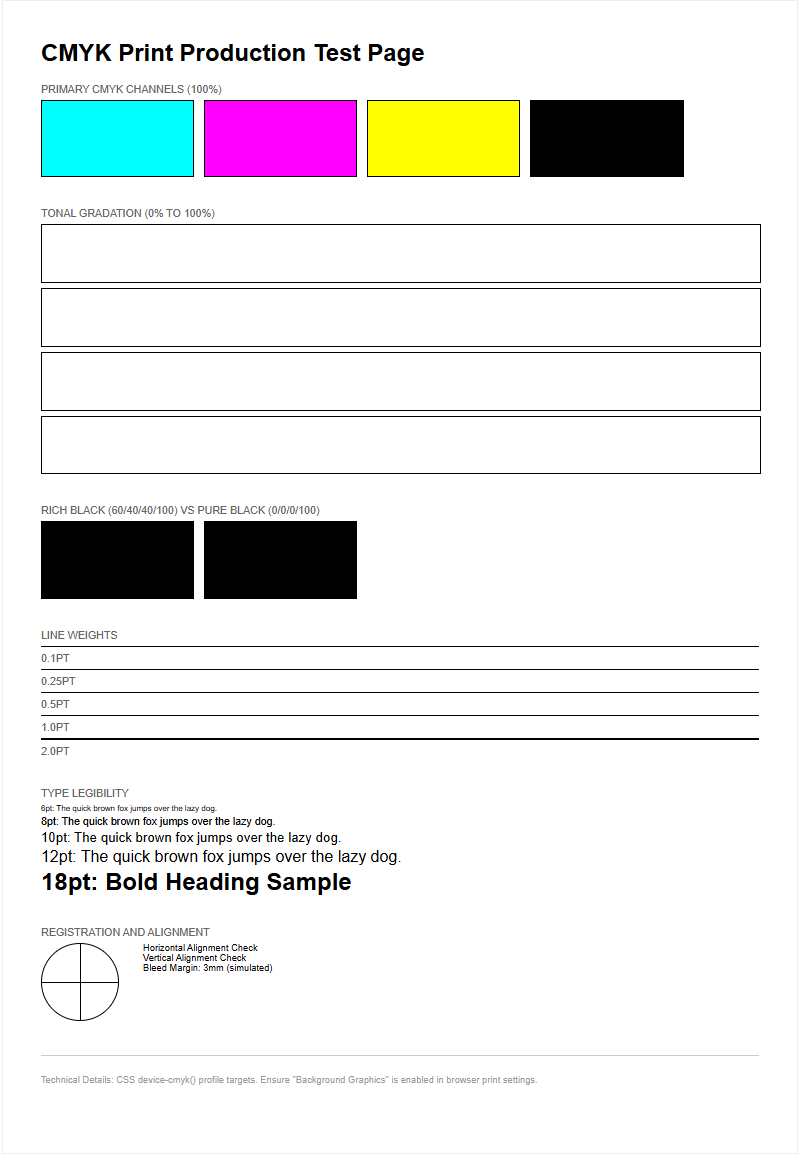
A printer test page is the most powerful diagnostic document in a technician's arsenal. It is specifically designed to highlight flaws that are invisible in standard text documents. When looking for vertical banding, pay close attention to the solid color bars (CMYK). If a vertical streak appears in only the Cyan bar, you know the issue is isolated to that specific ink or toner channel.
| Pattern Type | Detection Focus |
|---|---|
| Solid Color Blocks | Nozzle dropouts and density shifts |
| Gradient Ramps | Transition smoothness and mid-tone banding |
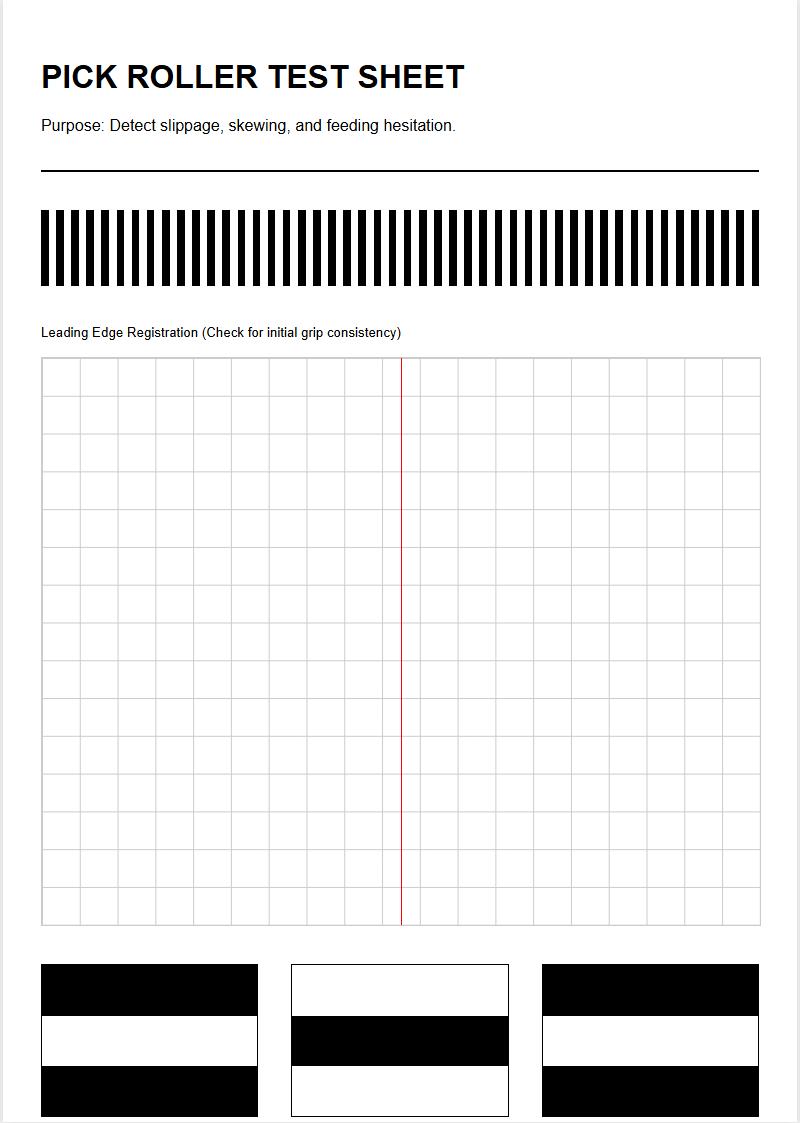
| Fine Line Grids | Mechanical alignment and registration accuracy |
Analyzing these patterns allows for a "differential diagnosis." For instance, if banding appears across all colors, the fault likely lies in a shared component like the transfer belt or the fuser. If the banding is restricted to one color, it is an isolated head or cartridge issue. This targeted approach saves time and prevents the unnecessary replacement of functional consumables, ensuring a more efficient maintenance workflow and lower total cost of ownership.
Preventative Maintenance for High Resolution Prints
Preventing vertical banding is more cost-effective than fixing it after it appears. A significant factor in print quality is the environment. High humidity can cause paper to swell, leading to head strikes and vertical smears, while low humidity increases static electricity, causing toner "scatter" and vertical ghosting. Maintaining a controlled environment is the first step toward high-resolution output.
- Keep Firmware Updated: Manufacturers release patches to improve ink firing algorithms.
- Use High-Quality Media: Cheap paper sheds more dust, which clogs nozzles and coats rollers.
- Store Consumables Correctly: Keep toner and ink in a cool, dry place to prevent clumping.
- Run Weekly Test Pages: Regular use keeps the mechanical parts lubricated and prevents ink stagnation.
By adhering to a strict maintenance schedule, users can ensure their hardware operates within its optimal duty cycle. This proactive stance minimizes downtime and maximizes the longevity of the print head and drum units. High-resolution prints require a pristine internal environment; even a single grain of dust on the laser glass or a dry nozzle can ruin an entire production run.

Comments