Evaluating the condition of a printer maintenance kit requires a systematic analysis of diagnostic test pages to ensure long-term device reliability. By examining engine cycle counts and the event log, technicians can assess the current wear on the fuser assembly and pickup rollers relative to their rated duty cycles. Key metrics include monitoring for thermal inconsistencies that lead to poor toner adhesion or ghosting, alongside physical inspections of roller friction surfaces to prevent multi-feed errors. Utilizing these diagnostic printouts allows for data-driven decisions on when to replace critical consumables, maintaining high-quality output and preventing unexpected downtime through proactive fuser and roller health monitoring.
What is a Printer Maintenance Kit
A printer maintenance kit is a curated set of replacement hardware components designed to refresh a laser printer's internal engine once it reaches a specific duty cycle. While toner cartridges provide the pigment, the maintenance kit addresses the mechanical fatigue of the paper path and the thermal degradation of the fusing system. These kits are essential for high-volume enterprise environments where laser printers execute thousands of cycles monthly. Without these periodic overhauls, the precision required for electrostatic printing begins to falter.
Typically, these kits target parts that experience the highest friction and heat. By replacing the fuser assembly, rollers, and pads simultaneously, users ensure the printer operates at peak efficiency. This preventive measure prevents catastrophic hardware failure and maintains the integrity of the print engine. Manufacturers engineer these kits to match the expected lifespan of the printer's most durable moving parts, ensuring that the device can achieve its full projected service life through scheduled technical intervention.
Identifying Signs of Printer Component Wear
Recognizing when a printer requires a maintenance kit is vital for avoiding downtime. The most common indicators are physical defects appearing on the output or mechanical inconsistencies during the paper feed process. When rollers lose their coefficient of friction due to glazing or paper dust accumulation, the printer may struggle to pull paper from the tray, leading to frequent misfeeds or multi-sheet pulls. You should monitor for the following symptoms:
- Persistent paper jams near the fuser area or registration assembly.
- Loud grinding or squeaking noises during the warm-up or printing cycle.
- Ghosting or blurred images where the toner fails to adhere correctly.
- Repetitive spots or vertical lines appearing at set intervals down the page.
In many modern networked printers, the internal logic board monitors the page count and will trigger a "Perform Printer Maintenance" or "Replace Maintenance Kit" message on the LCD panel. This alert is based on the hardware's programmed threshold, signaling that the mechanical integrity of the pickup rollers and fuser film is likely compromised, regardless of current print quality.
Using Test Pages to Diagnose Maintenance Needs
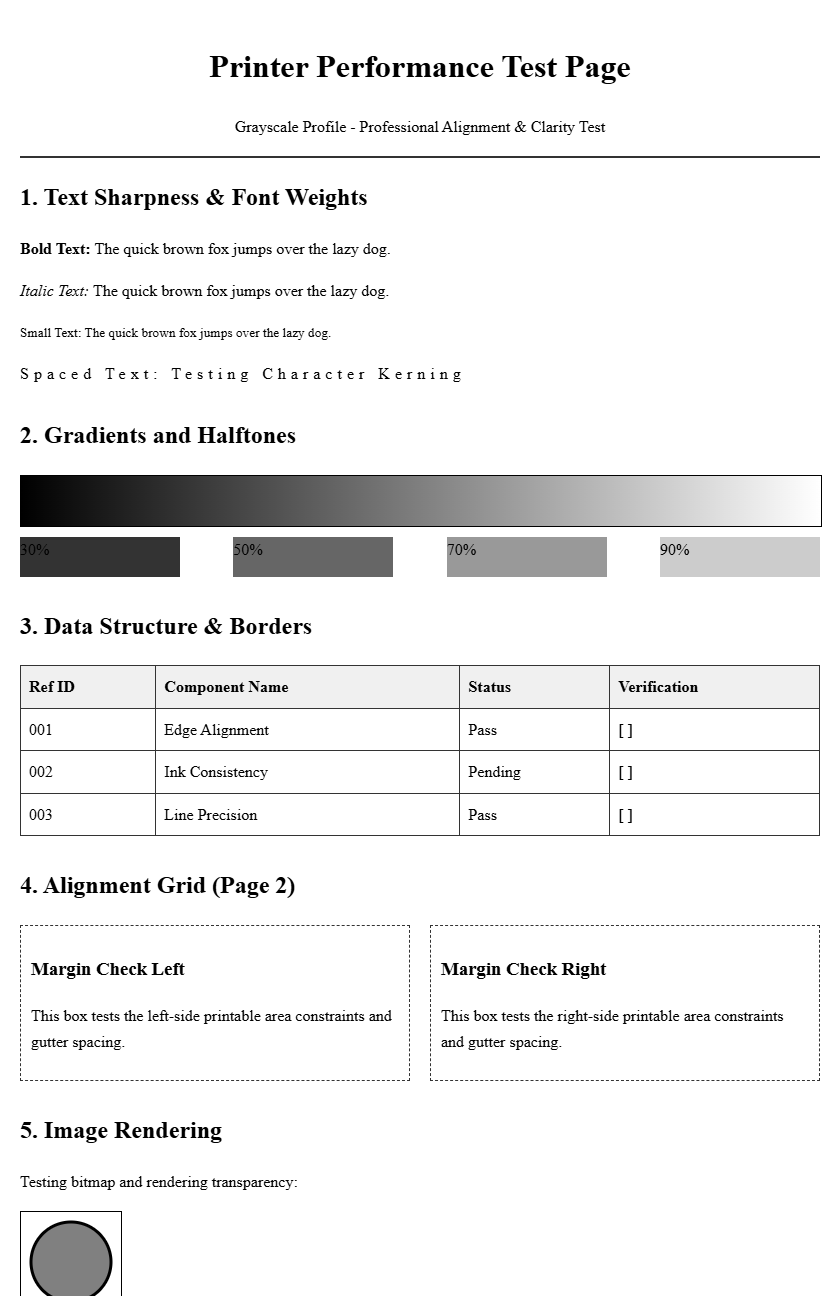
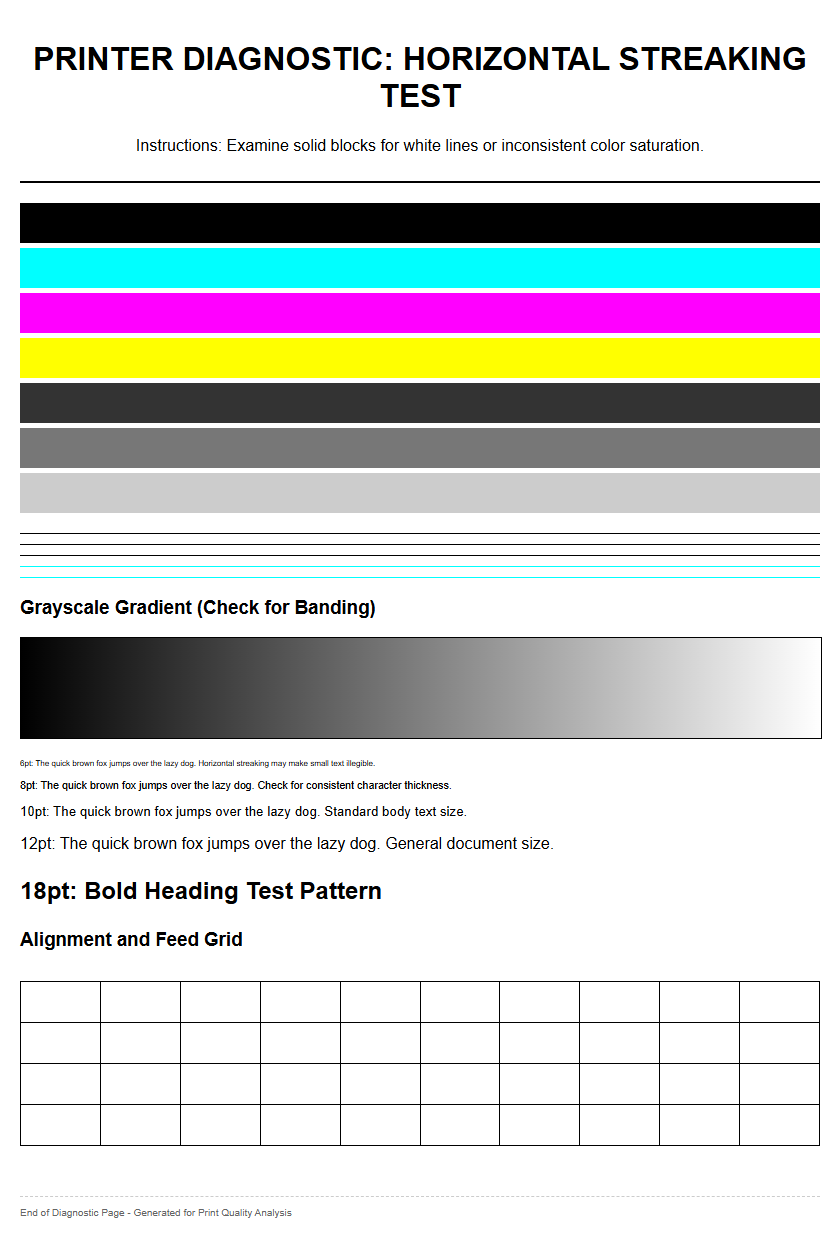
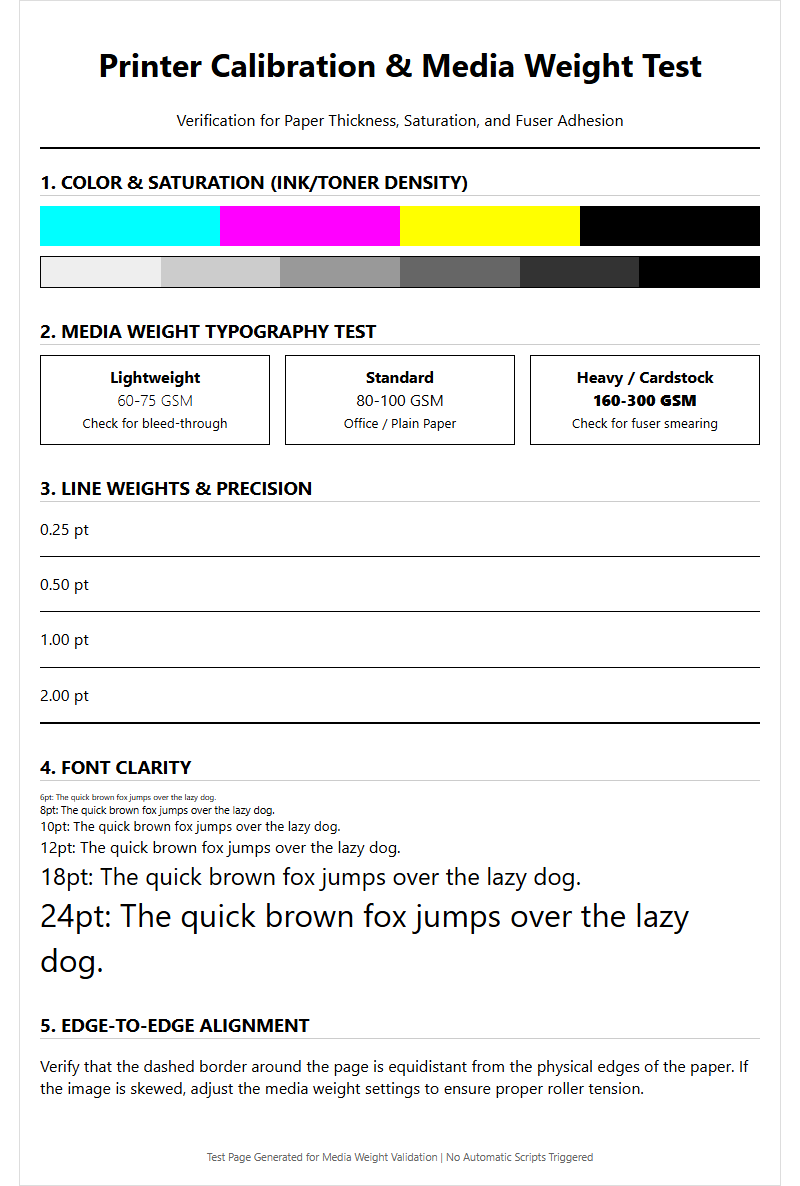
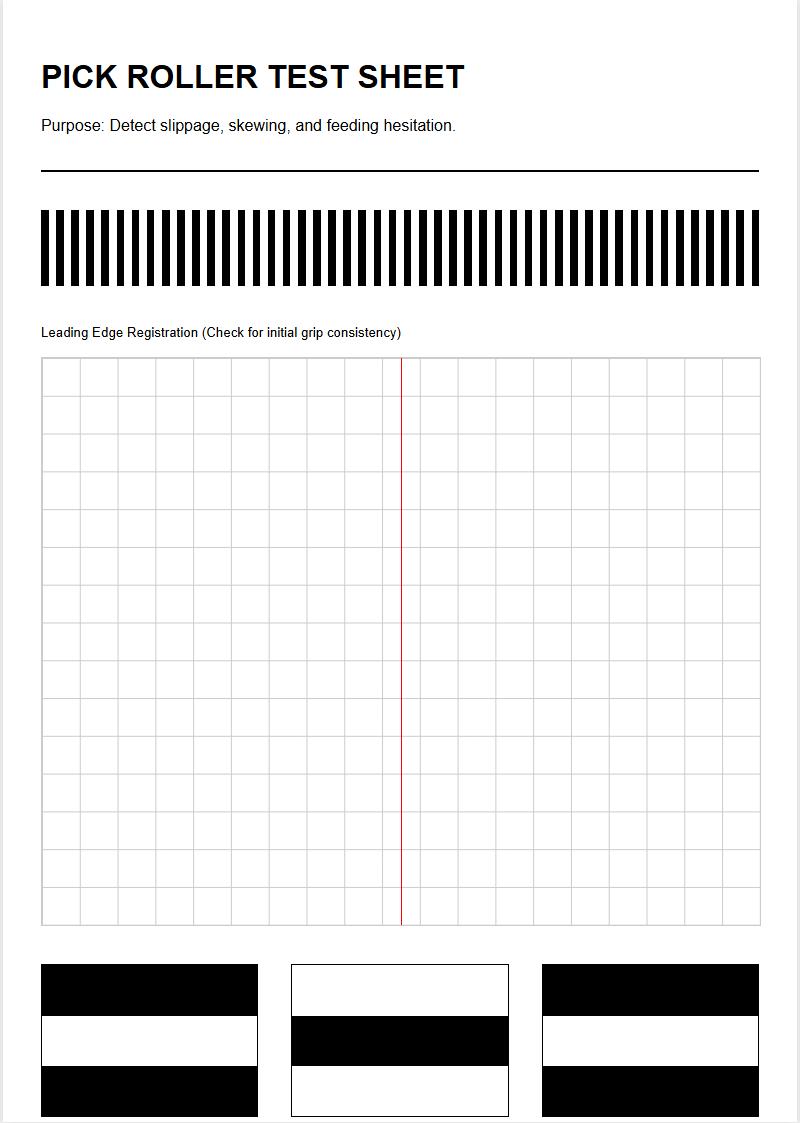
Diagnostic test pages serve as a roadmap for identifying specific hardware failures before they lead to a complete system breakdown. By printing a "Configuration Page" or a "Print Quality Troubleshooting Page," technicians can analyze the health of the fuser and transfer systems. For instance, a repeating defect ruler on a test page helps determine if a mark is caused by a nick in the fuser sleeve or a smudge on the transfer roller based on the exact distance between the artifacts.
Furthermore, the "Event Log" found within the system menus provides a history of paper jam codes. High frequencies of specific error codes, such as those related to late paper arrival at the registration sensor, point directly to worn pickup rollers. Utilizing a grayscale test pattern can also reveal issues with the transfer roller's ability to maintain a consistent electrostatic charge. These internal reports transform abstract mechanical issues into quantifiable data, allowing for a precise determination of whether a full maintenance kit is required or if a simple cleaning of the sensors will suffice.
Common Components Inside a Maintenance Kit
A standard maintenance kit contains several critical components that handle the physical movement of paper and the permanent bonding of toner. The composition varies by model, but the core elements remain consistent across most laser platforms. The fuser assembly is the most substantial part, utilizing heat and pressure to melt toner into the paper fibers. The transfer roller is equally important, as it manages the electrical charge that pulls toner from the drum to the media.
| Component | Primary Function |
|---|---|
| Fuser Assembly | Bonds toner to paper using high-temperature rollers. |
| Transfer Roller | Facilitates the electrostatic transfer of toner particles. |
| Pickup Rollers | Grips and pulls individual sheets from the input tray. |
| Separation Pad | Prevents multiple sheets from being fed simultaneously. |
Secondary items often include friction pads and feed rollers for optional trays. These components are designed for high-stress environments, featuring specialized rubber compounds and thermal coatings that eventually degrade under the constant heat of the laser printing process.
Step by Step Installation Guide
Installing a maintenance kit requires precision and adherence to safety protocols, particularly regarding thermal hazards. Always begin by powering down the printer and disconnecting it from the AC outlet. If the printer has been active, allow at least 30 minutes for the fuser assembly to cool down to avoid burns. Open the rear or side access panels to locate the fuser, which is typically secured by two thumbscrews or locking levers.
- Remove the old fuser assembly by releasing the locking clips and pulling it straight out of the chassis.
- Slide the new fuser into the guides until it clicks firmly into the internal connectors.
- Replace the transfer roller, taking care not to touch the black foam surface with bare fingers, as skin oils can cause print defects.
- Swap out the pickup rollers and separation pads by pinching the release tabs and sliding the new rubber rollers onto the shafts.
- Close all access doors and reconnect the power cable.
Ensure all components are seated properly to prevent mechanical binding when the printer initializes its power-on self-test.
How to Reset the Printer Maintenance Counter
Simply replacing the physical hardware does not automatically clear the maintenance alerts on the printer's control panel. The internal NVRAM (Non-Volatile Random-Access Memory) keeps a running tally of the engine cycles and must be manually reset to zero to begin the next maintenance interval. The process varies significantly between manufacturers like HP, Lexmark, and Canon, but it generally involves navigating into a hidden "Service" or "Administration" menu.
On many enterprise models, you can find the "Reset Maintenance Count" option under the "Manage Supplies" or "Resets" sub-menu. Some older models require a "Cold Reset" or a specific button combination held during the boot sequence to access the configuration mode. Once the counter is reset, the printer logic acknowledges the new fuser and rollers, clearing any "Maintenance Required" warnings and allowing the device to return to a "Ready" state. Neglecting this step will cause the printer to continue reporting a maintenance error, which may eventually lock the device or prevent remote monitoring software from accurately tracking the health of the hardware.
Print Quality Improvements After Maintenance
The immediate result of installing a new maintenance kit is a visible restoration of print clarity and consistency. A fresh fuser assembly ensures that the heat is distributed evenly across the entire width of the page, eliminating "fuser wrap" or spots where the toner can be rubbed off with a finger. The new transfer roller provides a uniform electrostatic field, which results in deeper blacks, smoother grayscale gradients, and the elimination of the "ghosting" effect where faint images of previous pages reappear.
Additionally, the replacement of the paper path rollers drastically improves registration. This means the margins will be consistent, and images will be perfectly centered without the slight skewing often seen with worn, uneven rollers. By refreshing the mechanical components, the internal timing of the paper moving through the imaging drum is synchronized perfectly. This reduces the "backgrounding" or "haze" often seen on high-mileage printers, making the output look as crisp as it did when the machine was first unboxed. High-resolution test pages will confirm these improvements through sharp line definitions and clean white spaces.
Maintenance Kit Life Expectancy and Intervals
Maintenance kit intervals are determined by the manufacturer's engineering specifications, usually expressed in total page counts. For mid-range office printers, the interval is typically between 100,000 and 150,000 pages, while high-end production machines may stretch to 225,000 pages or more. However, these figures are based on standard 20lb bond paper under ideal humidity and temperature conditions. Environmental factors can significantly shorten these intervals.
Using abrasive media, such as heavy cardstock, labels, or textured envelopes, increases the wear on the fuser's non-stick coating and the grip of the pickup rollers. Similarly, high-humidity environments can cause paper fibers to soften, leading to faster buildup of debris on the separation pads. To manage life expectancy effectively, administrators should periodically check the "Supplies Status" page, which provides a percentage-based estimate of the remaining life for the maintenance kit. This allows for proactive ordering of parts before the printer hits the hard limit and triggers a maintenance-related shutdown or significant quality degradation.
Genuine vs Compatible Printer Maintenance Kits
When selecting a maintenance kit, the choice between Genuine OEM (Original Equipment Manufacturer) and third-party compatible kits often comes down to a balance of cost and reliability. OEM kits are manufactured to the exact tolerances of the original device, ensuring 100% compatibility and maintaining the manufacturer's warranty. These kits use new components, specifically the fuser film and heating elements, which are calibrated for the printer's specific voltage and thermal requirements.
Compatible or "refurbished" kits offer a significant cost saving, often priced 30% to 50% lower than OEM versions. However, the quality can vary. Some third-party kits use harvested fuser cores that have been rebuilt with new sleeves. While functional, they may not offer the same longevity or heat consistency, potentially leading to premature "fuser error" codes or slightly inferior toner bonding on thick media. For mission-critical environments, OEM kits are generally recommended to avoid the risk of internal damage. For secondary printers with lower output requirements, high-quality compatible kits from reputable vendors can be a viable way to extend the machine's life on a budget.
Proactive Maintenance for Long Term Printer Health
While a maintenance kit is a reactive solution to wear, proactive habits can extend the time between these expensive overhauls. Regularly cleaning the internal paper path with a lint-free cloth and using compressed air to remove accumulated paper dust prevents the rollers from becoming prematurely glazed. Dust is the primary enemy of precision sensors; keeping the "registration sensor" and "exit sensor" clean reduces the false jam alerts that can lead to unnecessary component replacements.
Another key factor in long-term health is the use of high-quality media. Low-grade paper often sheds more "paper flour," which acts as an abrasive on the fuser's delicate heating sleeve. Additionally, ensuring the printer is located in a climate-controlled area prevents the rubber rollers from drying out and cracking. By combining these simple housekeeping tasks with the periodic installation of a maintenance kit, you ensure that the printer remains a reliable asset. This holistic approach to hardware management minimizes the total cost of ownership and ensures that every test page printed is a reflection of professional standards and mechanical excellence.

Comments