Evaluating media weight, measured in grams per square meter (GSM), is a fundamental step in optimizing printer test page quality and ensuring long-term hardware reliability. The density of your chosen substrate significantly influences thermal transfer efficiency during the fusing process. To achieve permanent toner adhesion without smearing or ghosting, fuser calibration must be precisely adjusted to match the paper's thickness. By fine-tuning bonding temperatures and dwell times, you ensure the laser assembly's output aligns with the media's heat absorption properties. This technical synergy minimizes print artifacts and maintains high-fidelity output across various document types.
Understanding Paper Weight and GSM
When evaluating media weight for printer testing, the primary unit of measurement used globally is GSM, or grams per square meter. This metric defines the density of the paper substrate, regardless of the actual sheet size. In the context of digital printing, GSM provides a standardized way to determine how the printer hardware will interact with the media. A higher GSM indicates a heavier, usually thicker sheet, which requires specific adjustments in the printer's internal mechanisms to ensure successful output.
- Lightweight (60-75 GSM): Often used for internal drafts or high-volume transactional documents.
- Standard (80-90 GSM): The typical office paper used for everyday printing and photocopying.
- Mid-weight (100-120 GSM): Ideal for letterheads, presentations, and double-sided documents to prevent show-through.
- Heavyweight (150+ GSM): Used for brochures, covers, and professional marketing materials.
Understanding these measurements is critical because the printer's fuser must reach specific temperatures to bond toner to the fibers. If the GSM is miscalculated, the heat may not penetrate the paper sufficiently, leading to poor toner adhesion and smearing during the testing phase.
Impact of Media Weight on Print Quality
Media weight plays a decisive role in the visual and tactile quality of the final print. Heavier media typically offers higher opacity, which is essential for duplex printing. When using lightweight paper, "strike-through" occurs, where the ink or toner from one side is visible on the reverse. This degrades readability and professional appearance. Furthermore, the weight of the media influences the color gamut and saturation. Thicker fibers in heavier stock allow for better ink holdout, meaning the pigment stays on the surface rather than sinking deep into the substrate, resulting in more vibrant colors.
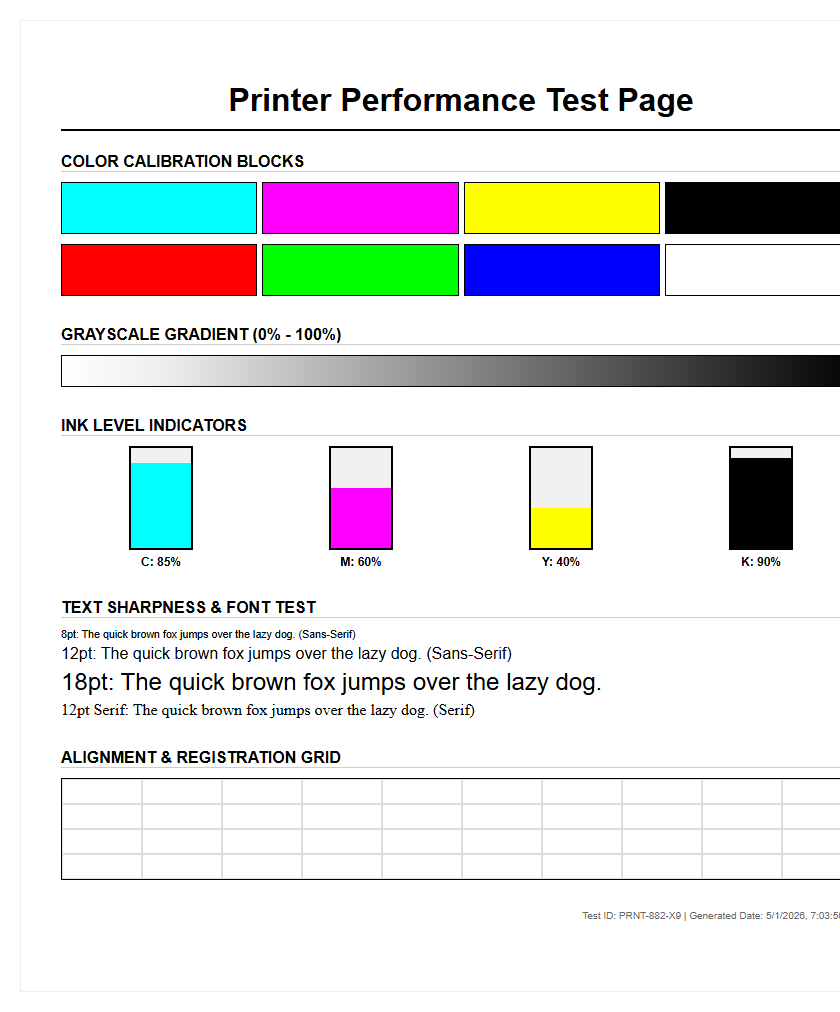
However, increased weight brings technical challenges. If the printer is not calibrated for the specific media weight, the fuser unit may not apply enough heat to melt the toner onto the thick surface. This results in "flaking," where the image literally peels off the page. Testing pages help identify these issues by utilizing grayscale gradients and solid color blocks to verify if the toner is properly fused across different densities. Achieving the perfect balance between substrate thickness and fuser dwell time is the key to professional-grade output.
Common Paper Weights for Office Printers
Office environments utilize a variety of media weights depending on the intended application. Most desktop laser and inkjet printers are optimized for a specific range, usually between 60 GSM and 200 GSM. Exceeding these limits without using the manual bypass tray can result in mechanical failure or persistent jams. Standardizing on certain weights allows for consistent calibration of color profiles and feed speeds.
| Media Type | Typical GSM Range | Common Application |
|---|---|---|
| Bond / Copy | 75 - 90 GSM | General documents, emails, and memos. |
| Text / Brochure | 100 - 130 GSM | Marketing flyers and high-quality reports. |
| Cover / Cardstock | 160 - 300 GSM | Business cards, postcards, and report covers. |
| Index Stock | 90 - 140 GSM | Index cards and lightweight signage. |
Choosing the correct weight from this spectrum is vital for the longevity of the printer's pickup rollers. While a printer may technically be able to pull a 250 GSM sheet from a standard tray, the increased friction can wear down the separation pads prematurely, leading to multi-feed errors in future print jobs.
How Media Thickness Affects Feeders
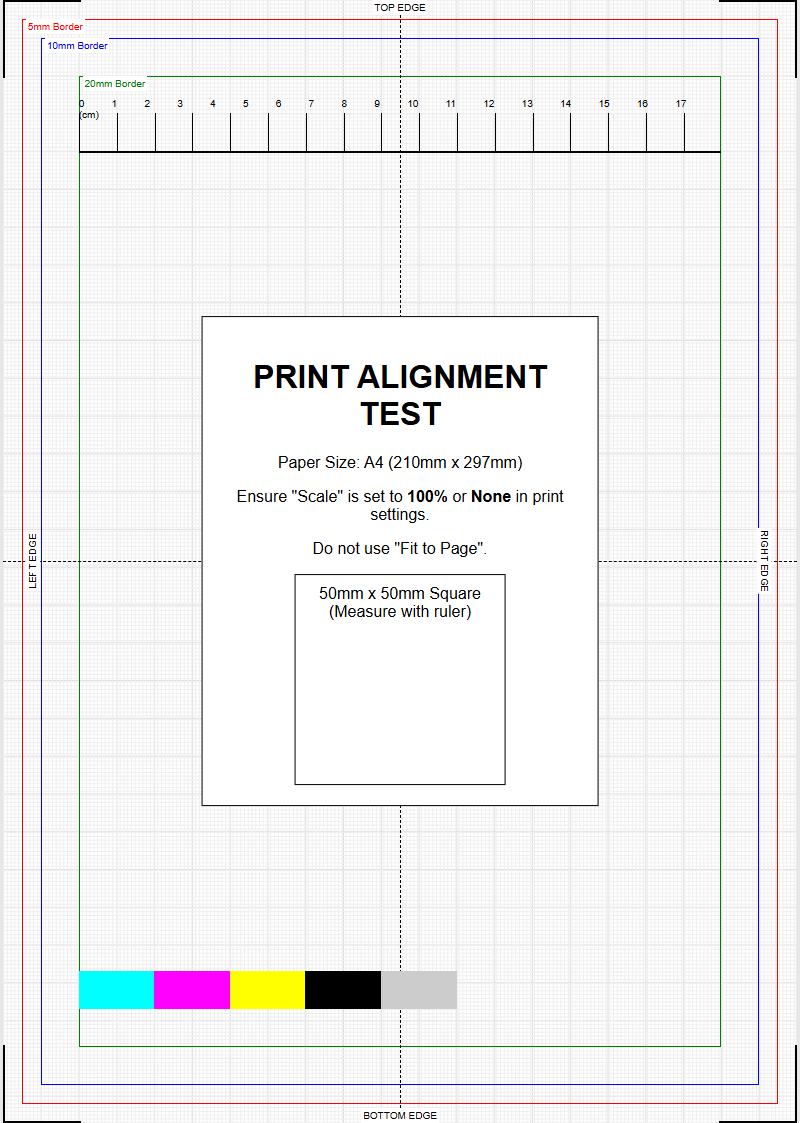
The physical thickness of media, often correlated with weight, dictates how the printer's feeding mechanism handles each sheet. High-weight media is inherently stiffer, which poses a challenge for printers with a "C-path" or "U-path" paper circuit. In these designs, the paper must wrap around rollers; if the media is too heavy, it resists bending, leading to a "misfeed" or a permanent crease in the page. This is why professional testing pages include margin markers to check for registration shifts caused by heavy stock slippage.
Feeders rely on a specific coefficient of friction between the pickup roller and the top sheet. Heavy media requires more torque from the drive motor to move the sheet from a standstill. If the media weight setting in the driver does not match the physical paper, the printer may interpret the delay in paper movement as a jam, triggering an error code. To mitigate this, many printers utilize "retard rollers" or "air-assist" feeding for heavy stock, ensuring that only one thick sheet enters the path at a time, maintaining the integrity of the mechanical workflow.
Adjusting Printer Settings for Heavy Stock
To achieve a successful print on heavy stock, the user must communicate the media weight to the printer's logic controller. This is not merely for cataloging; it changes the physical behavior of the machine. When a "Heavy" or "Cardstock" setting is selected, the printer typically slows down its "inches per second" (IPS) throughput. This allows the sheet to spend more time inside the fuser unit, ensuring that the heat penetrates the thicker fibers to bond the toner effectively.
- Access the Print Preferences menu on your workstation before sending the job.
- Select the 'Media Type' or 'Paper Grade' dropdown menu.
- Choose the specific weight range (e.g., Heavy 1, 106-163g) provided by the manufacturer.
- Ensure the physical tray guides are snugly fit against the media to prevent skewing.
- Utilize the Bypass Tray (Tray 1) for weights exceeding 120 GSM to ensure a straighter paper path.
Failing to adjust these settings often results in "fuser wrap," where the heavy, stiff paper fails to peel off the fuser roller and wraps around it, potentially causing expensive hardware damage and downtime.
Calibrating Colors Across Different Weights
Color reproduction is highly dependent on how light reflects off the surface of the paper, a factor heavily influenced by media weight and finish. Heavier papers often have different coating levels compared to standard 80 GSM bond paper. For instance, a 200 GSM silk-finish paper will absorb ink differently than a 200 GSM matte-finish sheet. During printer testing, color bars are used to measure the "Dot Gain," which is how much a droplet of ink spreads upon contact with the substrate. Heavier, denser papers usually exhibit less dot gain, leading to sharper images.
To maintain color consistency, technicians use spectrophotometers to create ICC profiles for each specific media weight. Because thicker paper can be more porous or more reflective, the printer must adjust the amount of cyan, magenta, yellow, and black (CMYK) it deposits. If you switch from a light weight to a heavy weight without recalibrating, you may notice a significant color shift, where images appear too dark or lose detail in the shadow areas. Testing ensures the "white point" of the paper is accounted for in the final color calculation.
Testing Media Weight with Sample Pages
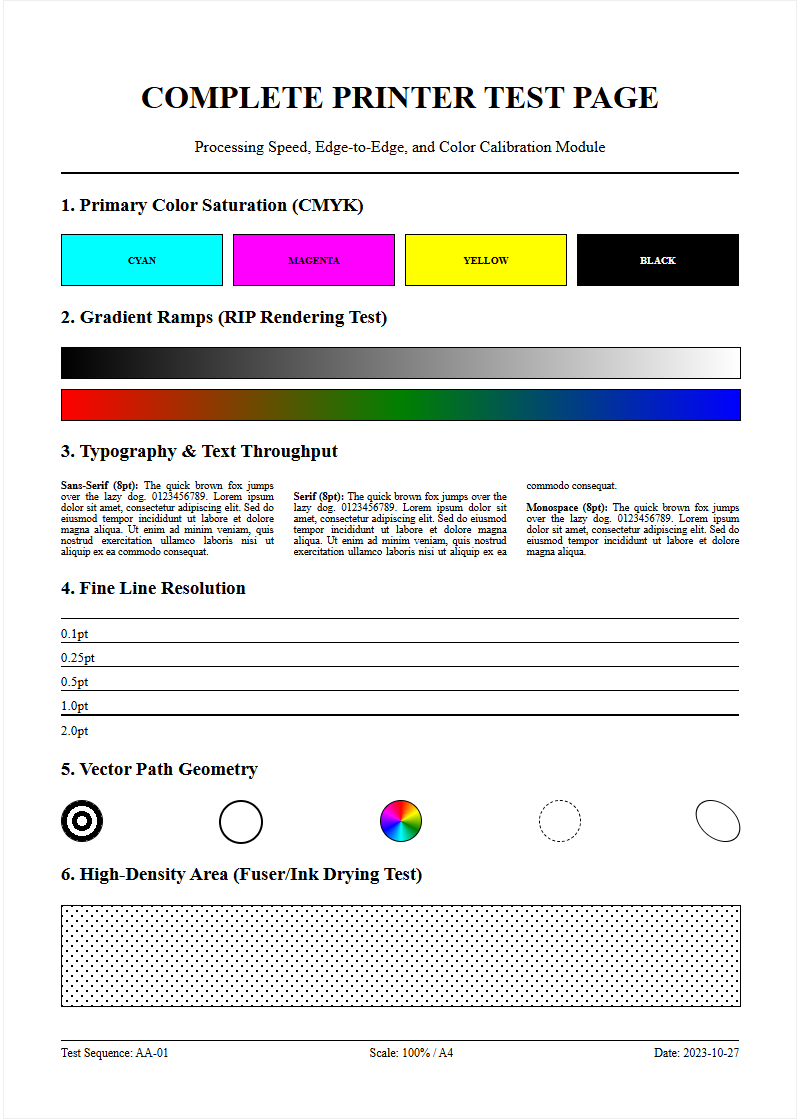
A printer testing page is an essential diagnostic tool when introducing a new media weight into your workflow. These pages are designed with specific technical elements that push the limits of the printer's capabilities. For heavy stock, the test page focuses on "fuser anchorage" and "registration accuracy." A common test involves printing a solid black block and then performing a "rub test" or "tape test" to see if any toner lifts off. If the toner smears, the media weight setting is likely too low for the actual thickness of the paper.
- Edge-to-Edge Alignment: Checks if the weight causes the paper to slip, shifting the image.
- Fine Line Definition: Ensures that the thickness doesn't cause "ghosting" or blurred edges.
- Gradient Smoothness: Verifies that the fuser maintains a consistent temperature throughout the long pass of a heavy sheet.
- Duplex Alignment: Confirms the printer can accurately flip and re-feed heavy stock without skewing.
By running these sample pages, operators can fine-tune the "bias voltage" and "transfer current," ensuring the electrical charge is strong enough to pull toner onto a thicker-than-normal substrate.
Preventing Jams with Correct Media Selection
Paper jams are the most frequent issue related to incorrect media weight selection. Every printer has a "Duty Cycle" and a "Media Specification" guide that lists the maximum supported GSM. Attempting to run media that is too heavy for the internal transport system leads to "accordion jams," where the paper bunches up because the exit rollers cannot pull the stiff sheet out as fast as the entry rollers are pushing it in. Additionally, the moisture content of heavy media can cause "curl," especially after it has been heated by the fuser.
To prevent these issues, always store heavy media in a climate-controlled environment to maintain optimal moisture levels. When loading the paper, "fan" the edges to break any static bond between the heavy sheets. Ensure that the media weight selected in the print driver matches the tray settings on the printer's physical control panel. If these two values conflict, many modern printers will trigger a "Size/Type Mismatch" error, halting production to prevent a certain jam. Using the straightest possible paper path-often through a rear exit tray-is the best practice for preventing jams on extremely heavy stocks.
Differentiating Basis Weight and Caliper
In the world of printer testing, professionals must distinguish between "Basis Weight" and "Caliper," as both impact how media moves through the machine. Basis weight is the weight of a ream (500 sheets) of paper at its uncut "basis size." Because different types of paper (Bond, Cover, Index) have different basis sizes, a 60 lb Bond sheet is actually much thinner than a 60 lb Cover sheet. This is why GSM is the preferred technical metric, as it provides a universal weight-to-area ratio regardless of the paper category.
Caliper, on the other hand, refers to the actual thickness of a single sheet, measured in "mils" (thousandths of an inch) or microns. Two sheets of paper can have the exact same GSM but different calipers if one is more compressed than the other. For a printer, the caliper determines whether the sheet will fit through the "nip" (the gap between rollers). In technical testing, we measure caliper to ensure the media will not scrape against the print heads in inkjet models or cause excessive resistance in laser printer fusers. Understanding both allows for more precise media profiling.
Selecting the Right Media for Professional Results
The final step in any printing workflow is selecting the media weight that aligns with the project's goals and the printer's capabilities. Professional results require a synergy between the aesthetic feel of the paper and the technical requirements of the hardware. For example, a high-end corporate report may feel flimsy on 80 GSM paper but might cause the printer to overheat if 300 GSM is used without proper interval cooling. Generally, 120 GSM offers a "premium" feel while remaining compatible with almost all standard office equipment and finishing tools like staplers and folders.
When selecting media, consider the post-printing process. Heavy media is more prone to "cracking" at the fold if it is not scored first. It also adds weight to mailing, which can increase postage costs. By using printer testing pages to validate how your machine handles various weights, you can build a "media library" of known-good stocks. This proactive approach ensures that when a high-stakes job arrives, you have already calibrated the fuser temperature, feed speed, and color profiles for that specific media weight, resulting in a flawless professional output every time.

Comments