Achieving professional output quality begins with precise print head alignment and calibration, a vital process for maintaining synchronization in inkjet systems. This guide examines how test page patterns diagnose mechanical issues like horizontal deviation, vertical banding, and bi-directional timing errors. By evaluating nozzle check grids and color registration blocks, you can calibrate micro-stepping parameters to ensure exact drop placement accuracy. Proper calibration eliminates graininess and color shifts, optimizing the carriage movement and media feed. Understanding these diagnostic patterns allows for systematic fine-tuning of the print assembly, ensuring consistent resolution and high-fidelity reproduction across various media types without straining hardware components.
Understanding Print Head Alignment
Print head alignment is a critical synchronization process that ensures the printer's nozzles deposit ink droplets at the exact coordinates required by the digital raster file. Inside an inkjet system, the carriage moves laterally across the substrate while the print head fires thousands of microscopic droplets. If the timing of these ejections is even slightly off-sync with the carriage's position, the resulting output will suffer from spatial distortion. This mechanical calibration compensates for the minute physical variances between the cyan, magenta, yellow, and black (CMYK) nozzle plates.
Achieving optimal alignment involves calibrating the bidirectional communication between the printer's firmware and the drive motor. This ensures that ink is placed accurately whether the carriage is moving from left to right or right to left. Without this precise electronic timing, the printer cannot maintain high-fidelity output. Factors influencing alignment include:
- Micro-vibrations within the chassis during high-speed operation.
- Thermal expansion of the print head components during long print jobs.
- The physical distance between the nozzle plate and the media surface, known as the "head gap."
Properly aligned hardware guarantees that vertical lines remain straight and color layers overlap with surgical precision, preventing blurry edges.
Identifying Misalignment Symptoms
When a printer's mechanical registration drifts, the visual symptoms are often immediate but vary depending on the severity of the deviation. One of the most common indicators is "ghosting," where text or lines appear with a faint duplicate shadow slightly offset from the original. This is typically a result of bidirectional misalignment. Another frequent symptom is jagged or "stair-stepped" vertical lines, which indicates that the print head's horizontal positioning is inconsistent across different passes.
Users should also look for horizontal banding, which manifests as white or dark lines running across the page. This often points to a synchronization error between the print head movement and the paper feed roller. In color photography, misalignment results in "color fringing," where the CMYK components fail to converge, creating a halo effect around high-contrast objects. To diagnose these issues effectively, refer to the following table of common visual artifacts:
| Symptom | Probable Cause | Impact |
|---|---|---|
| Blurry Text | Vertical Registration Error | Reduced Legibility |
| Jagged Outlines | Carriage Timing Inconsistency | Loss of Precision |
| Color Bleeding | Inter-channel Misalignment | Inaccurate Gamut |
Step by Step Calibration Guide
To initiate a calibration, first ensure that the printer is loaded with high-quality, bright white paper, as the optical sensors require high contrast to read the test patterns. Access the printer's "Maintenance" or "Tools" menu via the control panel or the desktop driver utility. Select the "Print Head Alignment" option. The device will generate an alignment sheet consisting of numbered patterns or grids. Your task is to identify the pattern in each set that shows the least amount of banding or the straightest line segments.
- Navigate to the printer software interface on your workstation.
- Select the "Maintenance" tab and click "Print Head Alignment."
- Examine the printed test sheet under strong, natural light.
- Identify the squares or lines where the ink distribution is most uniform and the gaps are invisible.
- Input the corresponding alphanumeric values into the software dialog box.
- Click "Apply" or "Finish" to update the printer's internal EEPROM with the new calibration offsets.
Performing this routine after every cartridge replacement or when moving the printer physically will ensure that the mechanical tolerances remain within the manufacturer's specified range for optimal dot placement.
Fixing Slanted or Crooked Printing
Slanted or crooked printing, technically known as "skew," is often a physical alignment issue rather than a print head timing error. This occurs when the media is not pulled through the paper path at a perfectly perpendicular angle to the print head carriage. The primary culprit is often the friction feed mechanism. If the pick-up rollers are dirty or worn unevenly, they will exert unequal force on the paper, causing it to pivot as it enters the platen area.
To resolve skew, inspect the paper guides in the input tray to ensure they are snugly fitted against the media stack without bowing the paper. Check the duplexer and the rear access door for any lodged debris or paper dust that could be obstructing the paper path. Clean the rubber rollers with a lint-free cloth lightly dampened with isopropyl alcohol to restore their grip. If the skew persists, it may indicate a failure in the stepper motor or a misalignment of the drive shaft. Ensuring that the substrate is stored in a low-humidity environment also prevents paper curling, which is a common contributor to crooked feeding and subsequent head strikes.
Enhancing Text and Image Precision
Achieving maximum precision in text and image reproduction requires a synergy between hardware alignment and software configuration. High-resolution printing (measured in DPI, or dots per inch) relies on the printer's ability to place ink droplets at sub-pixel increments. To enhance precision, ensure that the "Best" or "High Quality" setting is selected in the print driver, which slows down the carriage speed and increases the number of passes per line. This reduces the margin for kinetic error and allows for better ink coalescence.
Text sharpness is specifically affected by the "font smoothing" or "anti-aliasing" algorithms used by the operating system. However, if the hardware alignment is off, these digital enhancements will only highlight the physical defects. By calibrating the "Paper Feed Offset," you can eliminate micro-banding that disrupts the continuity of fine serif fonts and thin vector lines. For image precision, aligning the color planes ensures that the overlapping dots create a smooth dithering pattern rather than a grainy, mottled texture. Using the correct ICC profile for your specific media type further ensures that the color registration remains consistent across various lighting conditions.
Manual Alignment Procedures Explained
While many modern printers feature automatic optical alignment, manual alignment remains the gold standard for professional-grade accuracy. In a manual procedure, the printer outputs a series of complex test patterns, often featuring overlapping blocks or fine-line grids. The user acts as the high-precision sensor, visually identifying the "sweet spot" where the mechanical offsets are perfectly neutralized. This is necessary because automatic sensors can sometimes be fooled by the reflective properties of certain specialty media or glossy photo paper.
During a manual alignment, you will typically see several rows labeled with letters (A, B, C, etc.). Each row contains numbered boxes. You must choose the box where the two printed colors or lines overlap so perfectly that they appear as a single, solid color or a perfectly straight line with no visible "breaks." If you choose a box that is slightly off, the printer will apply a compensation factor that may exacerbate the issue in the next pass. It is often beneficial to use a magnifying loupe to inspect the patterns, ensuring that the dot-on-dot registration is achieved at the micron level before finalizing the settings in the firmware.
Resolving Gaps and Overlapping Ink
Gaps and overlapping ink are manifestations of "step" errors in the paper advance mechanism. If the printer advances the paper too far between passes, white gaps (horizontal banding) appear. Conversely, if the paper does not advance far enough, the ink from subsequent passes overlaps, creating dark, saturated streaks. These issues are often corrected through "Paper Feed Calibration," a process separate from but related to print head alignment. This calibration adjusts the firmware's control over the stepper motor that drives the grit rollers.
To resolve these defects, print a dedicated "Feed Test Page." If you notice dark bands, decrease the feed adjustment value; if you see white gaps, increase the value. Furthermore, ensure that the media settings in your driver match the actual weight and thickness of the paper being used. Heavier cardstock requires different feed tensions than standard 20lb bond paper. Additionally, check the "bidirectional" settings; sometimes disabling bidirectional printing (forcing the printer to only print while moving in one direction) can temporarily resolve gaps by eliminating the complexities of timing the return pass, though this will significantly reduce print speed.
Maintaining High Quality Output
Consistency is the hallmark of professional printing, and maintaining that quality requires a proactive maintenance schedule. Print head alignment is not a "set and forget" task; it should be revisited periodically, especially in environments with fluctuating temperatures or humidity. These environmental factors can cause the mechanical components of the printer to expand or contract, and can also change the drying time and viscosity of the ink. Regular use of the "Nozzle Check" utility is essential to ensure that no individual nozzles are clogged, as a single missing jet can mimic the appearance of a misalignment.
To maintain high standards, consider the following maintenance routine:
- Perform a nozzle check every 50 prints or once a week.
- Clean the encoder strip-the clear plastic band behind the carriage-to ensure the optical sensor can read the carriage position accurately.
- Update the printer firmware to the latest version to benefit from improved calibration algorithms.
- Store ink cartridges in a cool, dark place and use them before their expiration date to prevent pigment sedimentation.
By treating the printer as a precision instrument, you extend the lifecycle of the print head and maintain gallery-quality output.
Evaluating Print Accuracy Patterns
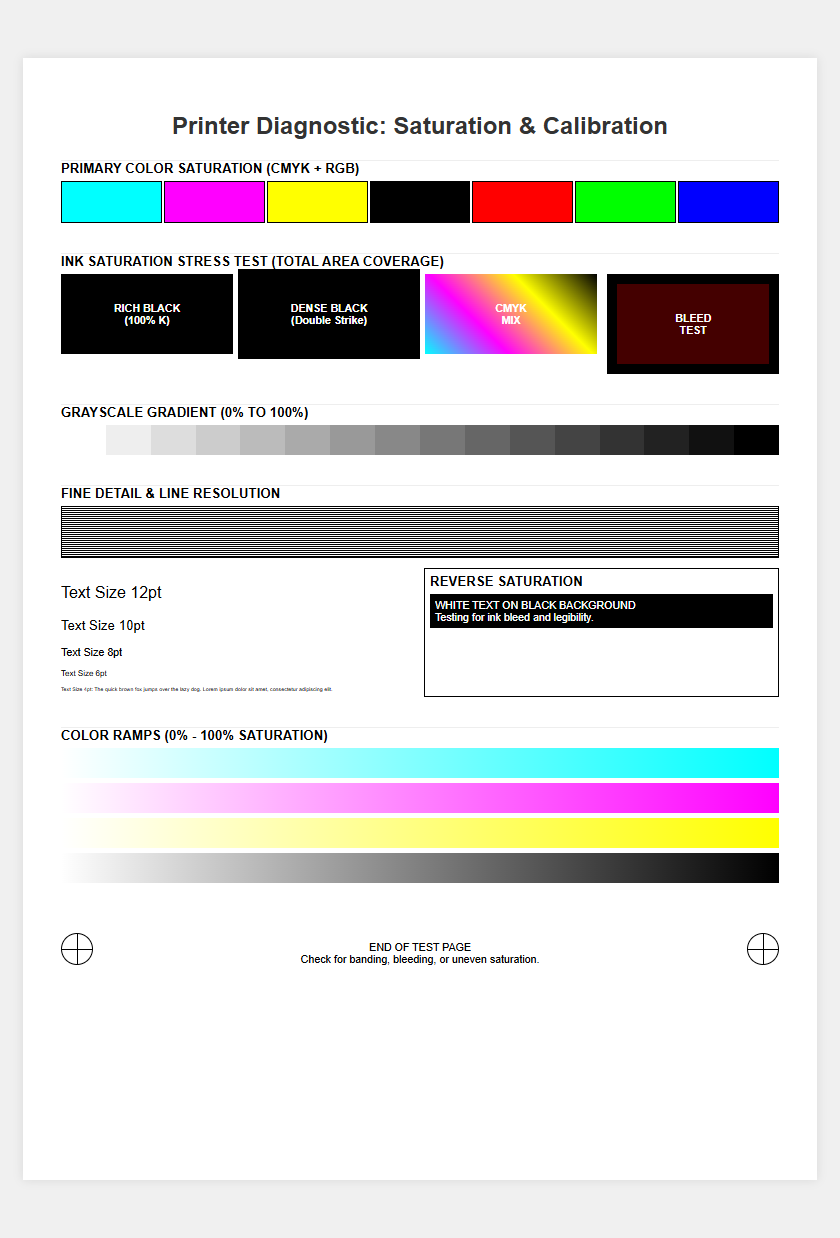
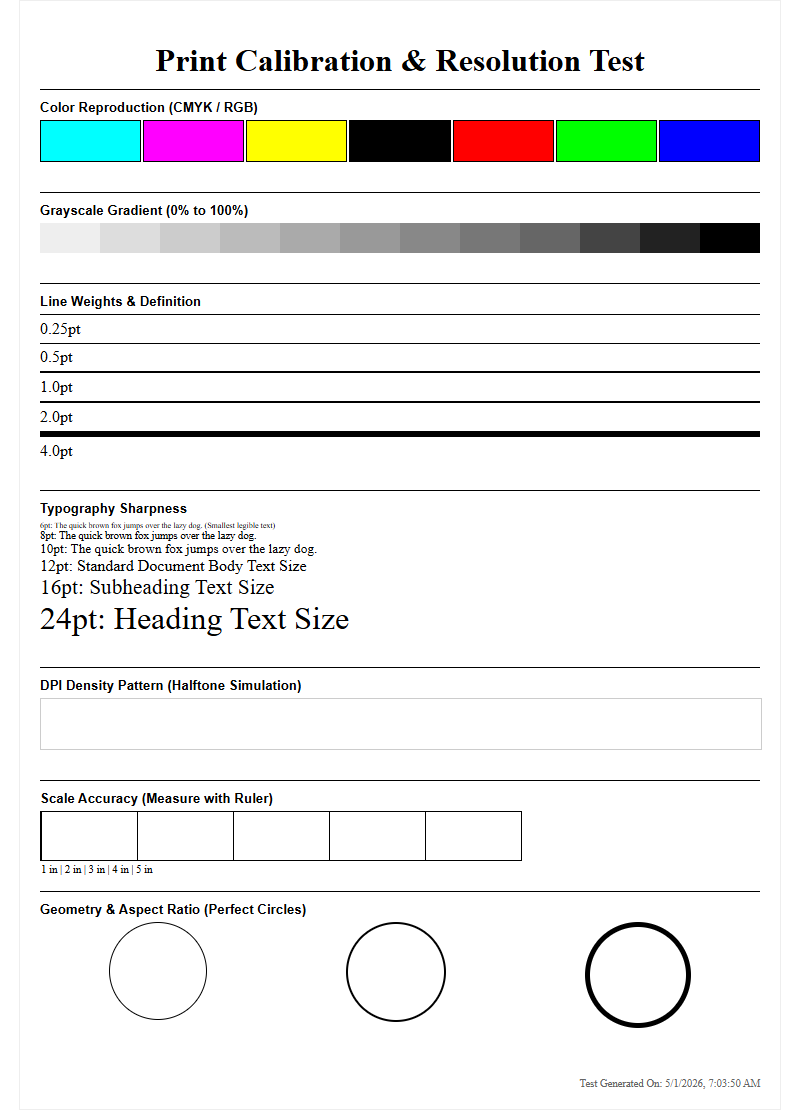
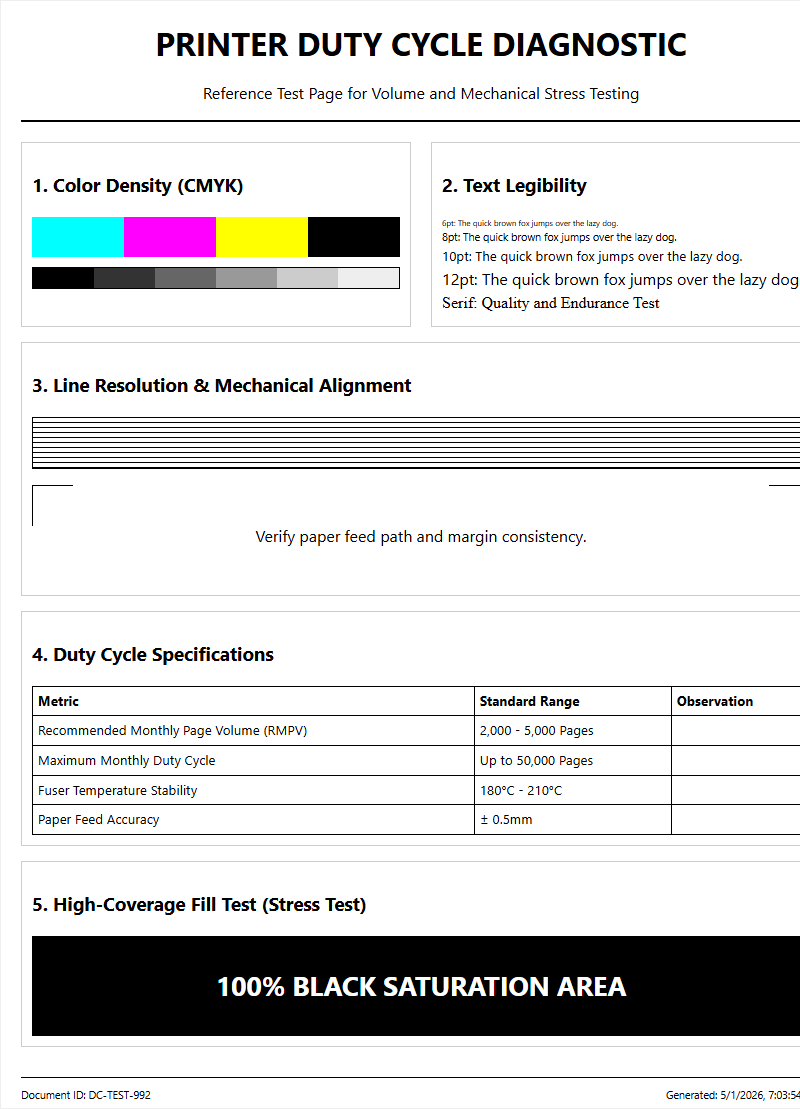
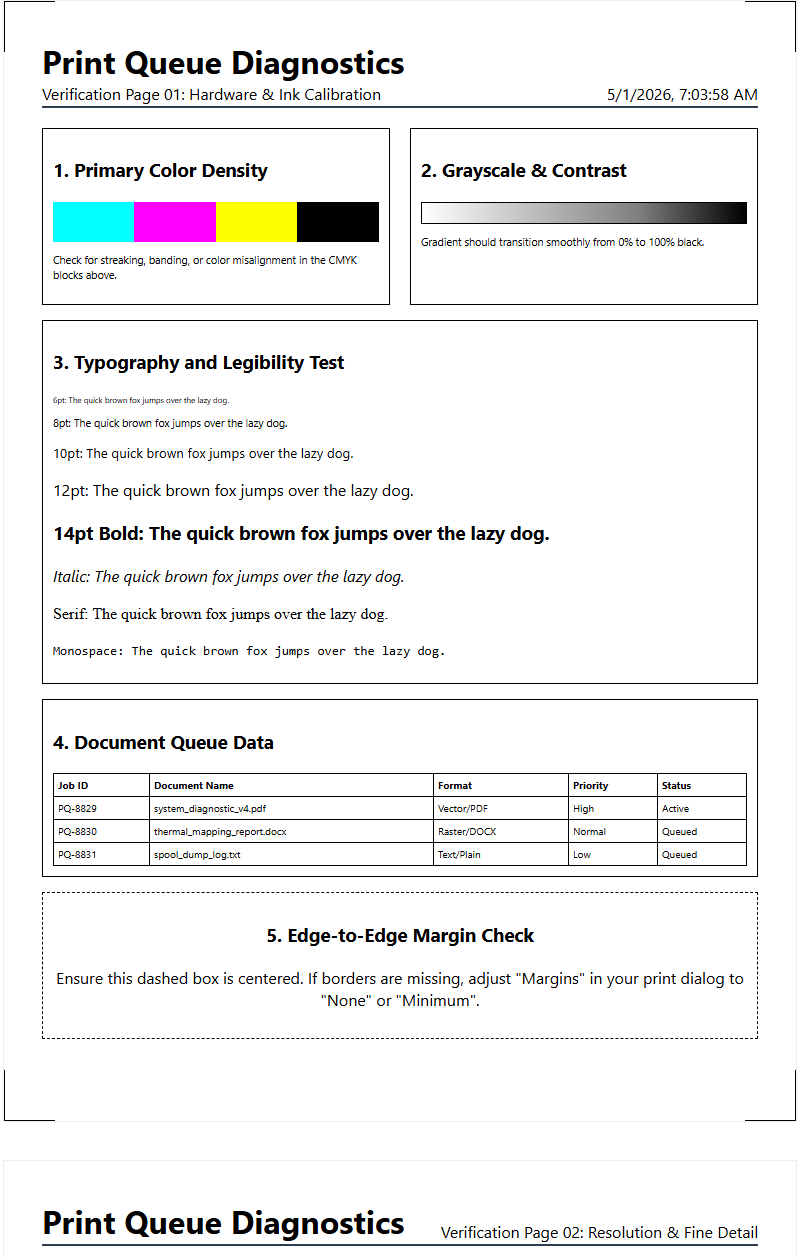
The evaluation of a print accuracy pattern is a systematic process of analyzing geometric targets and color bars. These patterns are designed to stress-test the printer's registration capabilities. A standard accuracy pattern includes "crosshair" targets in the corners of the page; if the horizontal and vertical lines of these crosshairs do not meet perfectly, the printer is experiencing a global registration error. Another common element is the "moire" pattern, which reveals interference between the screen angles of the different ink colors.
When reviewing these patterns, look for "color bleed" in the CMYK overprints. If the magenta layer is visible outside the edges of the cyan layer in a blue patch, the inter-channel alignment is faulty. Grayscale gradients are also useful for evaluating alignment; any tinting or "banding" in a neutral gray ramp suggests that the ink droplets are not mixing in the correct proportions due to spatial displacement. Professional testers often use a spectrophotometer or a high-resolution scanner to quantify these errors, but a trained eye can detect deviations as small as 0.1mm on a well-designed test pattern.
Troubleshooting Hardware Calibration Errors
Sometimes, the alignment process fails entirely, resulting in error messages or patterns that are impossible to calibrate. This usually indicates a hardware-level failure. The first component to inspect is the "encoder strip," a semi-transparent ribbon that provides the carriage with its horizontal position data. If this strip is contaminated with ink mist or grease, the optical sensor will misread the position, leading to erratic carriage movement and severe misalignment. Cleaning it gently with a dry, lint-free cloth often resolves the issue.
If cleaning the strip does not work, the problem may lie with the carriage timing belt. A loose or worn belt can cause "backlash," where the carriage doesn't return to the exact same starting point after every pass. Additionally, ensure that the carriage rail is properly lubricated; excessive friction can cause the motor to skip steps. In rare cases, a "service error" during calibration may point to a failing print head or a corrupted logic board. If software resets and physical cleanings fail to restore alignment, the printer may require a factory reset or a professional replacement of the drive assembly components.


Comments