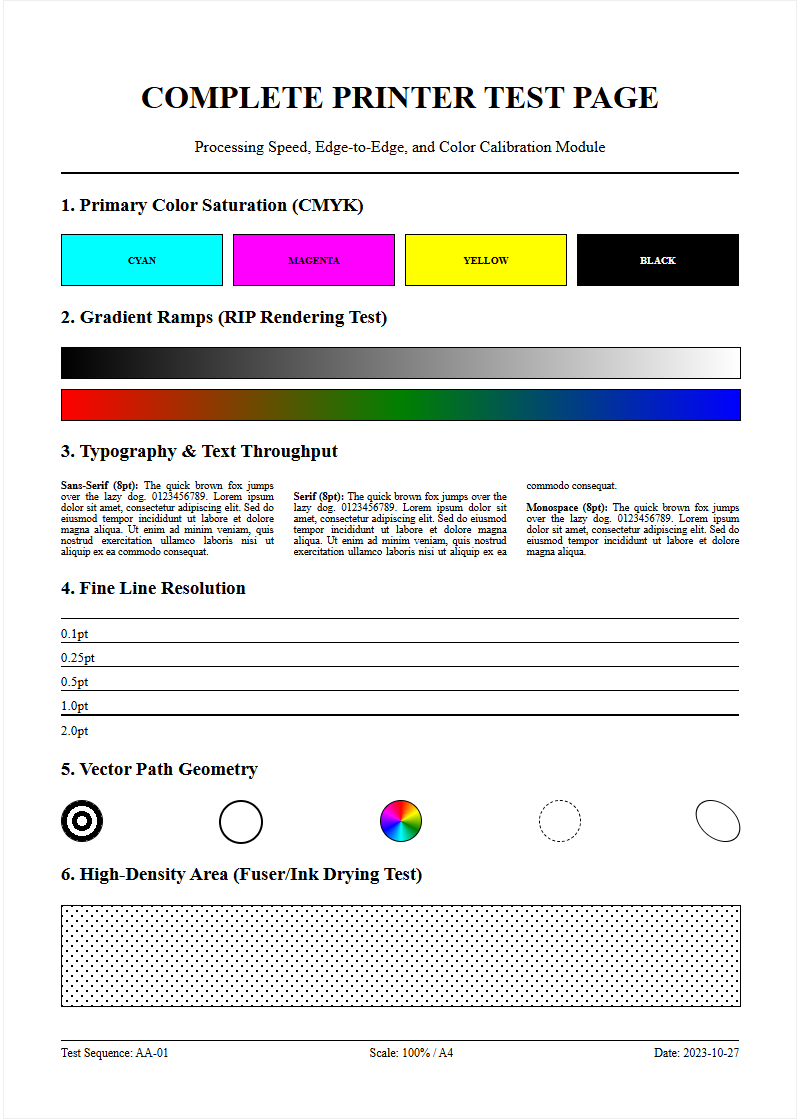
Achieving professional output requires a precise printer test page to evaluate paper feed mechanics and path alignment. This diagnostic procedure scrutinizes the media handling system, specifically checking for roller friction issues and lateral skewing that can degrade image quality. By analyzing specialized alignment patterns, users can verify print head synchronization with the vertical transport assembly, ensuring consistent margin registration and high-resolution accuracy. Calibrating these mechanical components minimizes feed errors and micro-banding, providing a baseline for optimal nozzle performance. Utilizing a standard calibration sheet simplifies troubleshooting, allowing for real-time adjustments to the internal paper path and ensuring every document meets exact geometric specifications.
Understanding Printer Paper Feed Mechanisms
The printer paper feed mechanism is a sophisticated system designed to isolate a single sheet from a stack and transport it through the internal print path with micro-millimeter precision. This process typically begins with a pickup roller, often controlled by a solenoid or a stepper motor, which applies downward pressure to the top sheet. As the roller rotates, friction pulls the paper toward the registration assembly. To prevent multiple sheets from entering simultaneously, a separation pad or retard roller provides opposing friction, ensuring only the uppermost page advances.
- Pickup Roller: The primary component that initiates paper movement from the tray.
- Separation Pad: A high-friction rubber surface that holds back underlying sheets.
- Feed Rollers: Secondary rollers that maintain momentum as the paper moves toward the fuser or print head.
- Registration Assembly: Aligns the leading edge of the paper to ensure the image is printed straight.
These mechanical components must work in perfect synchronization. If the torque of the drive gears is inconsistent, or if the friction coefficient of the rubber rollers degrades, the printer will experience timing errors, leading to "out of paper" alerts even when the tray is full.
Common Causes of Paper Jams
Paper jams are frequently the result of mechanical obstruction or environmental factors affecting the media's physical properties. When a sheet fails to reach a specific internal sensor within a predetermined timeframe, the firmware triggers a "Paper Jam" error to prevent damage. Common culprits include worn-out feed rollers that have lost their "tack," or accumulated paper dust that creates a slippery surface on the drive tires. Additionally, using media that exceeds the printer's maximum GSM (grams per square meter) rating can cause the motor to stall.
- Humidity: High moisture levels cause paper fibers to swell and stick together, leading to multi-sheet pulls.
- Foreign Objects: Staples, paper clips, or torn fragments from previous jams can obstruct the path.
- Worn Rollers: Smoothing of the rubber surface reduces the grip required to pull paper from the cassette.
- Incorrect Loading: Overfilling the tray or misaligning the lateral guides forces the paper to enter at an angle.
Understanding these variables allows for better preventative maintenance. Regular inspection of the duplexer and exit rollers can also reveal hidden debris that contributes to recurring throughput issues.
Cleaning Printer Pickup Rollers
Maintaining the integrity of the pickup rollers is essential for consistent paper handling. Over time, these rollers accumulate "glaze," a mixture of paper lint, dust, and ink overspray that hardens into a smooth, non-grip surface. To restore the durometer-the hardness and grip of the rubber-the rollers must be cleaned using specific techniques. Avoid using harsh petroleum-based solvents, as these can dry out the rubber, causing it to crack or perish prematurely.
- Preparation: Power down the device and remove the paper tray to access the primary feed assembly.
- Cleaning Agent: Use a lint-free cloth lightly dampened with distilled water or a specialized rubber rejuvenator.
- Technique: Gently wipe the roller surface while manually rotating the drive gear to ensure 360-degree coverage.
- Drying: Allow the components to air dry completely before reinserting the tray to prevent moisture from reaching the fuser.
Regularly cleaning these rollers every 5,000 pages can significantly extend the life of the feed mechanism. If the rollers appear physically pitted or deeply grooved, they have reached their end-of-life cycle and should be replaced with genuine OEM parts.
Proper Paper Loading Techniques
Successful printing starts with the correct preparation of the media stack before it ever enters the machine. Many users unknowingly contribute to feed errors by "fanning" the paper excessively, which can create static electricity, or by failing to account for the "curl" of the paper. Paper is manufactured with a slight natural curve; loading it in the direction recommended by the ream manufacturer (usually indicated by an arrow on the packaging) ensures the leading edge enters the rollers smoothly.
- Check Alignment: Ensure the stack is perfectly square and flush against the front of the tray.
- Adjust Guides: Move the lateral and longitudinal guides so they firmly touch the stack without compressing it.
- Observe Limits: Never exceed the maximum fill line marked on the tray walls.
- Condition Media: Store paper in a cool, dry place to prevent warping or edge-wave.
When loading specialty media like envelopes or heavy cardstock, it is often best to use the multipurpose bypass tray. This provides a straighter path, reducing the mechanical stress on the feed rollers and preventing the tight turns that lead to permanent creasing or jams.
Resolving Multi-Page Feed Issues
Multi-page feeding occurs when the separation mechanism fails to counteract the friction between two adjacent sheets. This is often a result of "friction welding" caused by dull guillotine blades during the paper manufacturing process, or a worn separation pad within the printer. When the pad's surface becomes smooth, it loses its ability to hold back the second sheet, allowing the pickup roller to drag both through the registration assembly simultaneously.
| Cause | Technical Fix |
|---|---|
| Static Cling | Increase humidity or use anti-static brushes. |
| Worn Separation Pad | Replace the friction pad or spring assembly. |
| Damp Paper | Replace the stack with fresh, dry media. |
| Poor Paper Quality | Use paper with a higher brightness and uniform GSM. |
In high-volume environments, checking the retard roller's torque limiter is also necessary. If the limiter is too loose, the roller won't provide enough resistance to separate the sheets. If too tight, it may cause the paper to stall or tear at the entry point.
Adjusting Paper Trays for Precision
Precision in paper tray adjustment is the foundation of accurate image registration. If the tray guides are not secured properly, the paper can shift during the pickup cycle, leading to "walking" or "skewing" across the page. Most modern trays feature locking mechanisms on the side and rear guides to prevent them from vibrating loose during high-speed operation. These guides must be calibrated to the specific dimensions of the media being used, whether it is A4, Legal, or Letter.
- Lateral Guides: These control the side-to-side movement and ensure the image is centered.
- Trailing Edge Guide: This pushes the paper against the pickup roller, preventing "late" feeds that cause top-margin errors.
- Tray Sensors: Small optical or mechanical switches that tell the printer what size and weight of paper is loaded.
Technicians should also inspect the tray lift motor. In many enterprise printers, the tray floor is spring-loaded or motorized to maintain a constant stack height. If this elevator mechanism fails, the pickup roller will not make sufficient contact with the paper, resulting in a "no pick" error.
Selecting Compatible Paper Stocks
The chemical and physical properties of paper, such as its "tooth" and "caliper," directly impact the feed reliability of a printer. Using bond paper that is too thin (below 60 GSM) can result in frequent crinkling or multi-feeding, while media that is too thick (above 200 GSM) may fail to navigate the internal curves of the paper path. It is vital to match the media settings in the printer driver with the actual stock loaded in the tray to adjust the fuser temperature and roller speed accordingly.
| Media Type | Recommended Usage | Feed Path |
|---|---|---|
| Standard Bond | General Documents | Internal Cassette |
| Cardstock | Business Cards / Covers | Bypass Tray (Straight Path) |
| Glossy Photo | High-res Imaging | Single Sheet Feed |
| Envelopes | Mailing | Manual Feed Slot |
Furthermore, coated papers require careful handling. Some coatings can melt under the high heat of a laser fuser, leaving sticky residue on the rollers that compromises future paper feeds. Always verify the heat rating for any specialty media used in laser engines.
Troubleshooting Paper Skew Problems
Paper skew refers to the tilt of the printed image relative to the edges of the paper. This is usually caused by an asymmetrical pull during the feed cycle. If one side of the pickup roller is more worn than the other, or if a piece of debris is lodged in one side of the paper path, the sheet will rotate slightly as it advances. This mechanical "drift" results in lopsided text and can cause the paper to eventually strike the side of the internal chassis, leading to a "Z-fold" jam.
- Inspect Pinch Rollers: Check that all rollers in the registration assembly are applying equal pressure.
- Verify Guide Position: Ensure the paper tray guides are snug but not tight enough to buckle the paper.
- Clean the Path: Remove any dust or toner buildup on the ribs of the plastic guide plates.
- Check Hinge Alignment: On some printers, an unlevel tray or a bent hinge can cause the media to enter the engine at an angle.
If the skew persists after checking the trays, the issue may lie in the registration timing. The registration rollers must "stall" the paper for a fraction of a second to square it up before sending it into the transfer area.
Printer Sensor Maintenance Guide
Printers rely on a series of optical and mechanical sensors to track the progress of a sheet through the feed path. These usually consist of a "flag"-a small plastic lever-and a "photo-interrupter." When the paper passes, it moves the flag, which breaks an infrared beam. If these sensors are contaminated with dust or if the flag's return spring becomes weak, the printer will report a jam even if the path is clear. This is known as a "false jam" or "ghost jam."
- Inlet Sensor: Detects when paper has successfully left the tray.
- Registration Sensor: Triggers the timing for the image transfer.
- Exit/Fuser Sensor: Confirms the paper has cleared the heating elements.
- Duplex Sensor: Monitors paper during the inversion process for double-sided printing.
To maintain these sensors, use a can of compressed air to blow out any paper dust from the photo-interrupter slots. Be careful not to dislodge the delicate springs that return the sensor flags to their neutral position. If a flag is stuck in the "triggered" position, the machine will remain in an error state indefinitely.
Optimizing Paper Path Performance
Optimizing the paper path involves a holistic approach to printer health, balancing hardware maintenance with firmware calibration. In high-volume environments, the throughput speed can be optimized by ensuring the "inter-page gap"-the space between successive sheets-is minimized. This requires a perfectly clean and lubricated drive train. If the stepper motors are struggling due to lack of lubrication on the drive gears, the timing will drift, forcing the printer to slow down to compensate for the lag.
Environmental control also plays a major role; maintaining a stable room temperature and humidity level prevents the paper from curling, which is the leading cause of friction in the transport path. Finally, always check for firmware updates. Manufacturers frequently release updates that adjust the "acceleration curves" of the feed motors to better handle different paper types or to reduce the noise generated by the pickup solenoid. By keeping the mechanical components clean and the logic board updated, you ensure the longest possible duty cycle for the device's paper handling system.

Comments