Evaluating your drum assembly integrity starts with a detailed analysis of printer test page indicators. By examining diagnostic prints, you can identify specific OPC (Organic Photoconductor) defects such as surface scoring, film coating wear, or cleaning blade failures. Technical anomalies like repetitive spots or vertical streaks often correspond to the drum's circumference, which can be mapped using a repetitive defect ruler. Furthermore, observing ghosting or low optical density helps pinpoint issues with electrostatic potential or the primary charge roller. This systematic approach ensures the latent image transfers accurately, preventing background fogging and maintaining the mechanical precision required for high-quality laser imaging.
Understanding Laser Printer Drum Assemblies
The drum assembly, often referred to as the Imaging Unit or OPC (Organic Photo Conductor) drum, is the heart of the electrophotographic process in a laser printer. This cylindrical component is coated with a specialized photosensitive material that reacts to light. During the printing cycle, a primary charge roller or corona wire applies a uniform negative electrostatic charge across the drum's surface. A laser beam then discharges specific points to create a "latent image" of the document. This invisible electrical map attracts the positively charged toner particles, which are subsequently transferred onto the paper.
Understanding the drum's architecture is vital for diagnosing printer health. Most assemblies include a cleaning blade to scrape away residual toner and a waste hopper to collect it. Because the drum's surface is highly sensitive, even microscopic scratches can disrupt the charge distribution. Modern drums are engineered for high durability, yet they remain consumable items with a finite lifespan, usually measured in tens of thousands of pages before the photosensitive coating begins to degrade or fail to hold a consistent charge.
How Drum Units Affect Print Quality
The physical condition of the drum unit directly dictates the crispness and clarity of the final output. If the drum is functioning optimally, the electrostatic attraction between the toner and the drum surface is precise, resulting in sharp text and smooth halftones. However, as the drum ages, its ability to hold a distinct electrical charge diminishes. This often leads to "backgrounding," where a light grey haze covers the entire page because the drum cannot fully repel toner in non-image areas.
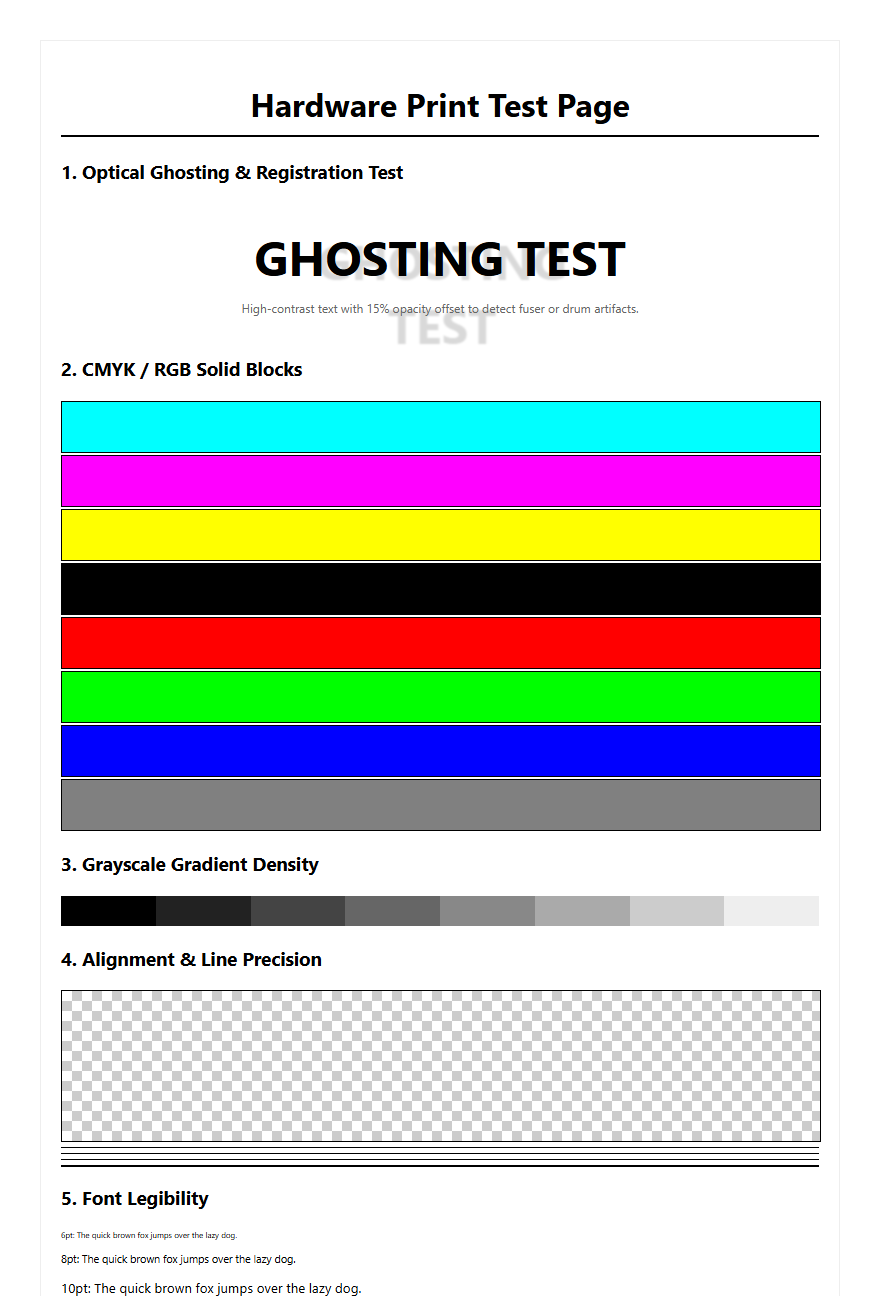
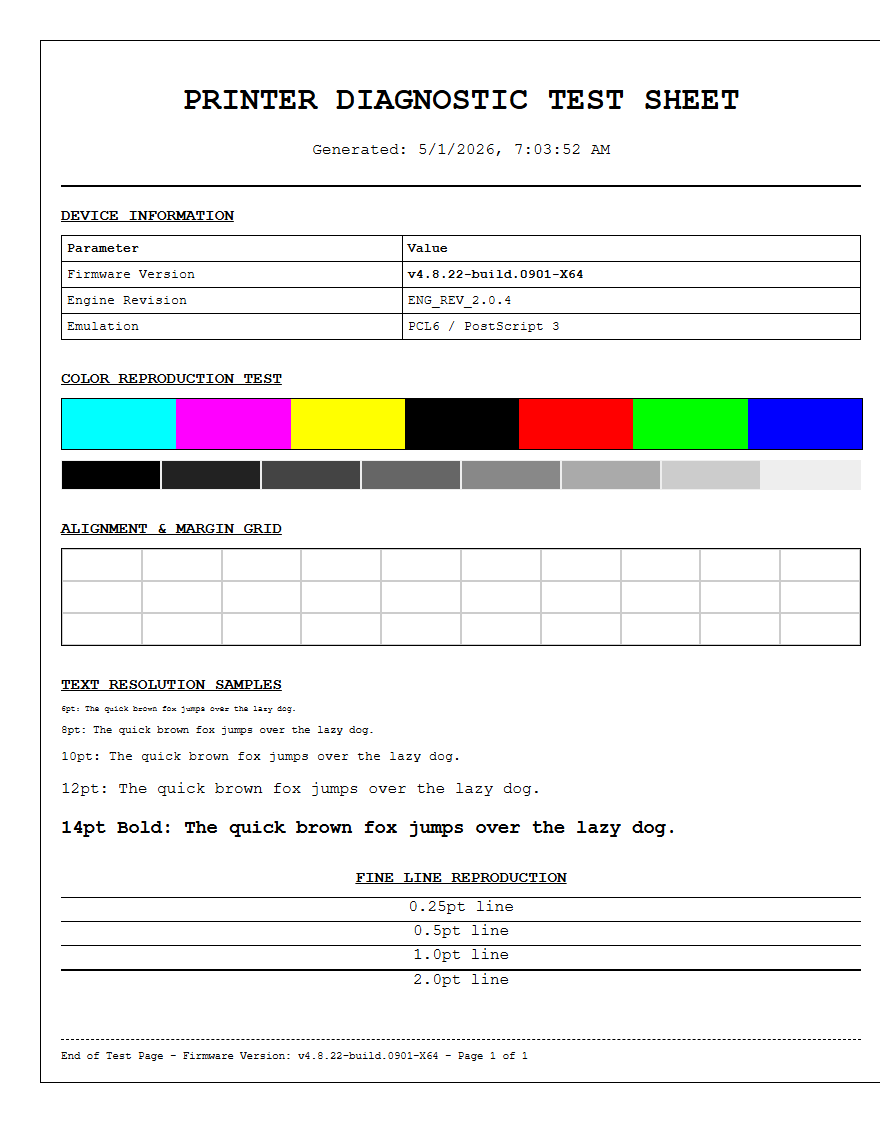
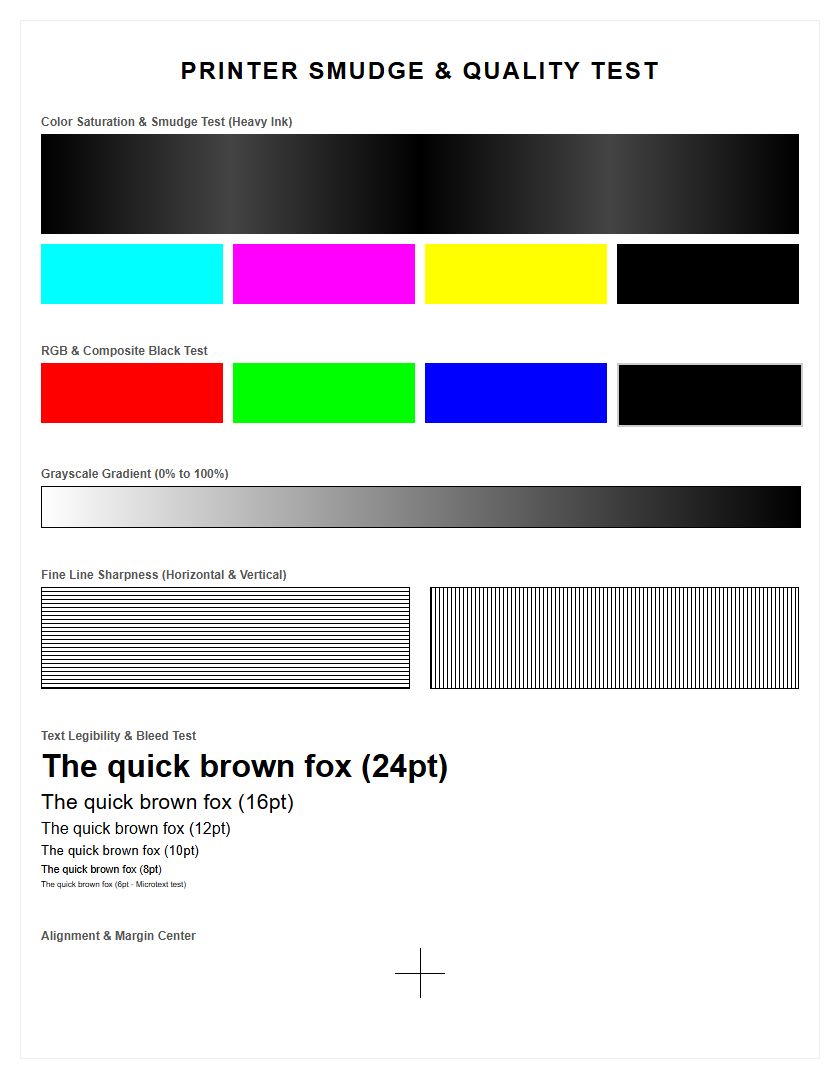
Print quality is also heavily influenced by the drum's surface integrity. Because the drum must transfer toner with extreme precision, any physical abrasion or build-up of "toner filming" will manifest as visible defects. A healthy drum ensures that the "dot gain" is minimized, keeping fine lines distinct and preventing characters from appearing bloated or fuzzy. When evaluating a test page, the drum's performance is typically assessed by looking at the uniformity of solid black blocks and the consistency of gradient scales, which require a perfectly smooth and reactive photosensitive layer.
Distinguishing Toner Cartridges From Drums
It is common for users to confuse the toner cartridge with the drum unit, as they often work in tandem. However, they serve distinct mechanical functions. The toner cartridge is the reservoir for the dry ink powder, while the drum is the mechanism that applies that powder to the page. In many Brother printers, these are separate units that slide into one another, whereas HP and Canon often utilize an all-in-one design where the drum is built directly into the toner housing.
| Feature | Toner Cartridge | Drum Unit |
|---|---|---|
| Primary Function | Supplies colorant powder | Transfers image to paper |
| Replacement Cycle | Frequent (2k-10k pages) | Infrequent (15k-60k pages) |
| Failure Symptom | Faded print or "low ink" | Streaks, spots, or ghosting |
Identifying which component requires replacement is crucial for cost-effective maintenance. Replacing a drum when only the toner is empty is a common waste of resources, while continuing to use a worn drum with a fresh toner cartridge will result in poor prints regardless of the ink level.
Common Signs Of Drum Wear
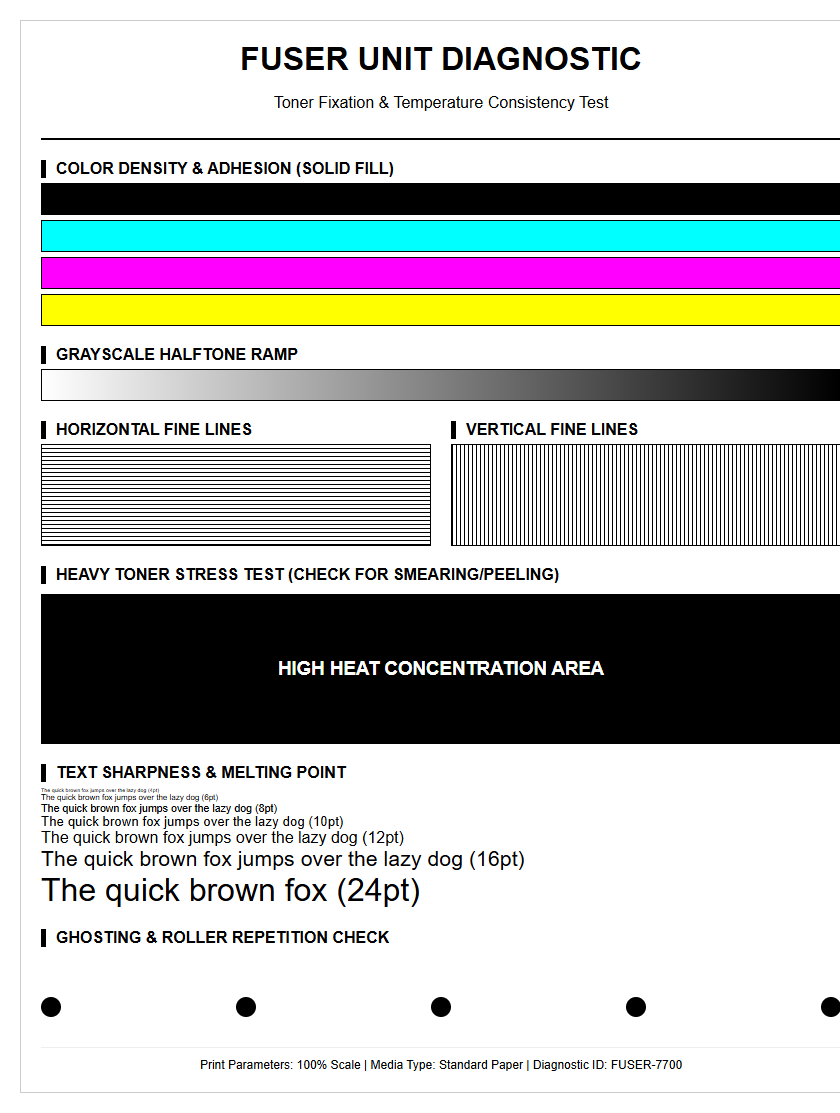
As the drum assembly nears the end of its duty cycle, it begins to exhibit specific visual artifacts that indicate physical or electrical exhaustion. One of the most prevalent signs is "ghosting," where a faint duplicate of a previously printed image appears further down the page. This happens because the drum fails to completely discharge or clean itself before the next revolution. Another indicator is the appearance of thin, vertical lines spanning the length of the document, often caused by a scratched surface or a nicked cleaning blade.
- Repeating Spots: Marks occurring at regular intervals based on the drum's circumference.
- Grey Background: A lack of contrast caused by a loss of electrostatic sensitivity.
- Black Borders: Occurs when the edges of the drum lose their protective coating.
- Blurred Text: Inability to maintain sharp edges during the transfer process.
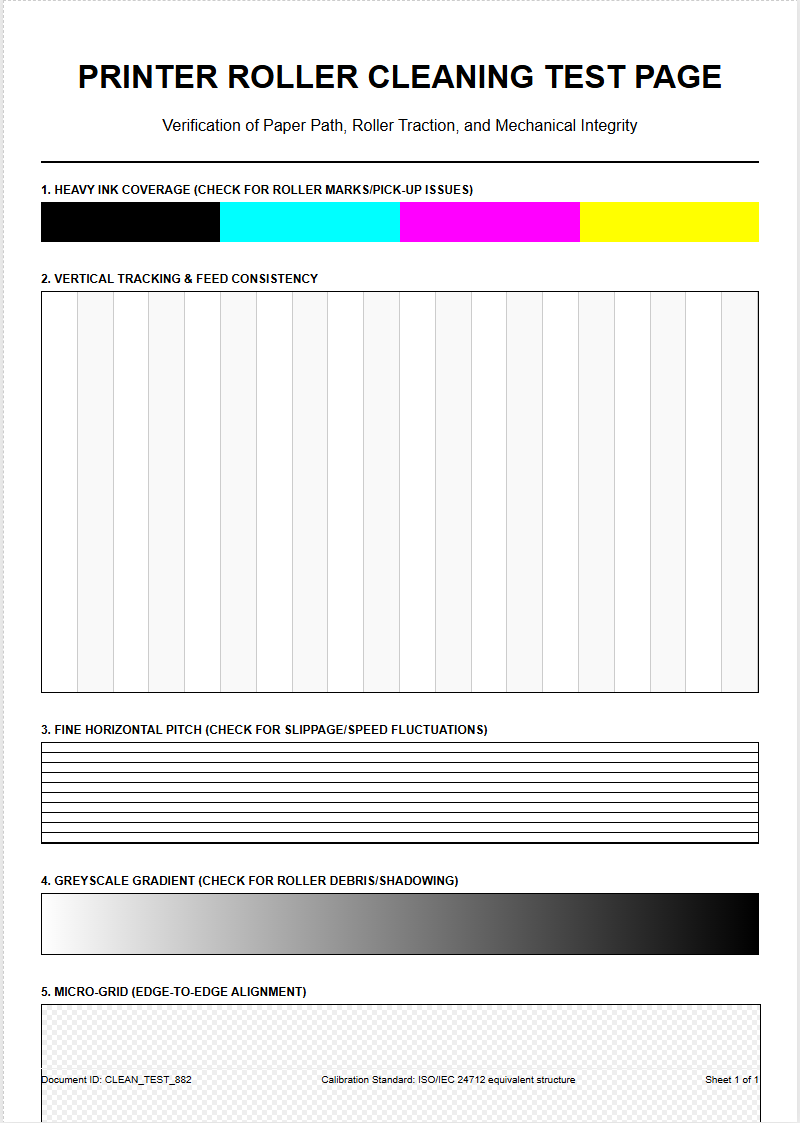
Monitoring these signs allows for proactive replacement before the unit fails completely, preventing wasted toner and paper. These defects are most visible on a standard printer test page, which often includes wide margins and solid fills specifically designed to highlight these wear patterns.
Identifying Drum Defects Via Test Pages
A printer test page is the most effective diagnostic tool for isolating drum issues. To identify a drum defect specifically, one must look for repeating patterns. Because the drum is a cylinder, any physical damage to its surface-such as a pinhole or a scratch-will leave a mark every time the drum completes a full rotation. By measuring the distance between these repeating marks, you can determine if the defect matches the circumference of the drum unit rather than the smaller rollers found in the fuser or toner cartridge.
Most manufacturers provide a "Repeating Defect Ruler" in their service manuals. If a spot repeats every 75mm to 95mm (depending on the printer model), the drum is almost certainly the culprit. Additionally, a "Half-Self-Test" can be performed: stop the printer mid-cycle and inspect the drum surface before the paper reaches the fuser. If the defect is present on the drum but the paper is still under the toner area, it confirms the drum is the source of the error, rather than a secondary heating or pressure issue within the fuser assembly.
Step By Step Drum Replacement Guide
Replacing a drum assembly requires careful handling to ensure the new unit is not damaged during installation. The photosensitive surface is extremely vulnerable to light and oils from human skin. Follow this systematic approach to ensure a successful swap:
- Power off the printer and allow the fuser to cool to avoid burns.
- Open the front or top cover and remove the combined toner and drum assembly.
- Depress the green or colored lock lever to release the old drum from the toner cartridge.
- Unpack the new drum, ensuring you do not touch the shiny green or blue cylinder.
- Slide the toner cartridge into the new drum unit until it clicks into place.
- Clean the primary corona wire by sliding the built-in tab back and forth several times.
- Reinsert the assembly into the printer and close the access door.
After installation, most printers require a manual reset of the drum counter via the control panel. This clears the "Replace Drum" error message and allows the machine to track the lifespan of the new component accurately. Failure to reset the counter may cause the printer to stop functioning prematurely.
Routine Maintenance For Imaging Drums
To ensure the drum assembly reaches its maximum rated page yield, regular maintenance is essential. The most common maintenance task is cleaning the corona wire or charge roller. Most drum units feature a built-in sliding green tab; moving this tab back and forth clears dust and toner buildup that can cause vertical white streaks. It is vital to return this tab to its "home" position (usually marked by a small arrow) to avoid a solid black stripe on your prints.
Dust management is another critical factor. Use a lint-free cloth or a specialized toner vacuum to remove spilled powder from the interior of the printer. Never use pressurized canned air, as this can force toner particles deep into the drum's mechanical gears or onto the laser scanner glass. Furthermore, keep the printer in a climate-controlled environment. High humidity can cause toner to clump, which increases friction on the drum's cleaning blade, while extreme dryness can lead to static buildup that interferes with the electrostatic transfer process, eventually scarring the drum surface.
Extending The Life Of Your Drum
While drum units are consumables, certain habits can significantly extend their operational life. The quality of paper used is the primary factor; cheap, high-acid, or excessively fibrous paper can act like sandpaper on the drum's delicate coating. Using smooth, laser-rated paper reduces physical abrasion. Additionally, always ensure that paper is free of staples, paperclips, or adhesive residues before printing, as these can cause permanent gouges in the OPC layer that cannot be repaired.
Another technique involves managing print job volume. Frequent small jobs (1-2 pages) cause more wear per page than large batch jobs because the drum must perform a "start-stop" rotation cycle each time, which involves extra friction from the cleaning blade. Some printers also offer a "Toner Save" or "Draft" mode; while this primarily saves toner, it often reduces the electrical stress on the drum. Finally, shielding the drum from ambient light during toner changes is critical; even a few minutes of exposure to direct sunlight or bright office lights can cause "light fatigue," permanently damaging the drum's ability to hold a charge in those areas.
Troubleshooting Laser Printer Drum Errors
Even with a new drum, printers may occasionally display error codes such as "Drum Error," "Slide Green Tab," or "Replace Drum." These errors often stem from communication issues between the drum's electronic chip and the printer's firmware. If a new drum is not recognized, first verify that all protective orange shipping materials have been removed. Inspect the metal contact points on the side of the drum; if they are coated in dust or grease, a gentle wipe with isopropyl alcohol on a cotton swab can restore the connection.
In cases where the printer reports a "Drum End of Life" despite the unit producing clear prints, the internal page counter likely needs a manual override. Each manufacturer has a unique sequence-often involving holding down the "OK" or "Go" button while the front cover is open. However, if the error is accompanied by a grinding noise, it indicates a mechanical failure in the drum's drive gears or a seized cleaning blade. In such instances, the unit should be replaced immediately to prevent putting undue strain on the printer's main drive motor.
Impact Of Drum Health On Resolution
The health of the drum assembly is the ultimate bottleneck for a printer's effective resolution, measured in dots per inch (DPI). While the laser unit might be capable of 1200 DPI, if the drum's photosensitive layer is degraded, it cannot sustain the tiny electrostatic spots required to achieve that density. As the drum surface wears down, the "dot" created by the laser tends to spread or "bloom," leading to increased dot gain. This results in a loss of fine detail, particularly visible in high-resolution photography or complex architectural schematics.
A compromised drum also affects the printer's ability to render accurate halftones and gradients. In a healthy system, the drum can hold varying levels of charge to create shades of grey. A worn drum often loses this nuance, resulting in "posterization" where smooth transitions become chunky blocks of solid color. On a test page, this is diagnosed by examining the "grey ramp" section. If the gradients appear streaky or inconsistent, the drum's sensitivity has likely reached a point where it can no longer support the printer's maximum resolution settings, necessitating a replacement to restore professional-grade output.

Comments